Cut some more parts. Was prepared to do a lot of band saw work but it wasn’t cutting very well. Yesterday it was cutting like butter and today I had to apply significant force and it was hard to control. Then I remembered yesterday’s adventure. I was so pleased at how well the band saw was cutting I decided to cut through an integrated circuit (PIC microcontroller) for the fun of it. I think I learned my lesson…
Aluminum Angle Kit 7
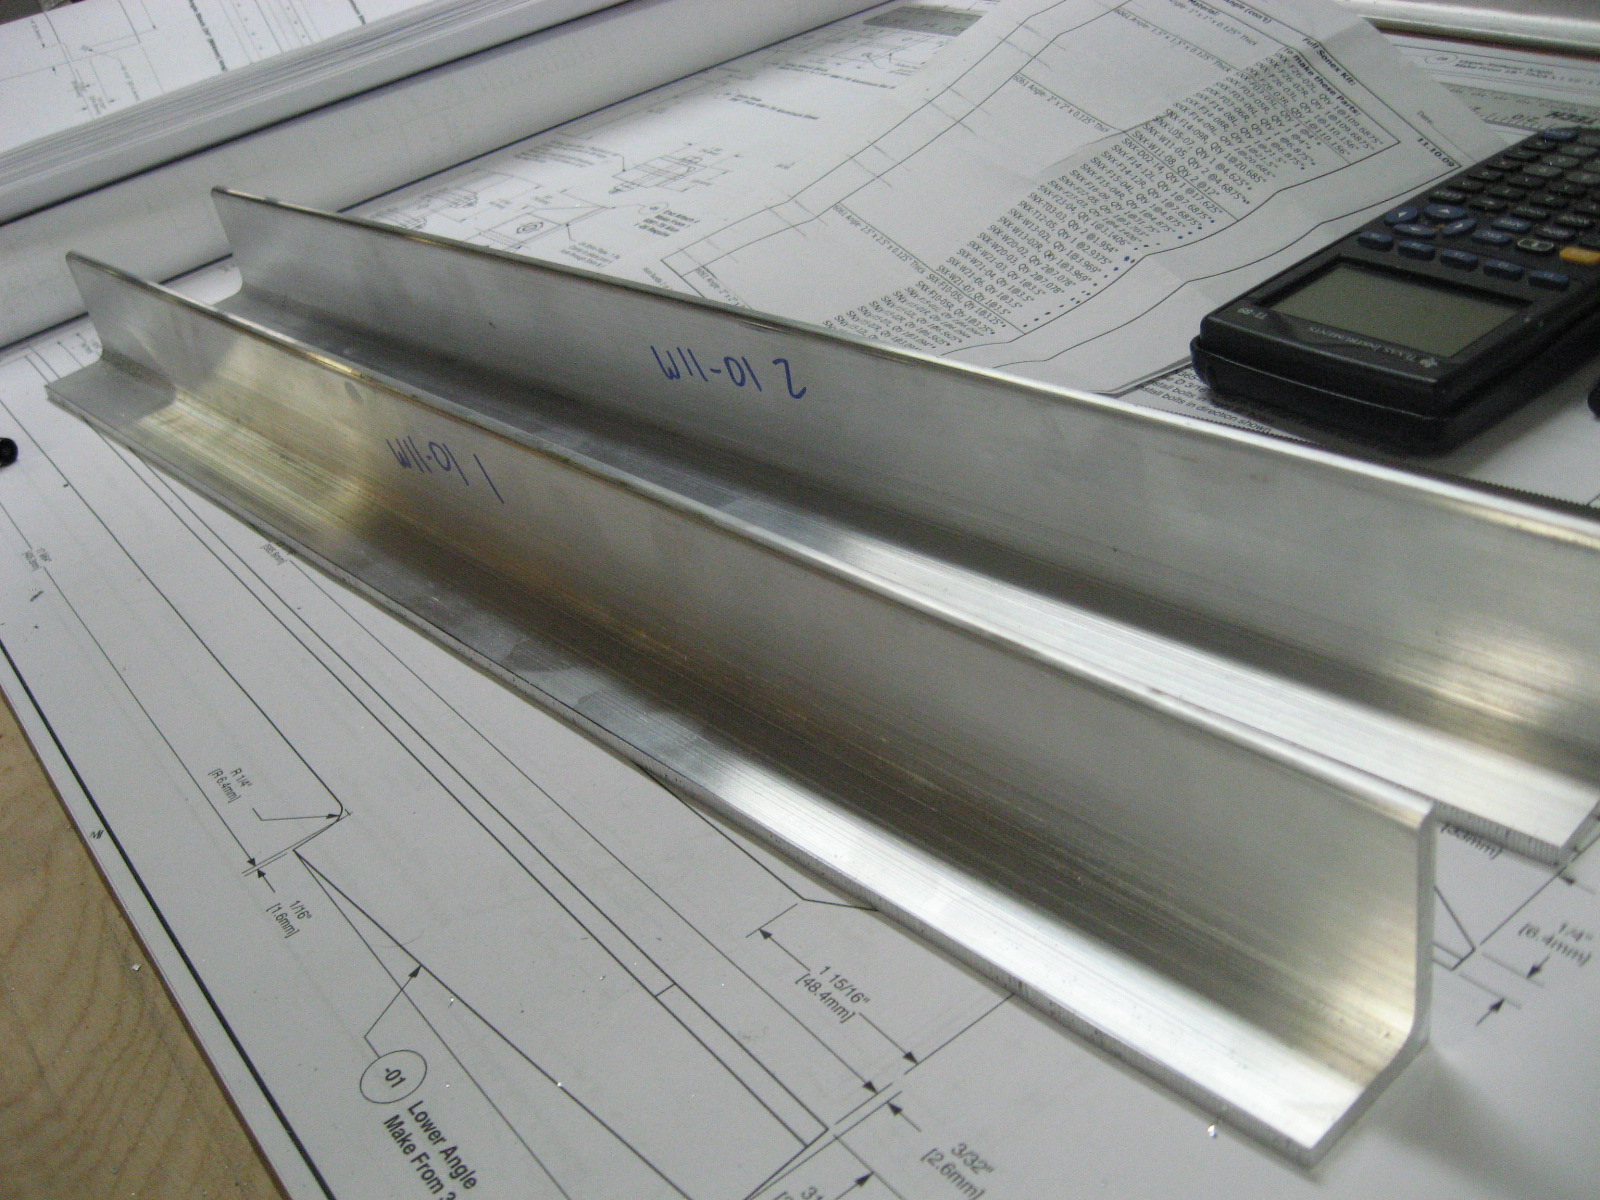
These are now my longest band saw cuts. The cut started scaring me with banging sounds. After I was done cutting I re-tensioned the blade and adjusted the blade tracking. The second cut had no scary sounds. I cut just on the outside edge of my sharpie line and was within a blade width the whole cut.
These parts had a nice diagonal band saw cut. The first part I cut the wrong angle but fortunately I left too much material behind and was able to fix it. I was able to try out the vixen file on the cuts. The secret seems to be to be very gentle with it to keep the teeth from catching on the edge. Its amazing how much material is removed with as delicate pressure as I can apply.
Aluminum Angle Kit 6
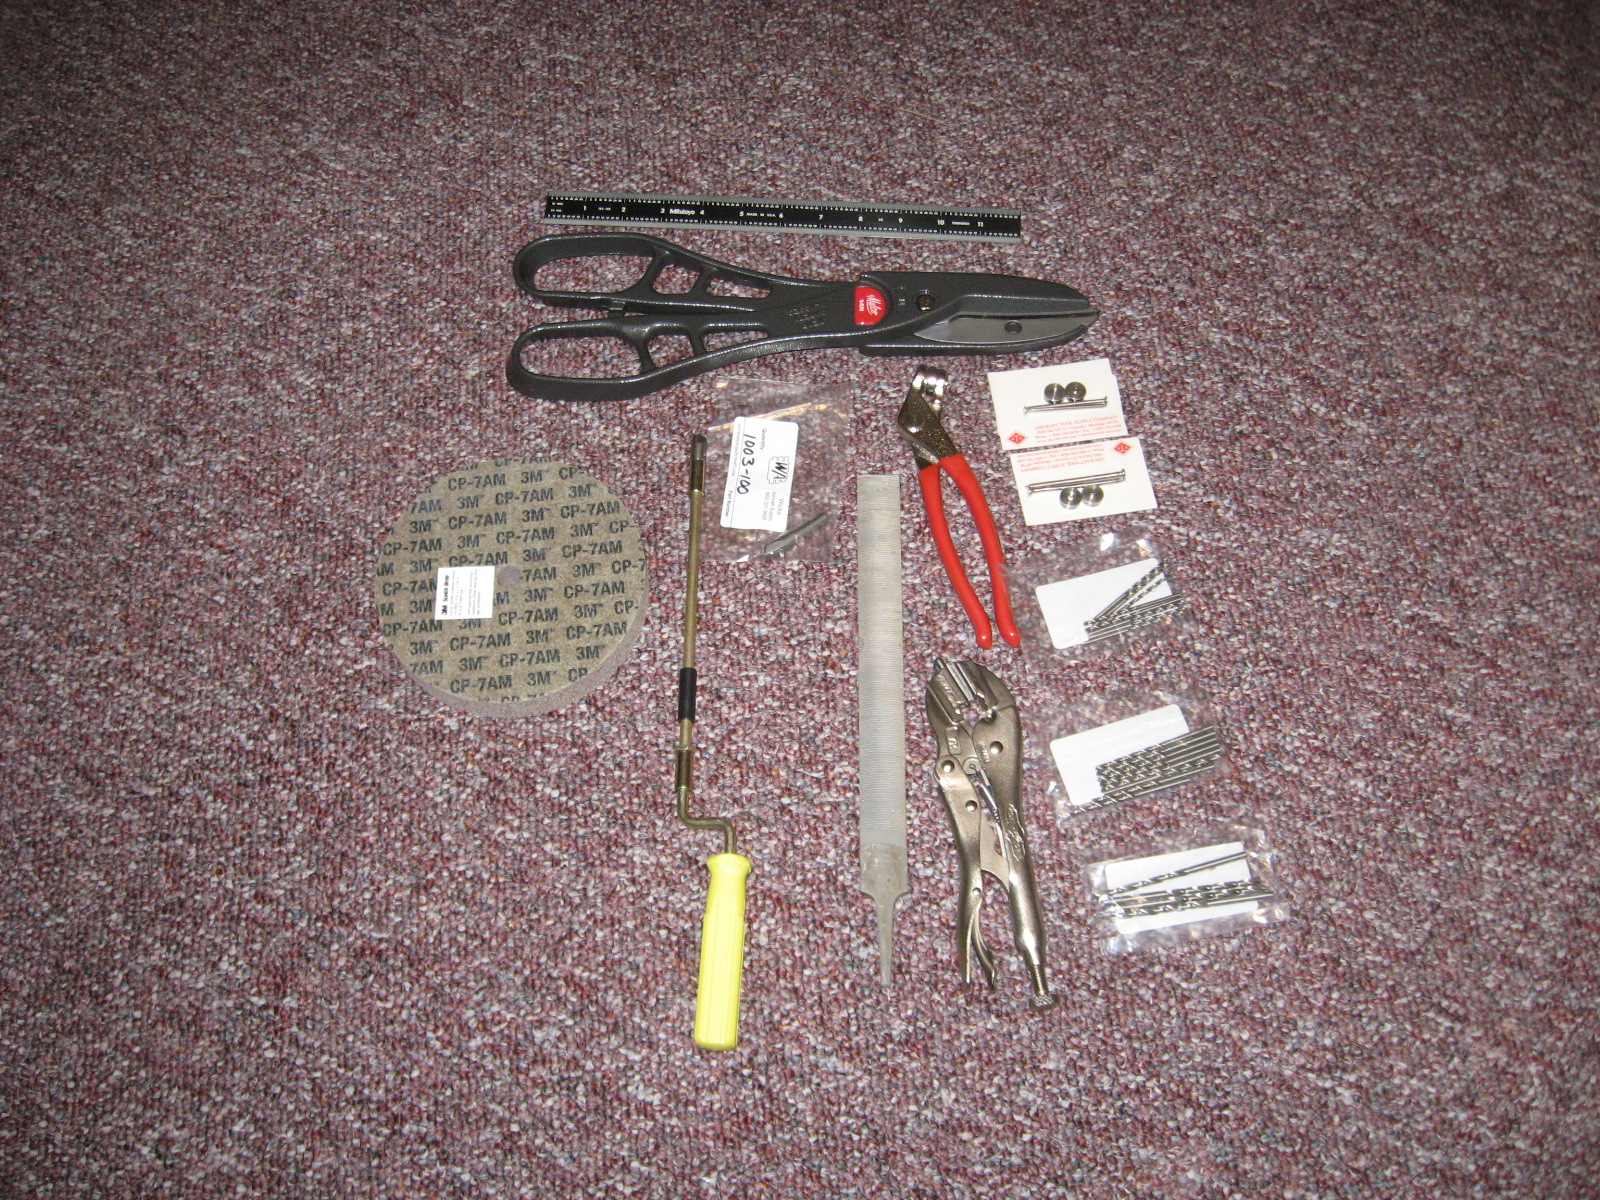
My order from Wicks arrived today. Most of the items are for the Sonex workshop in February. My favorite item are these Andy aluminum snips–I’ve been referring to them as my man scissors.
Here are the rest of the items in the order with my steel ruler for scale.
Here is the vixen file along with the smaller, cheap file I have been using. I couldn’t find much information comparing the vixen file to other files I might own, but I figured if its required they must know what they are talking about. I tried it on some of my band saw edges this evening and it seems fantastic.
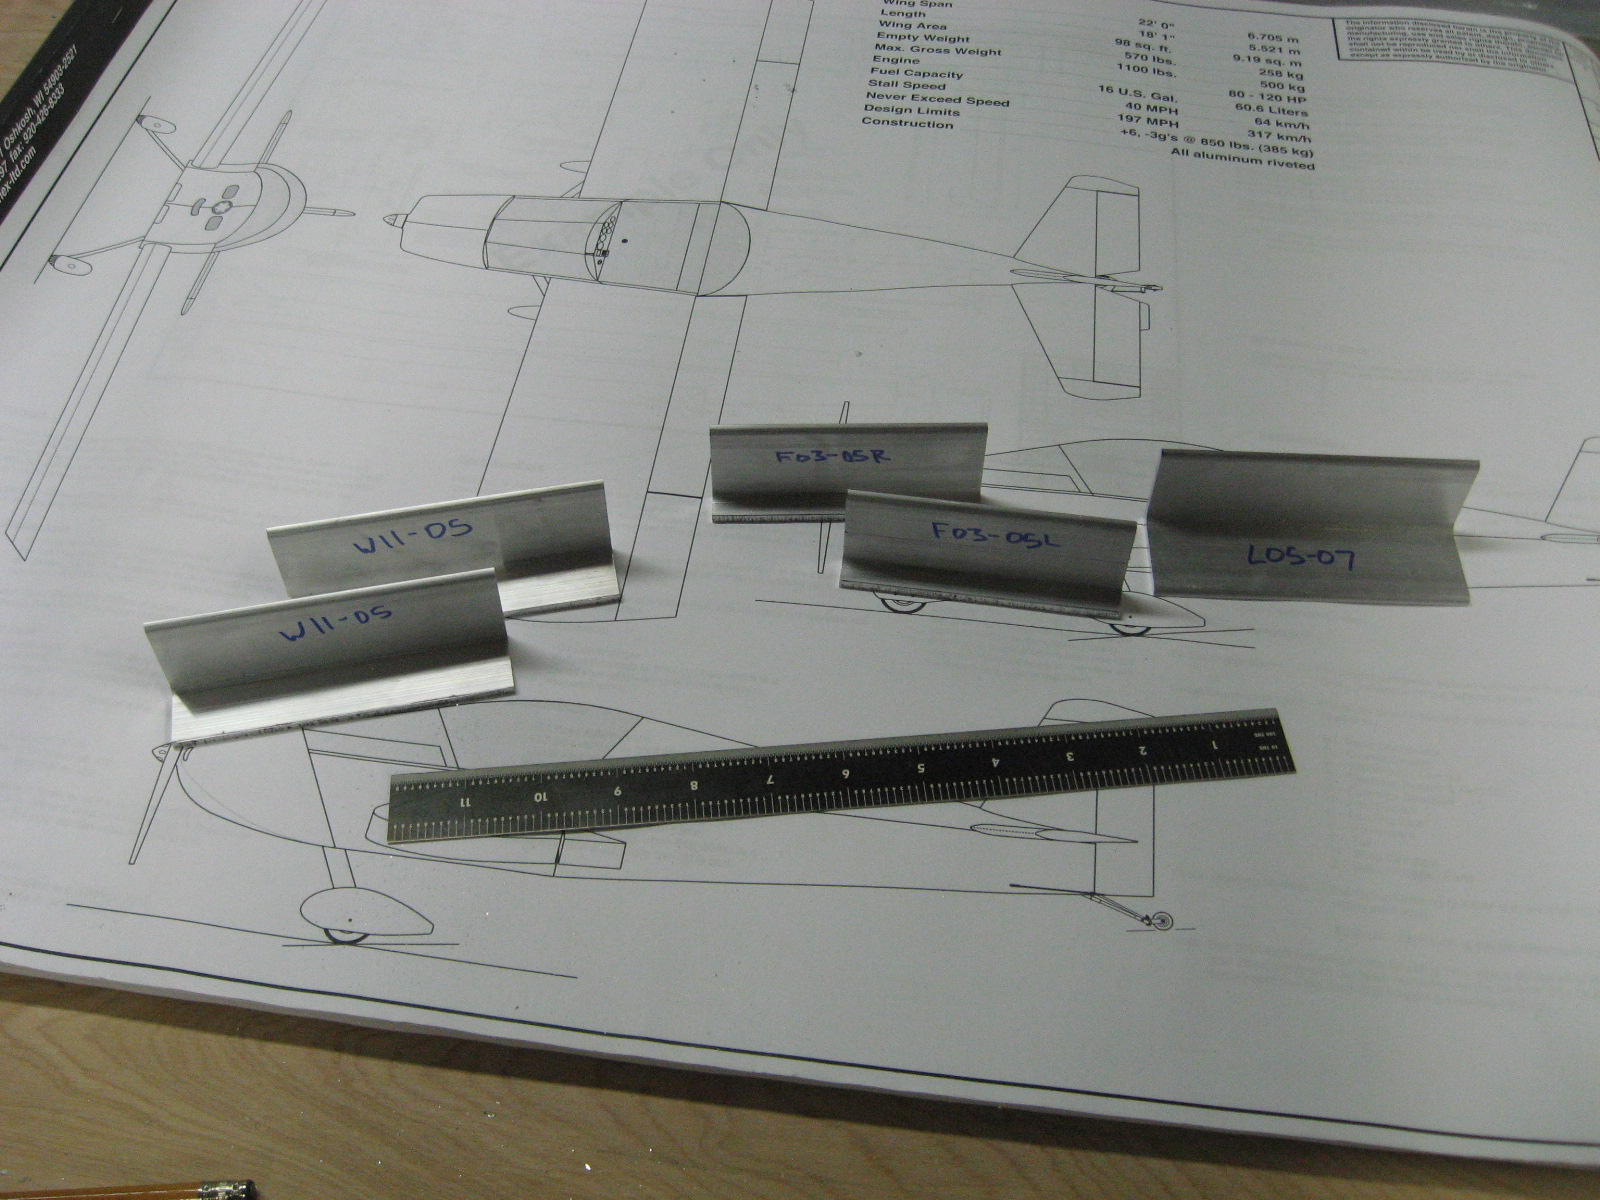
I did manage to get a few parts cut this evening.
Aluminum Angle Kit 5
Was losing my marbles this evening. I dropped the sharpie I use to label the parts and wasted a bunch of time looking for it. Then I left my cutting schedule that came with the aluminum between two pages of my plans without realizing it and spent a bunch of time trying to find it with no idea if it was on the floor somewhere or stuck in the plans. I did manage to get some parts cut though.
Aluminum Angle Kit 4
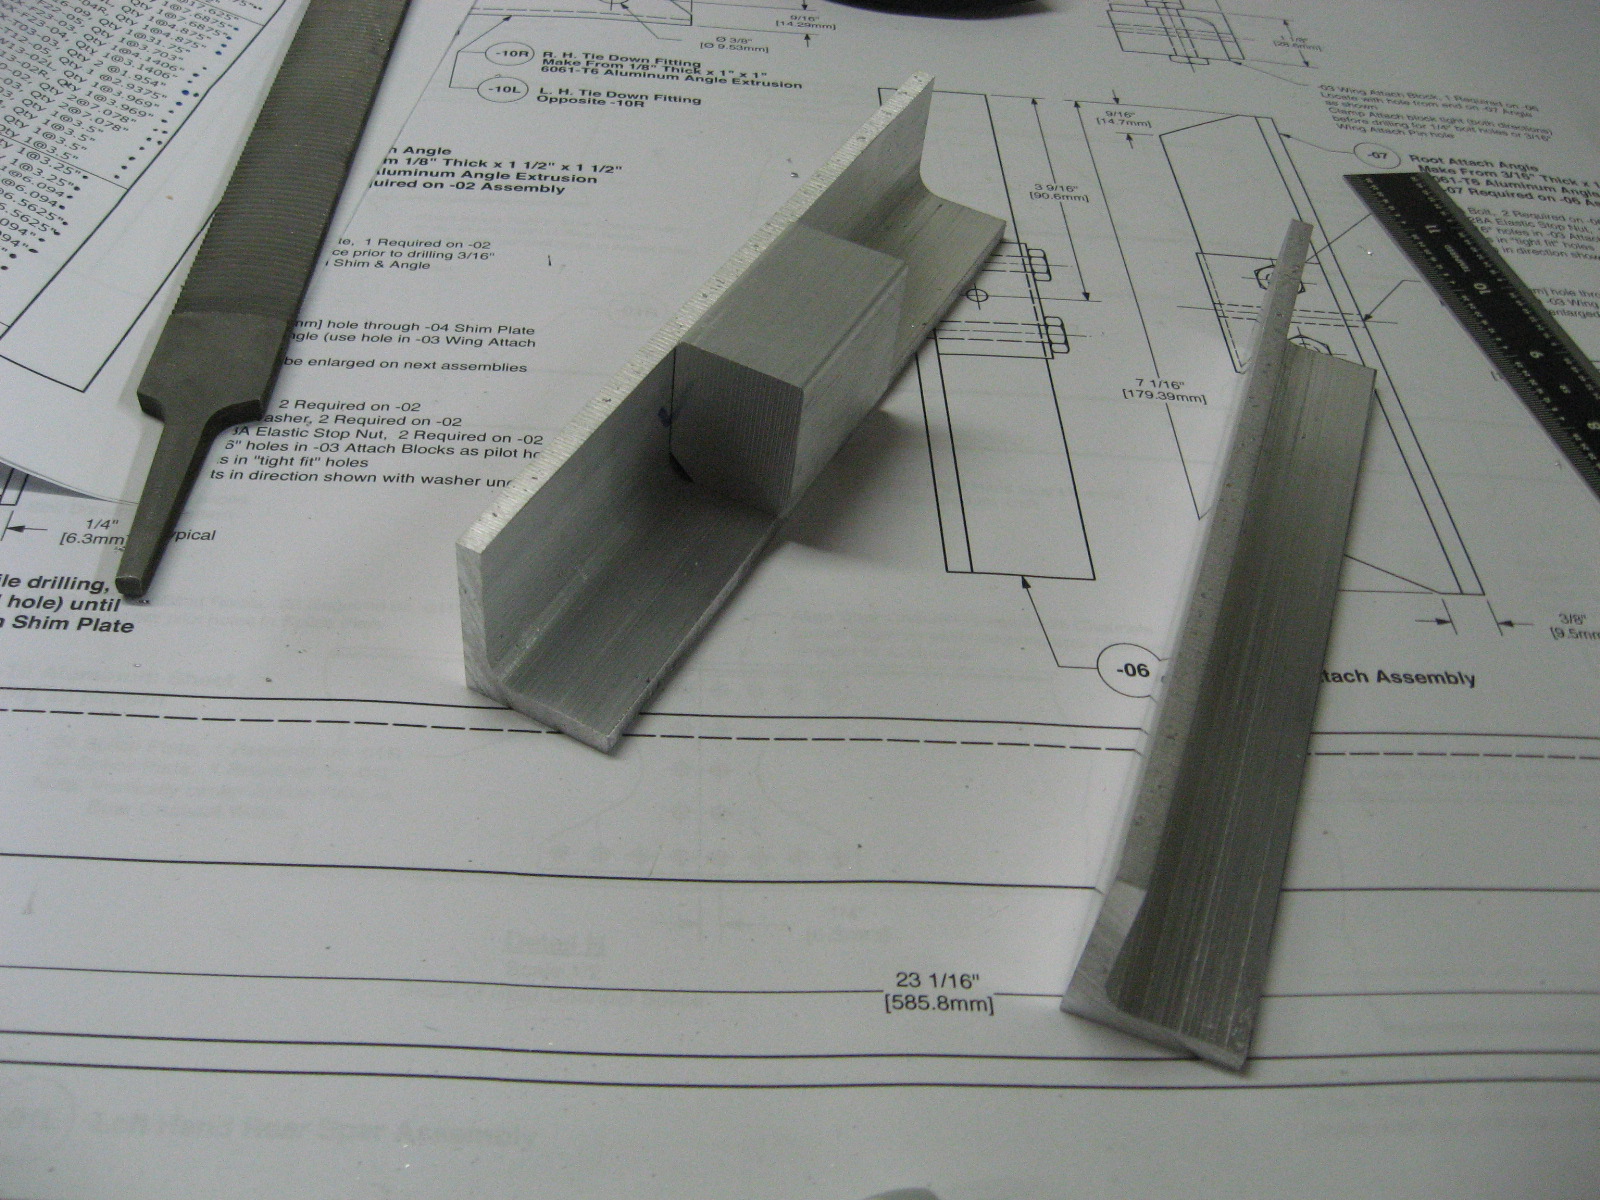
Seems like I’ve had a pattern of developing a new skill each day. This seatbelt attach bracket was my first “long” cut on the bandsaw (hehe… I know much longer cuts are coming). I used the fence to get a straight cut.
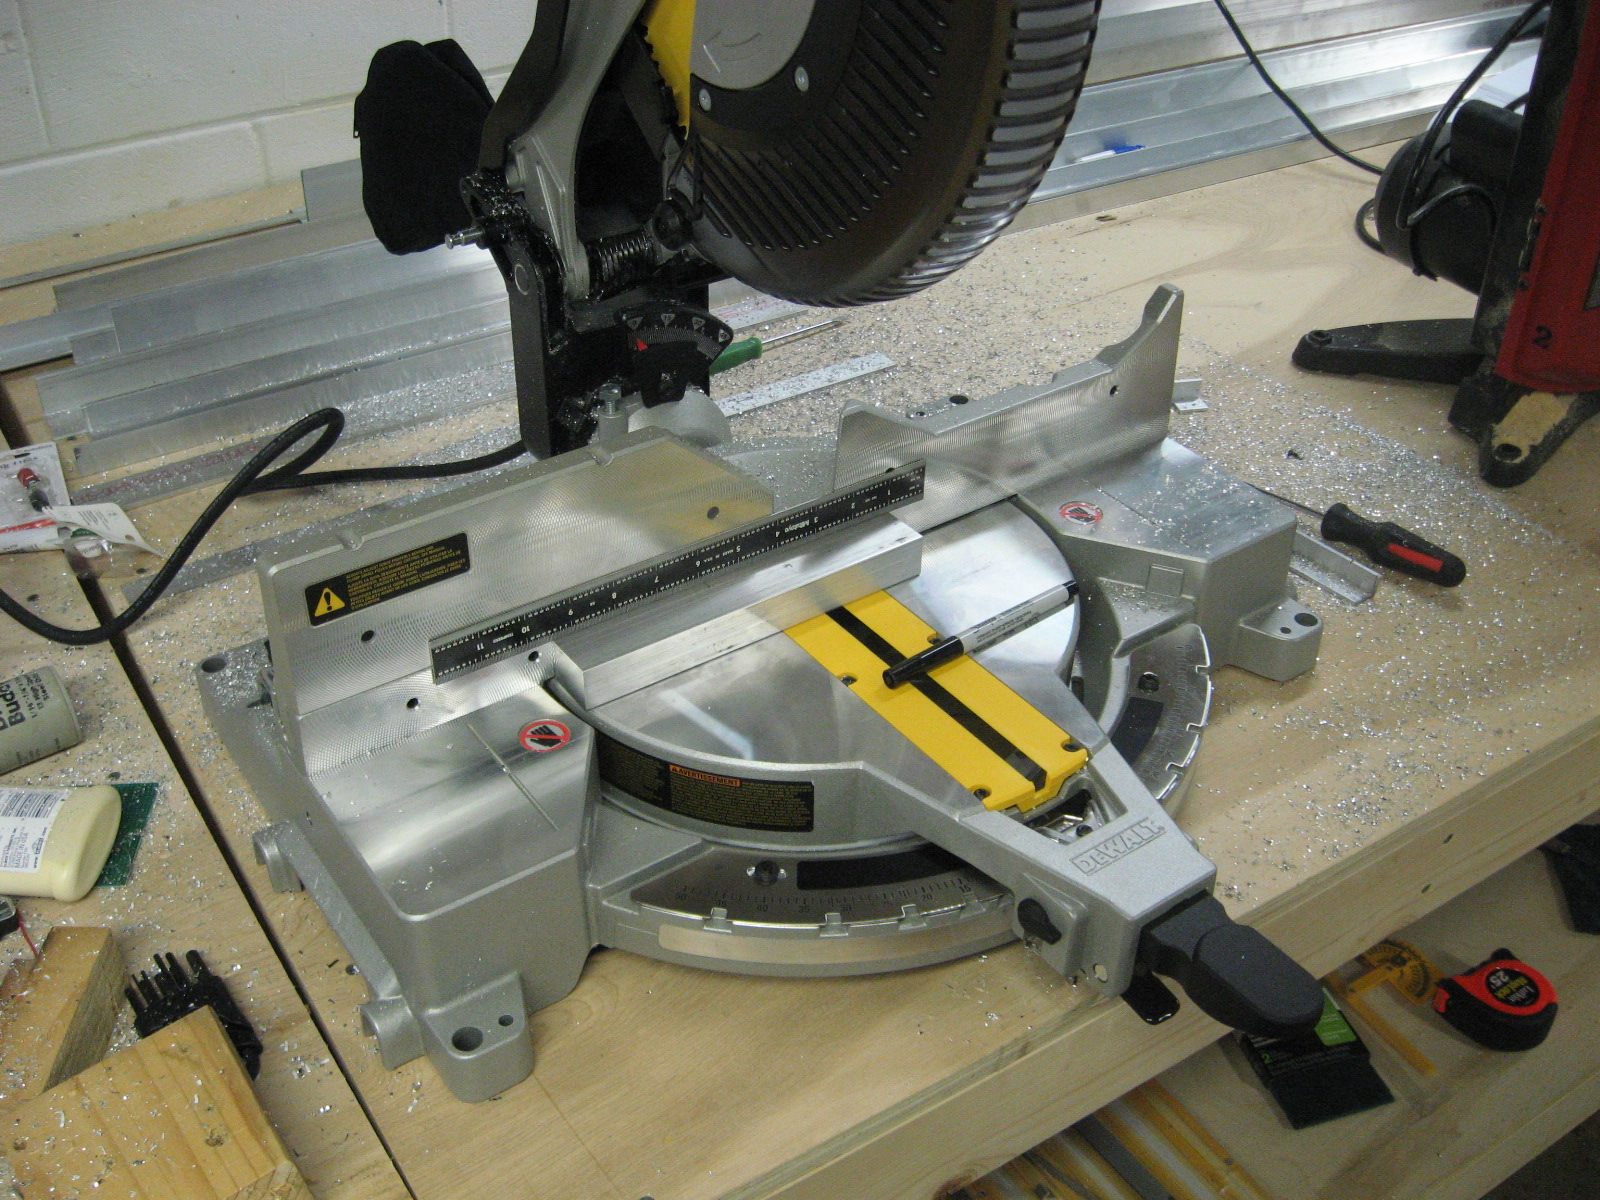
I’m starting to feel more comfortable making both mirrored parts. Did these cuts on the miter saw but will probably need to use the band saw for the rest. This part reminds me that I’ve been using a lot of trigonometry to calculate the cut angles–I guess most people use a protractor, but I don’t have one I feel is accurate enough. I can set the miter saw to a quarter of a degree with no interpolation. I mark the beginning and end of the cut on the part’s edges and I hit both marks each cut. I guess my calculator works (good thing I’m not stuck in radian mode).
This was my first “miter” cut on the band saw. I had hoped to use the miter gauge to help cut at the right angle, but the geometry of getting the part to the blade while attached to the miter gauge wasn’t working so I decided to freehand it. I drew the cut line and used the laser to help cut right down the line–I split the line in half on my first try. The second try wasn’t as good–I ended up off the line by a blade width, but some finishing should clear that up. Not sure if I like the laser–the reflection off the aluminum seems a little too bright.
Aluminum Angle Kit 3
Cut out more parts and started actually using the miter feature of the miter saw.
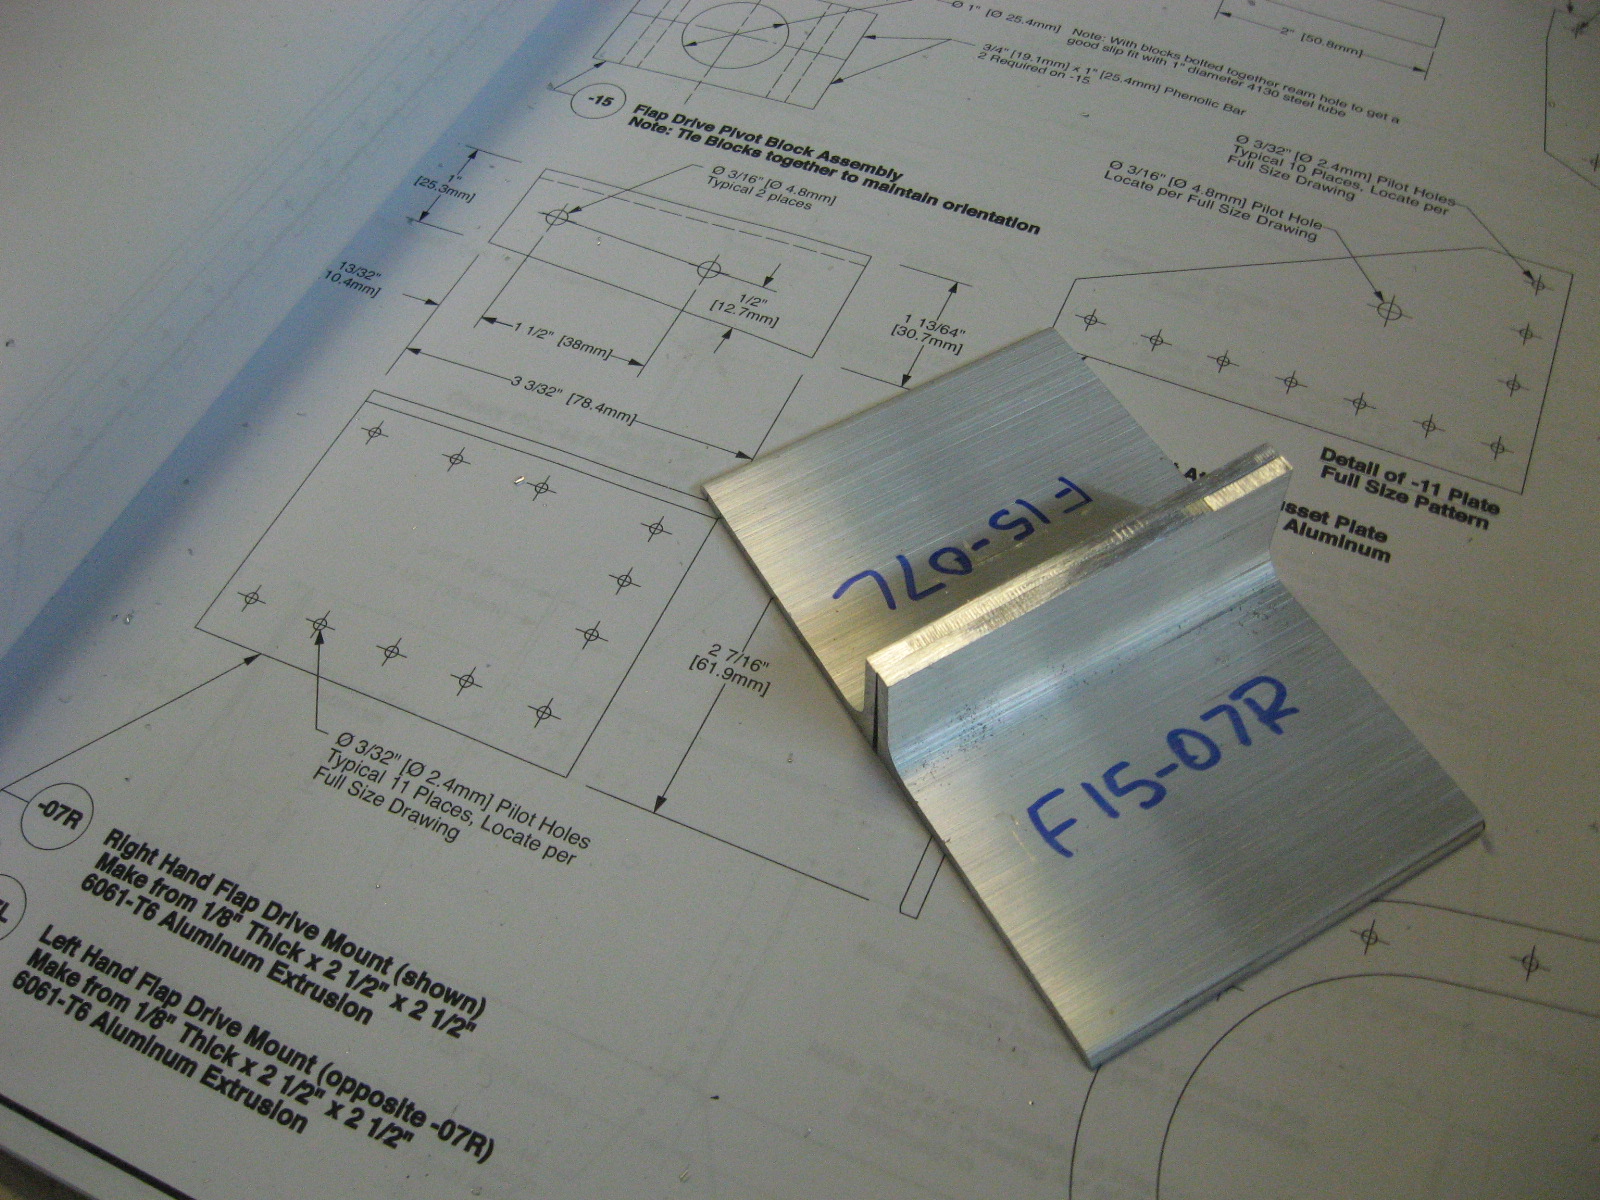
I assume the dashed lines in the plans indicate a hidden corner, so this drawing is showing what I would consider to be the bottom of the part. Update: I was reading this guy’s build log who made this part first and cut it the wrong way around, so I am reasonably convinced that I did it correctly.
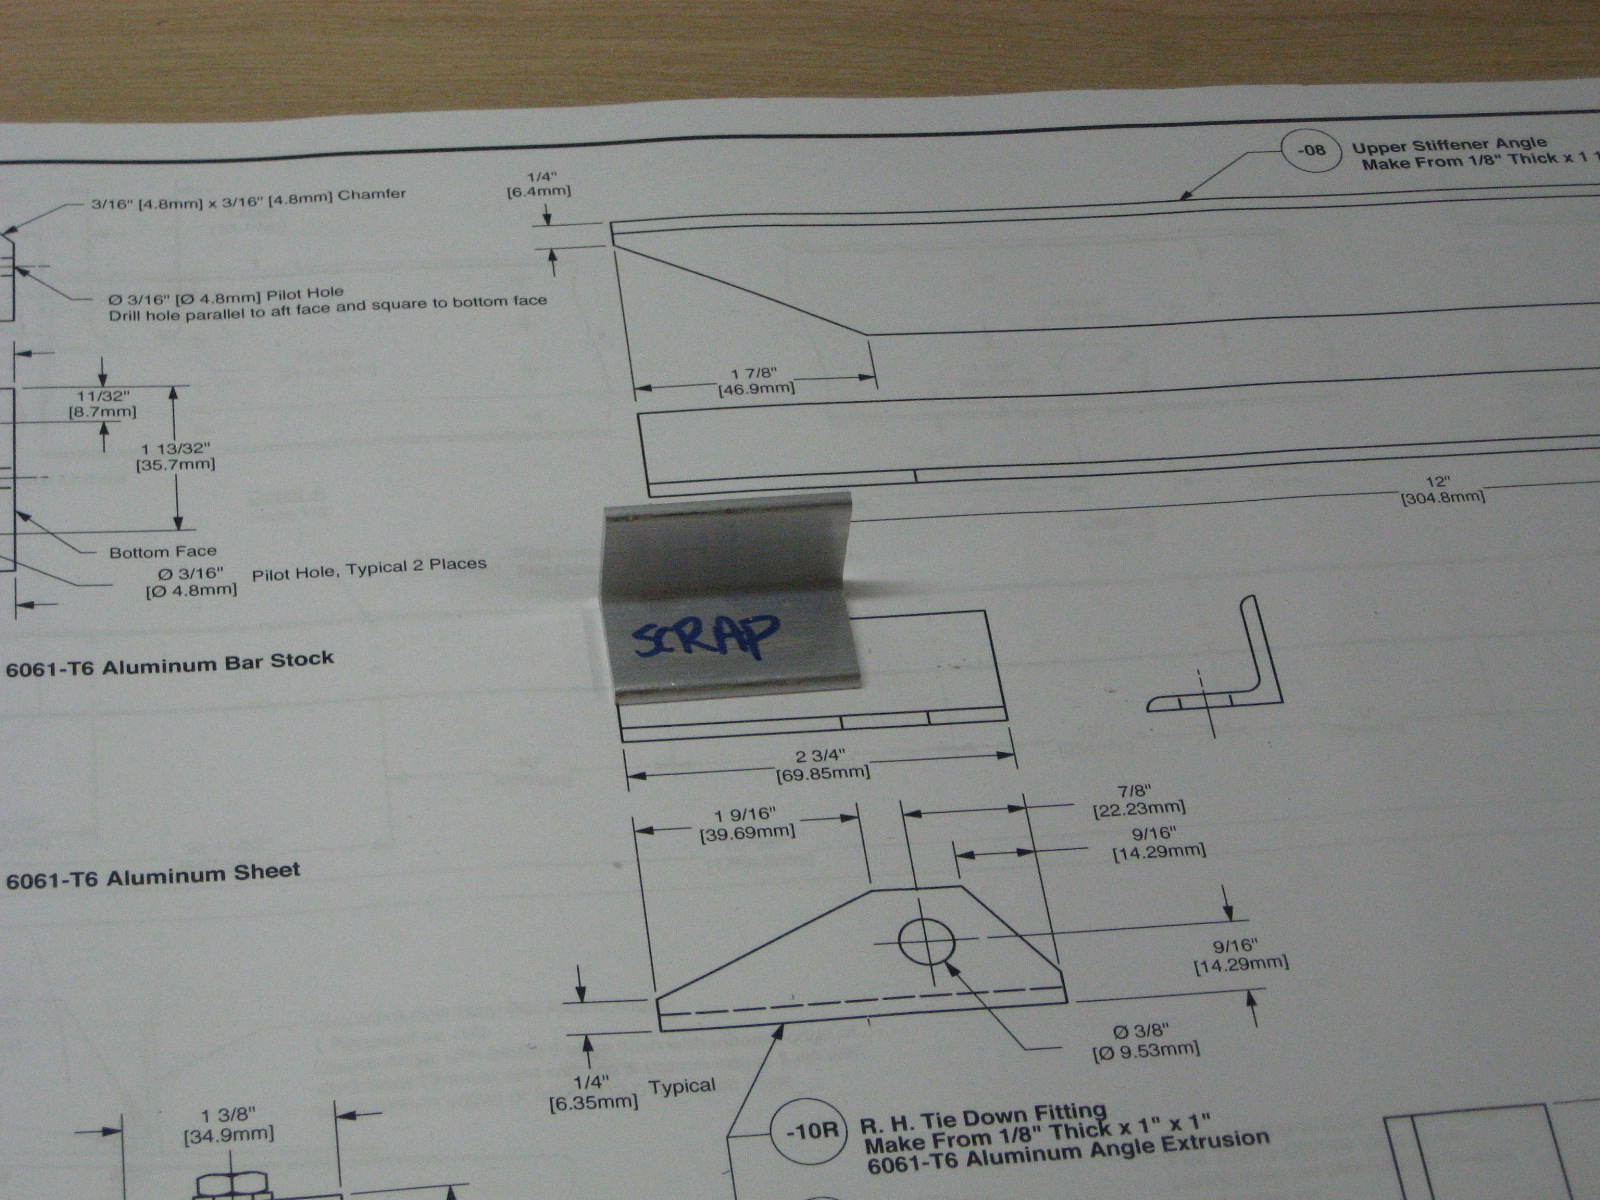
I also made my first mistake (that I know about anyway). I’ve been measuring from the 1 inch mark on the steel ruler to get a precise measurement and finally cut an inch too short on my last cut of the evening. Maybe had I not made the mistake I would have continued working?
Aluminum Angle Kit 2
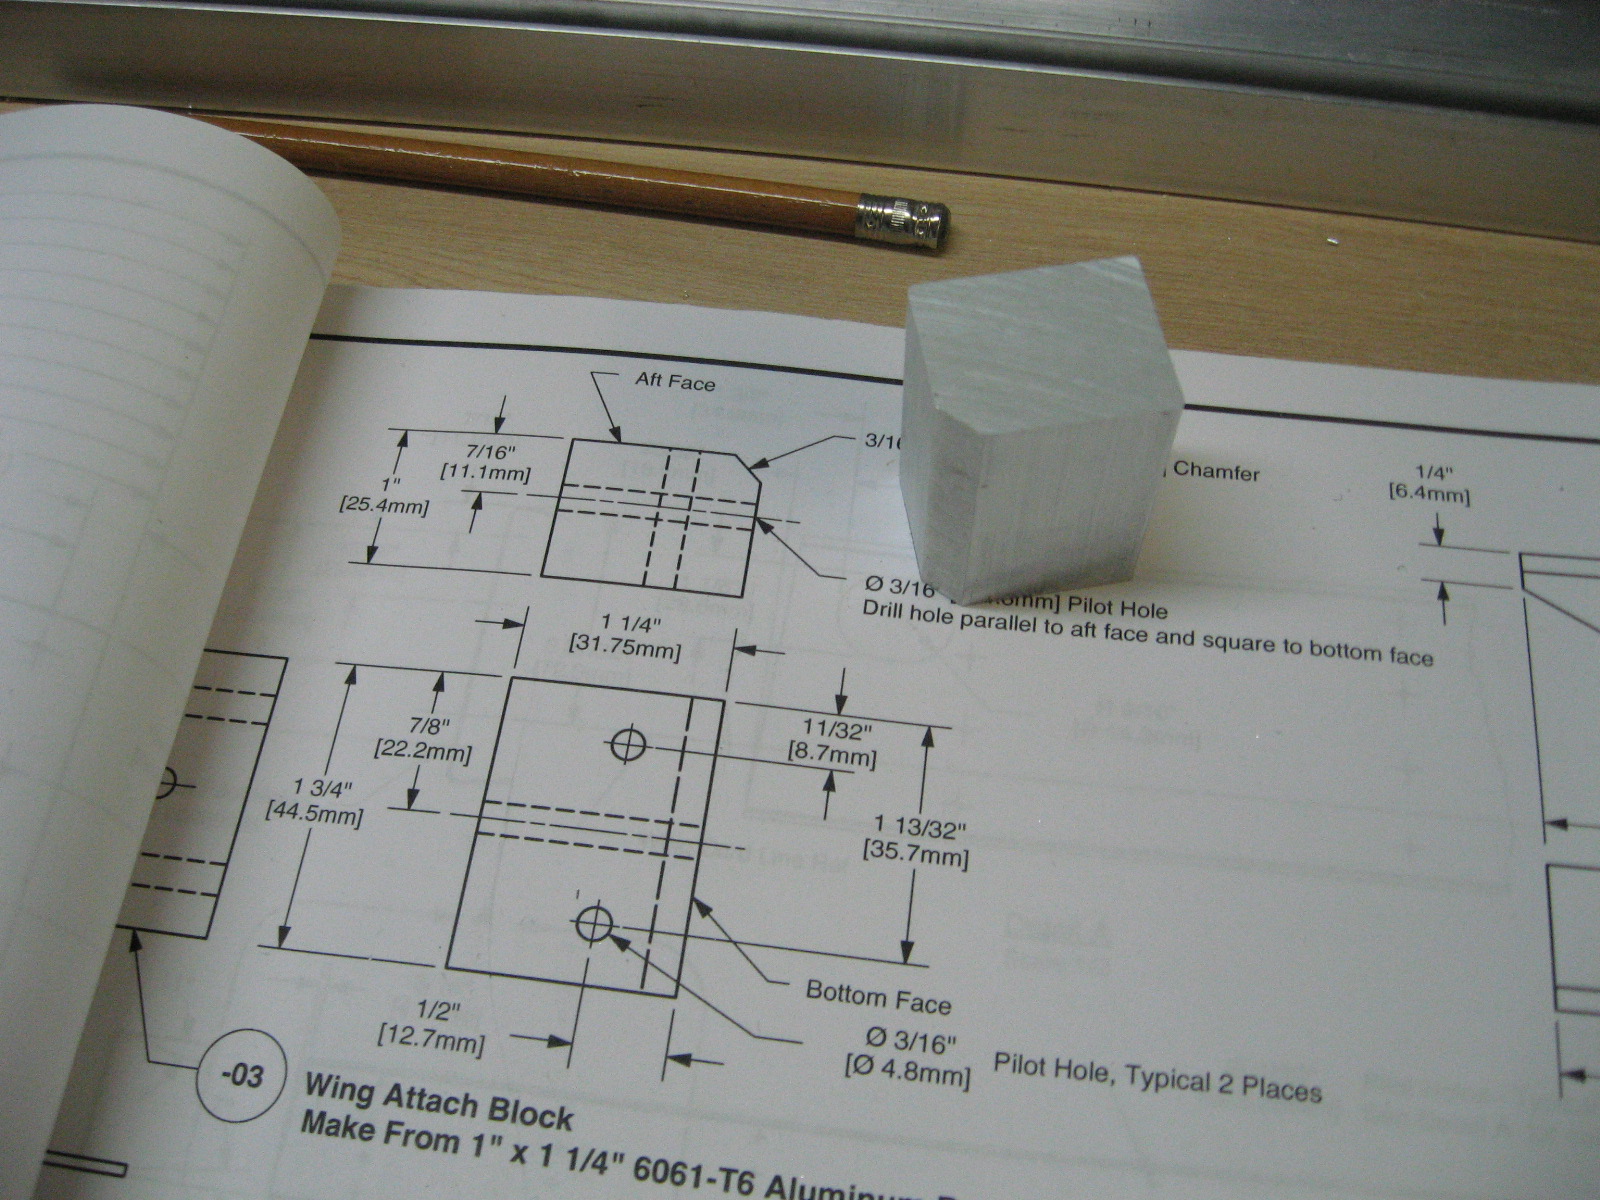
My parents got me a nice Dewalt 715 compound miter saw and a real aluminum-cutting 12″ 96 carbide tooth sawblade for Christmas. I decided to put this to use cutting the wing attach blocks which are cut from a 1″x1.25″ block of solid aluminum. I figure if the saw will cut this it will cut anything. Also, there is a 3/16″ beveled edge that had been worrying me as I have not previously had much luck with my band saw (I was tempted to do this bevel with the compound miter saw, but could not think of a simple, safe, and accurate way of making the cut).
A lot of builders seem to recommend using a wood-cutting blade on the bandsaw to cut aluminum, but I couldn’t tell if this recommendation is just to save some money or is because a wood-cutting blade is actually desirable. My experience has been wood-cutting and metal-cutting blades are priced similarly at Lowes, but the selection of blades that fit my saw is small. The woodcutting blade I tried had a kerf that is about 10x wider than the actual metal of the blade and seemed to be gouging its way through the metal causing a ton of vibration, leaving a terribly ragged cut, and cutting much slower than I believe a blade with a smaller kerf would have. Unfortunately the kerf width is not labeled on the packaging, so you can only eyeball it. I decided to try a metal cutting blade and haven’t looked back since–the cuts have been fantastic.
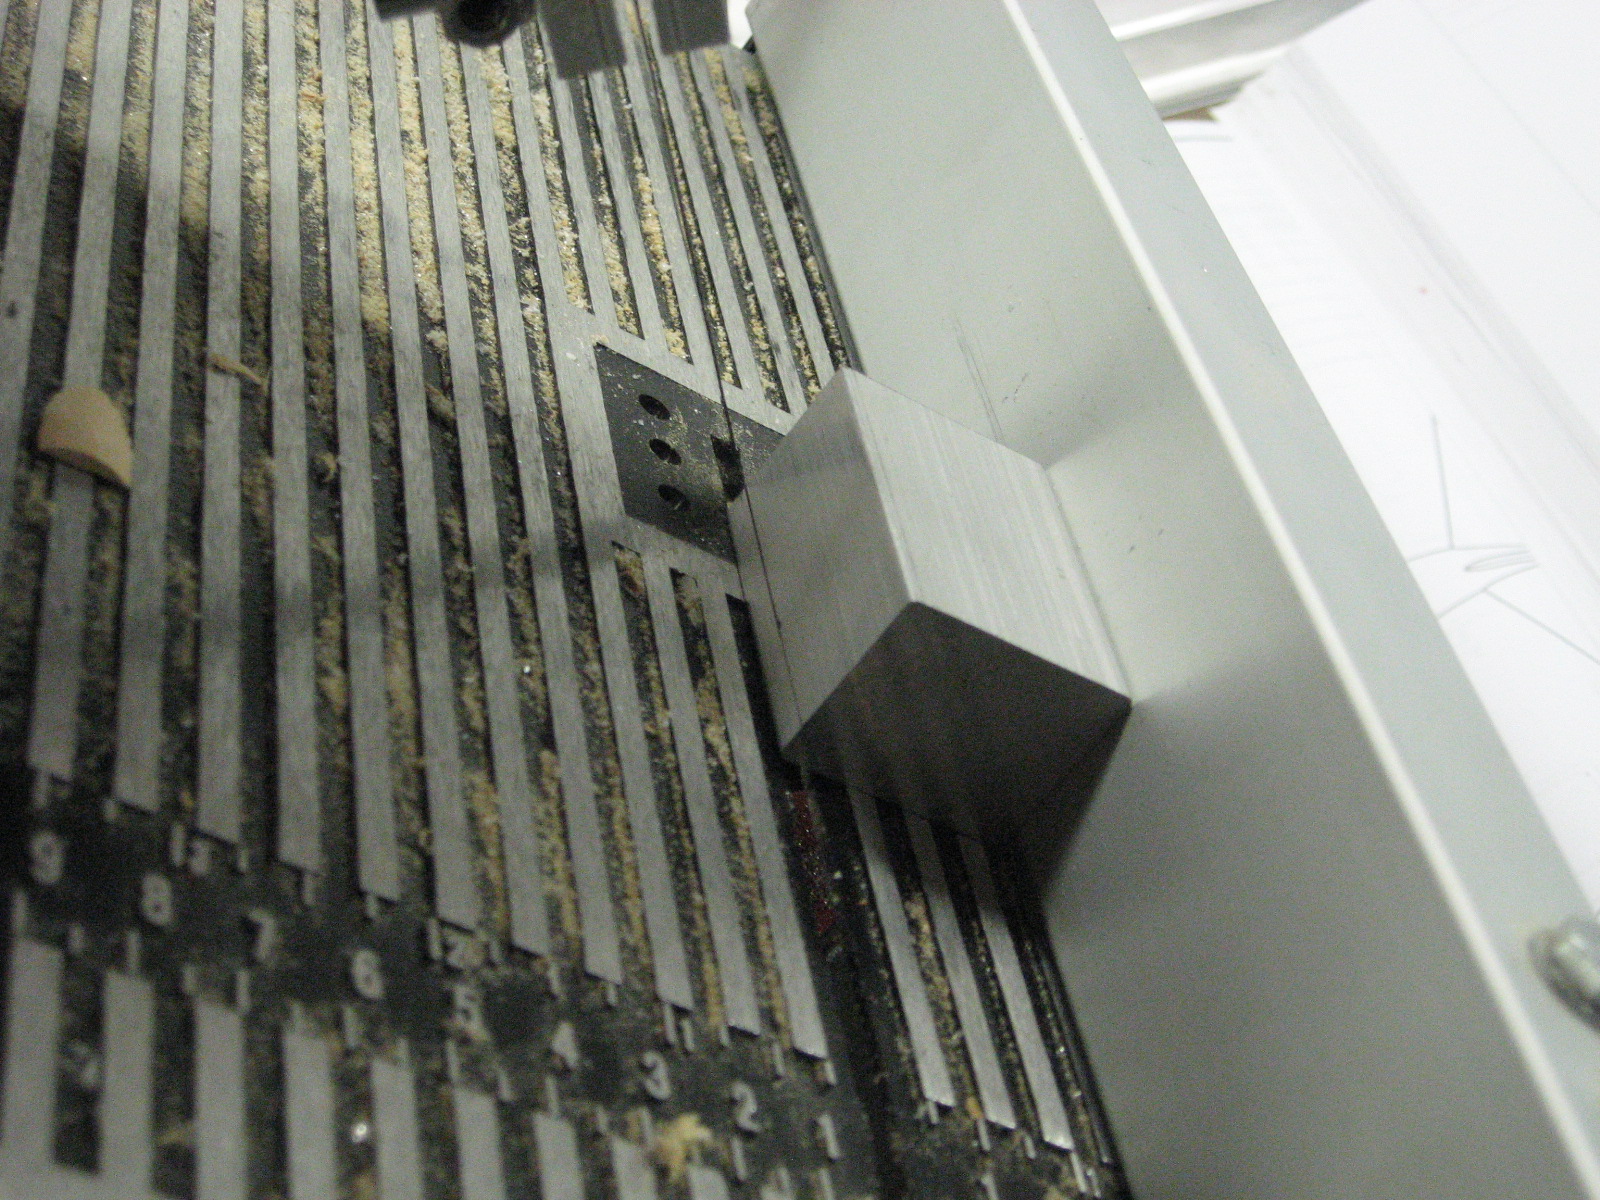
Here I have tilted the bandsaw table 45 degrees and set the fence for a 3/16 inch bevel. The desired cut path is drawn in using a black sharpie. The cut went great even though I was initially worried the blade might drift and there would be little I could do to correct for it with the fence in the way.
Here is a part after being cut to size on the miter saw and beveled with the bandsaw.
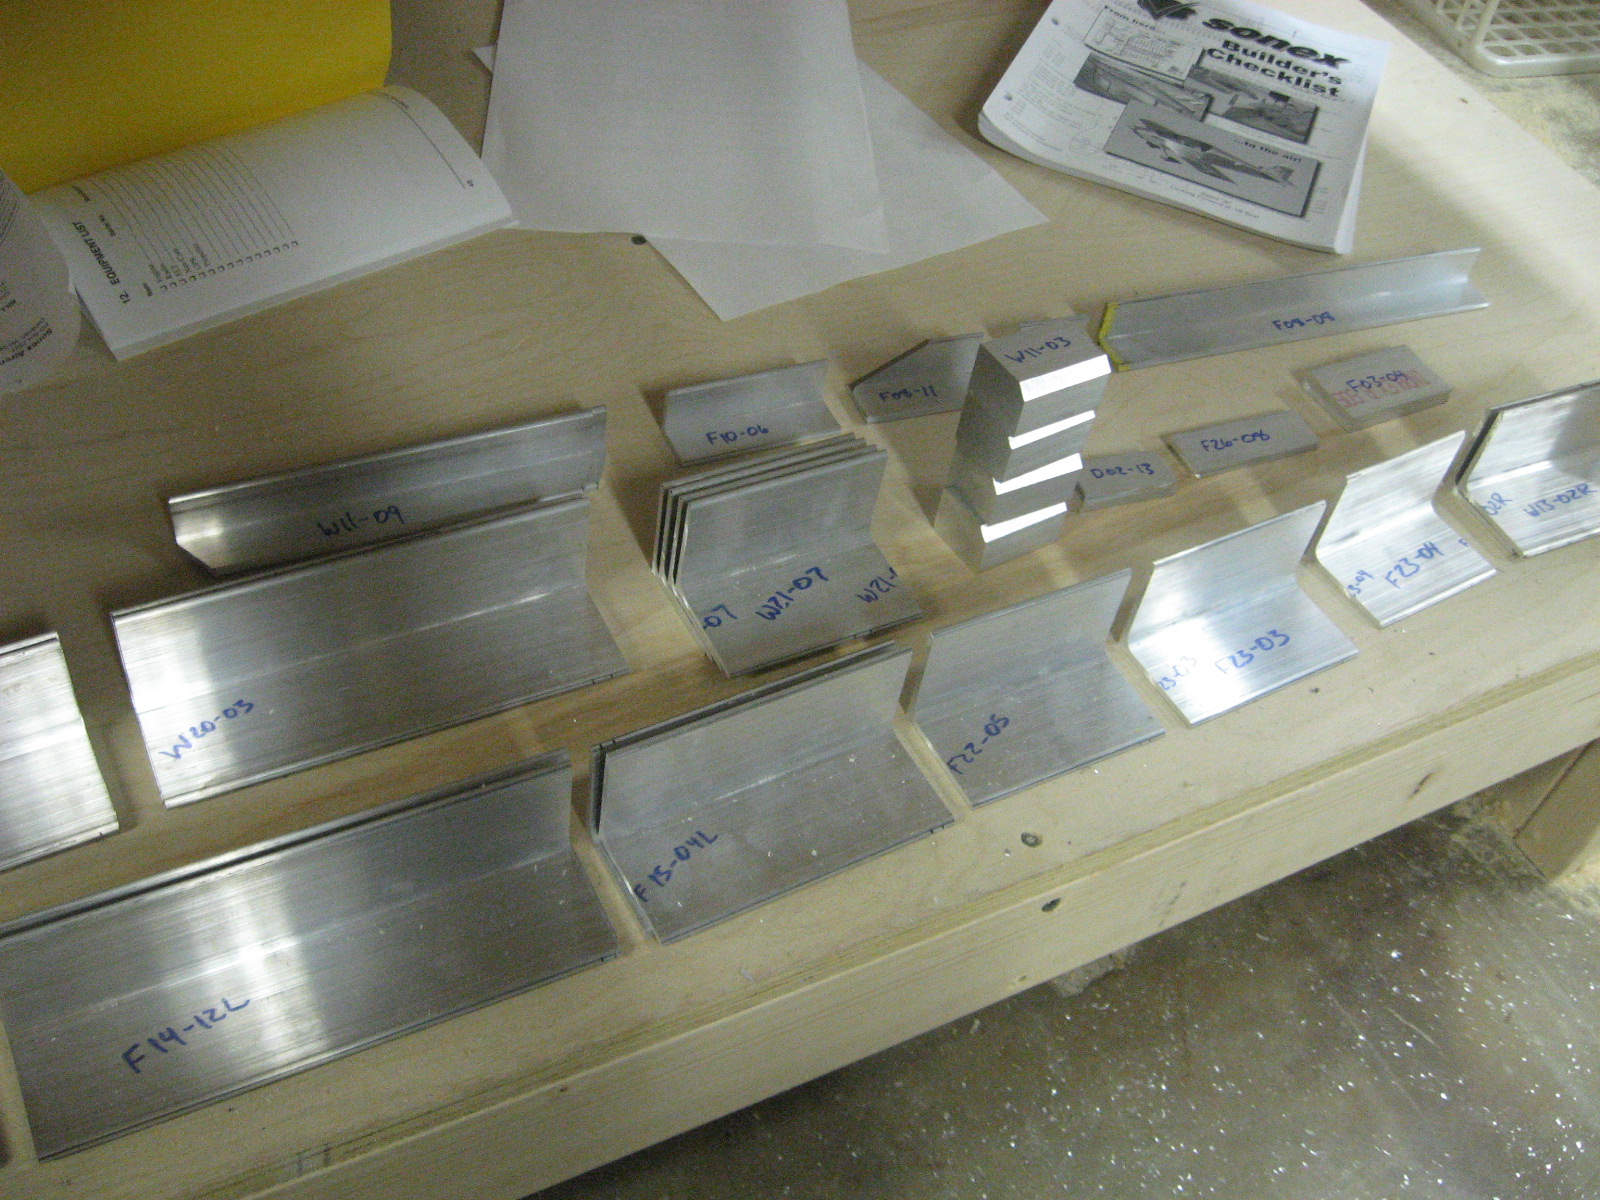
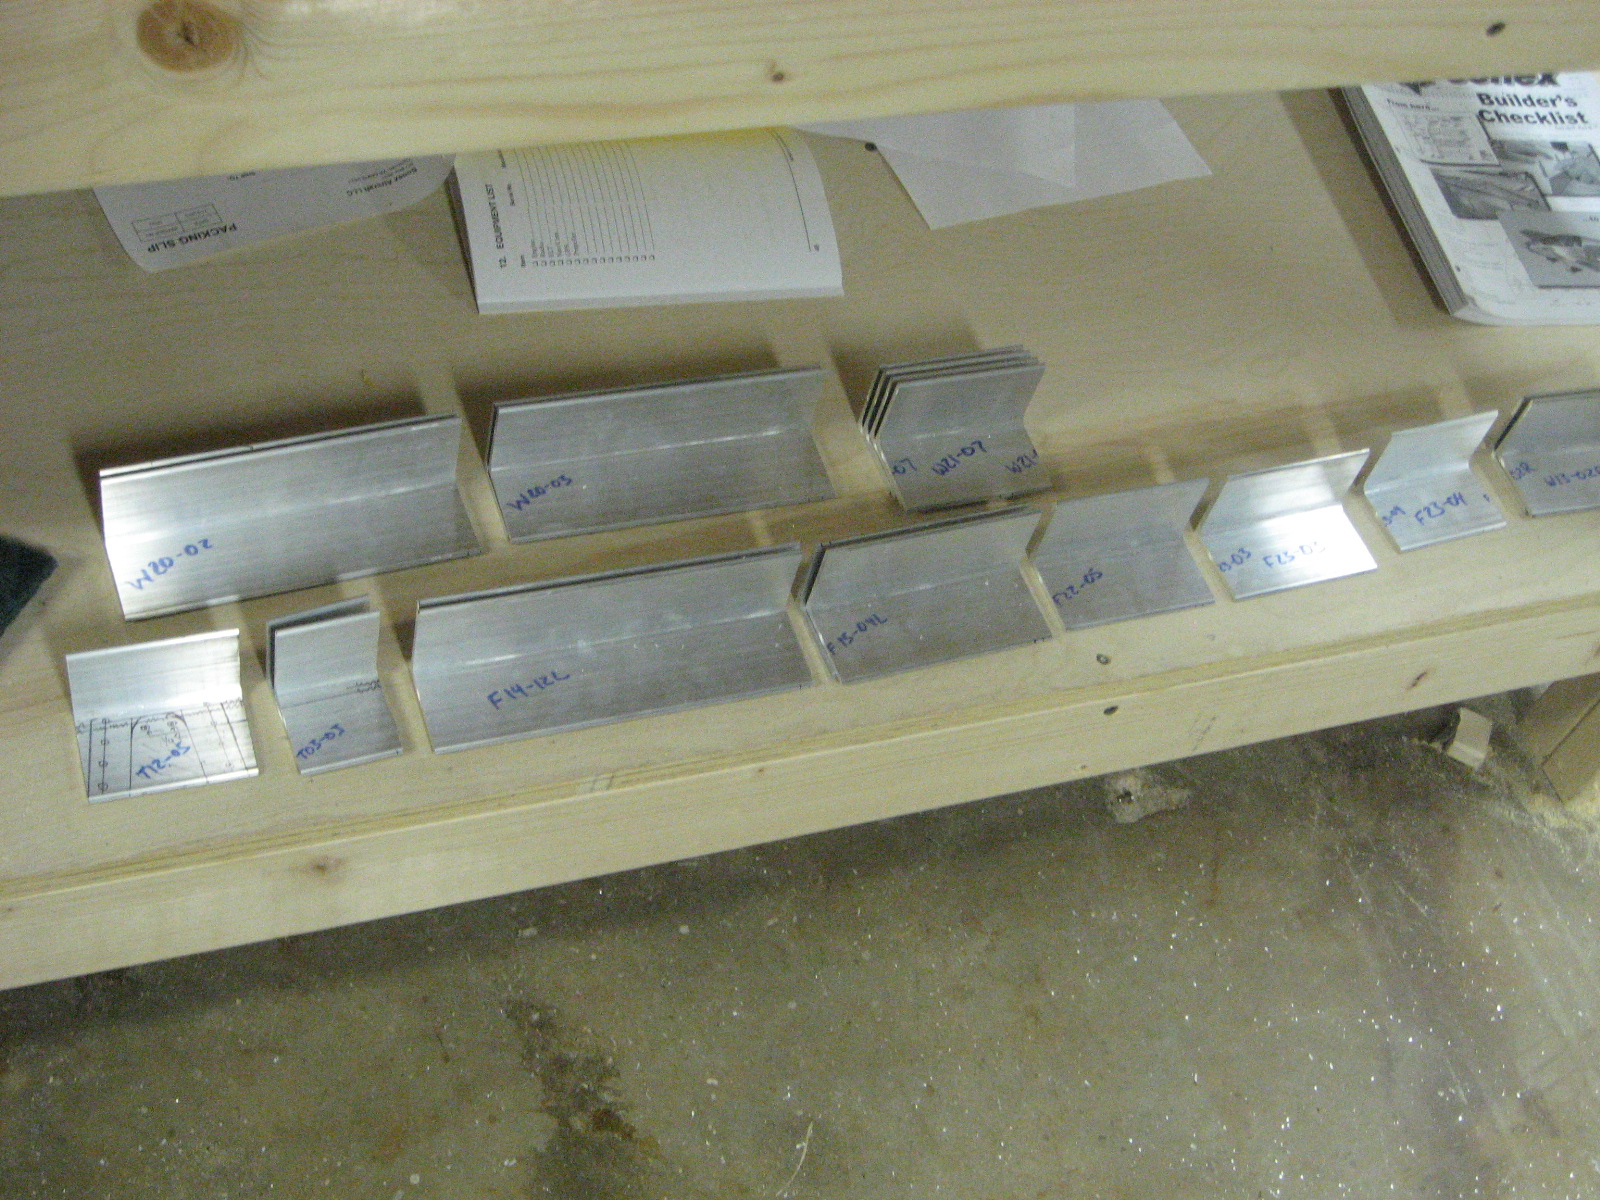
Before making these exciting cuts I cut a bunch of aluminum angle to size for various parts.
Flight School Day 34
I’m two weeks behind now.
On September 19, 2008 I flew to McMinnville, Tennessee for my check-ride with Bill Barton. Aaron came along for some last minute preparation and so if I failed something simple he would be able to train me on it some more and I would be able to retake the test. Apparently a student pilot recently forgot to set his directional gyroscope for the cross-country portion of the check-ride and they ended up so far off course he was lost and unable to complete the cross-country portion without help.
I didn’t think to bring my checkbook to pay the examiner but just before we left Aaron reminded me and I went to the nearest bank ATM to withdraw the $350 fee. The flight to McMinnville was nice but it became apparent that desire for nice calm winds was not going to happen. The wind was almost perpendicular to the runway when we landed.
Then I met Bill Barton and we did the oral portion of the test. He asked a bunch of questions about flying and flight preparation. I did pretty well but I did learn a few things I was unaware of in the process like how to find the frequency for the Flight Service Station and what frequency to use to contact them if they talk back on a different frequency than the one you contact them on.
For the flying portion of the exam I prepared a really long cross-country flight. That we were supposed to start out on after takeoff. In Madison County we have runways 18 and 36 which align nicely with North and South. McMinnville has 5 and 23 which run North East and South West. I thought I was taking off North East when I was actually going South West… a mistake I’ve never made before so what better time to make it than on the check-ride. Because of this I turned opposite of the way I needed to go before I checked my heading and realized the mistake I made. I didn’t realize this but Aaron was getting very worried until I turned some more to get on course.
Mr. Barton had me indicate when I could see the first checkpoint which was Woodbury. He also had me point out specific mountains and terrain on the map. When I pointed out Woodbury he said to pretend we had to make a diversion due to bad weather to Smithville and take us there. The trick to this was figuring out the course to fly without a precise calculation and by reference to terrain on the map. I got us there without any problem. When we arrived the weather report said we again had almost complete crosswind.
I flew downwind and started turning base when I realized my downwind was too close to the runway for me to make the turn all the way to final without some insane banking. I was also way too high. So about when I turned final I did a “go-around”. This time I was farther from the runway when paralleling it on downwind. Still, when I turned final I noticed I was way too high and performed a slip to lose altitude. Mr. Barton said, “Good! I was going to ask you to demonstrate a slip anyway.” That landing turned out well. This airfield didn’t have much in the way of taxiways so we used the runway to taxi. We also decided that above the ground I must have a tailwind on final that gets dissipated by the surrounding trees and terrain and doesn’t register on the windsock. So we tried a flight around the pattern in the other direction and everything turned out better.
He then had me perform stalls with the power off. And 360 degree steep turns to the left and right. On one of my turns I was watching for a road and stopped on a different one and only did a 270, so I tried again :-) He seemed pleased. Then we did some unusual attitude recovery while I was wearing my “foggles” to prevent me from seeing outside. They weren’t as wild as some Aaron had given me and I recovered from them. The air was pretty bumpy during the entire flight and as a result there was a pretty good jolt while I had my eyes closed waiting for him to get the airplane in an unusual attitude… I suspected it was him trying to make things difficult, but he said it was just a gust.
We then flew back to McMinnville and he had me do a short field landing on the thousand foot line which I did. We then taxied back to the FBO and he said I passed the checkride and am a private pilot.
After I payed him the $350 he took us out to eat.
Flight School Day 33
Today was more practice for the check ride.
We started by practicing a soft-field takeoff where you get the airplane off the ground as early as possible and fly in ground effect until you pick up speed and begin climbing. We flew the pattern a few times and practiced short field landings where the idea is to get the airplane on the ground as close to after a specified point as possible. I still come in a little low on final approach, but it was much better today than it has been.
We then practiced flying “under the hood” with only reference to the instruments–this went well and we practiced unusual attitude recoveries as well.
We then performed some power on stalls where you get the airplane at around takeoff speed, apply full throttle, and pull up to simulate a stall on takeoff. On one of the stall attempts, Aaron cut the throttle and I recovered by immediately pitching the nose down. He was trying to see if I’d pull back, worsening the situation.
Then we climbed to 4,500 feet and practiced spins. The first time he had me spin once and recover after two rotations on the same heading. I came out just about exactly on the right heading. So we climbed and he told me to count the revolutions until I got to three and then begin recovery. Around three revolutions the spin stabilizes and it ended up taking about another revolution after I started recovery before the spin stopped.
When we got to the airport we did some more short-field landings and everything turned out really good.