Tables

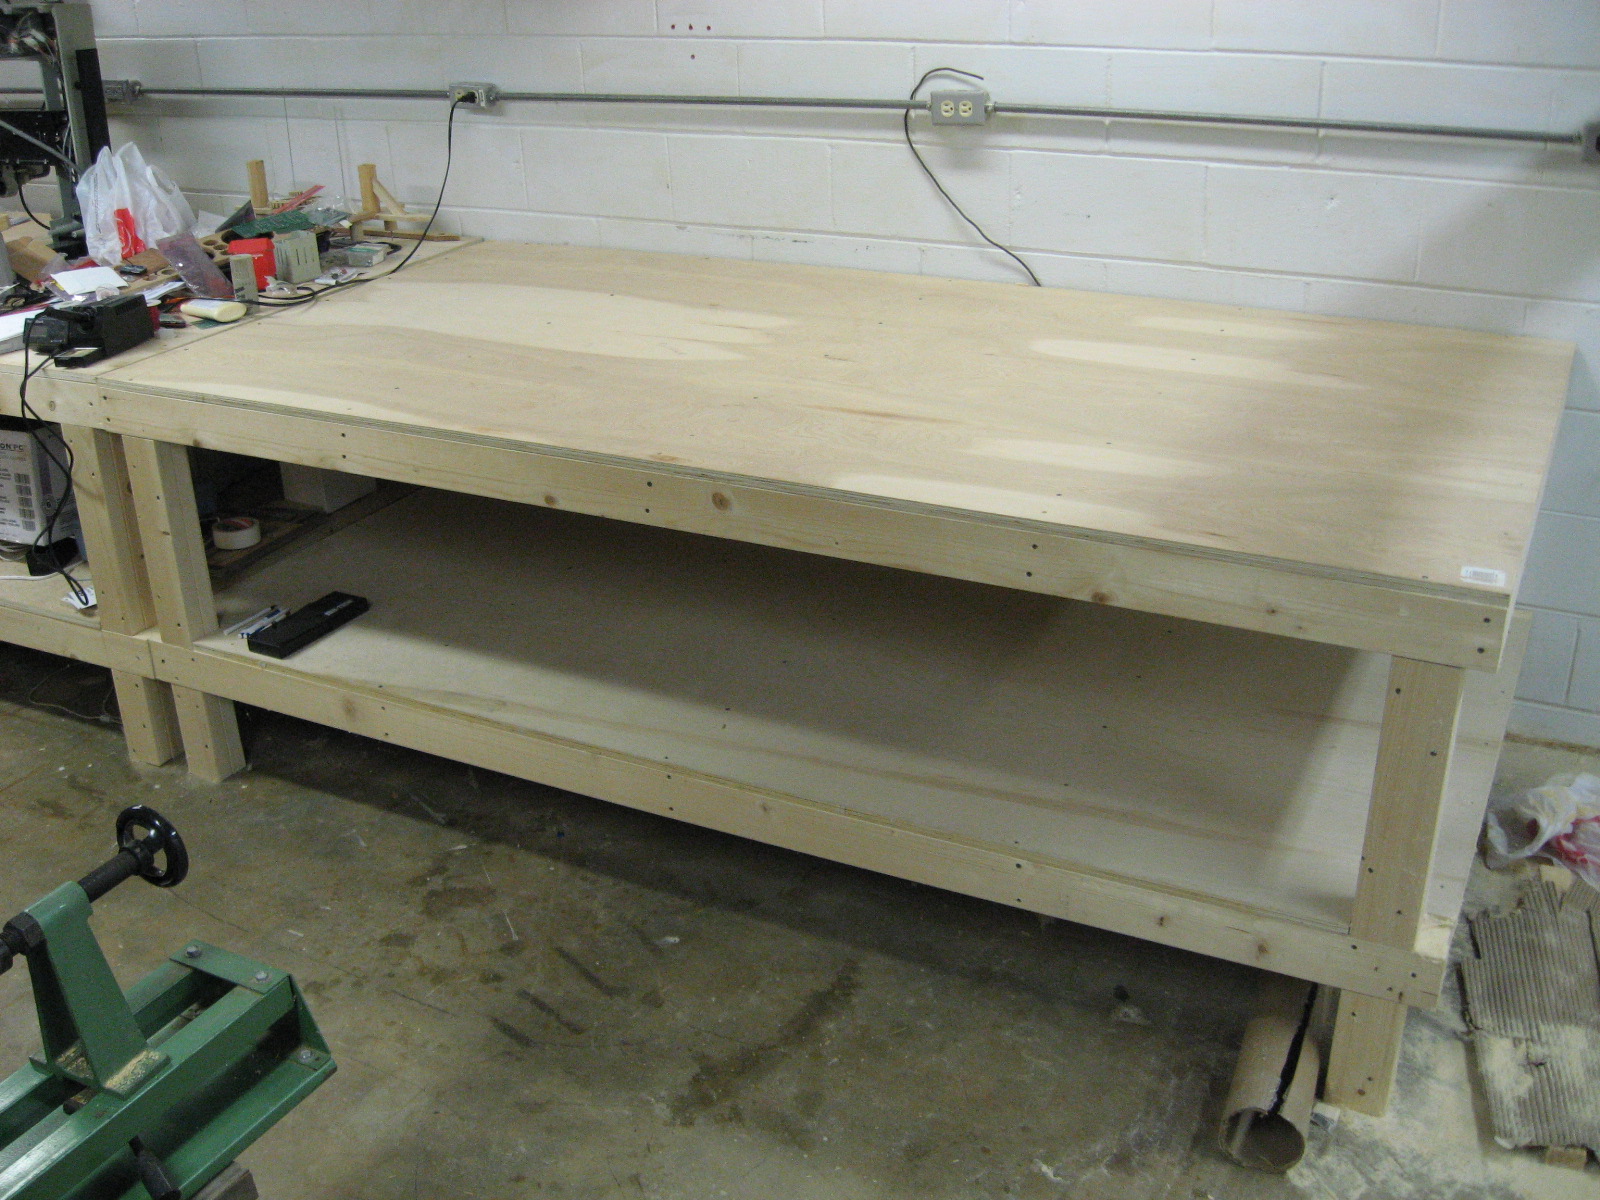
My dad helped me build these large 8’x4′ tables in anticipation that one day I might decide to build an airplane in the basement.  Here I have cleared off one table with the goal that only airplane-related items will touch it.

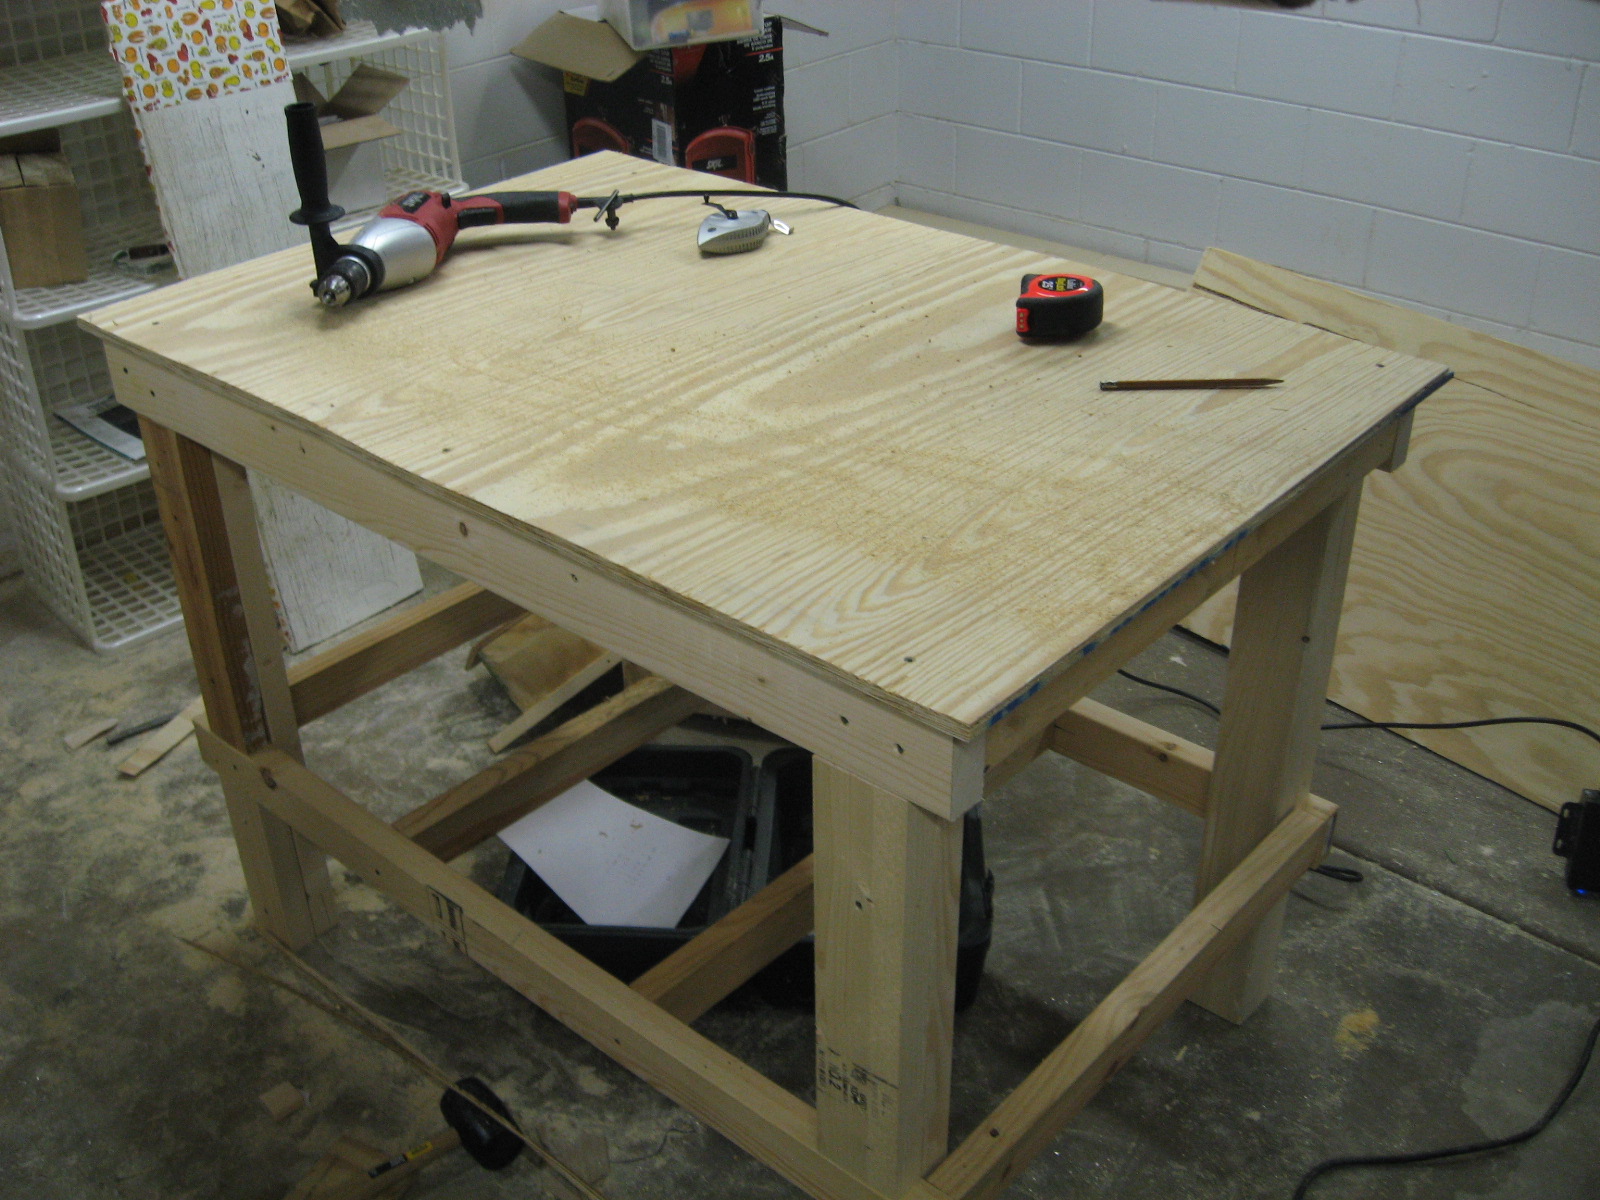
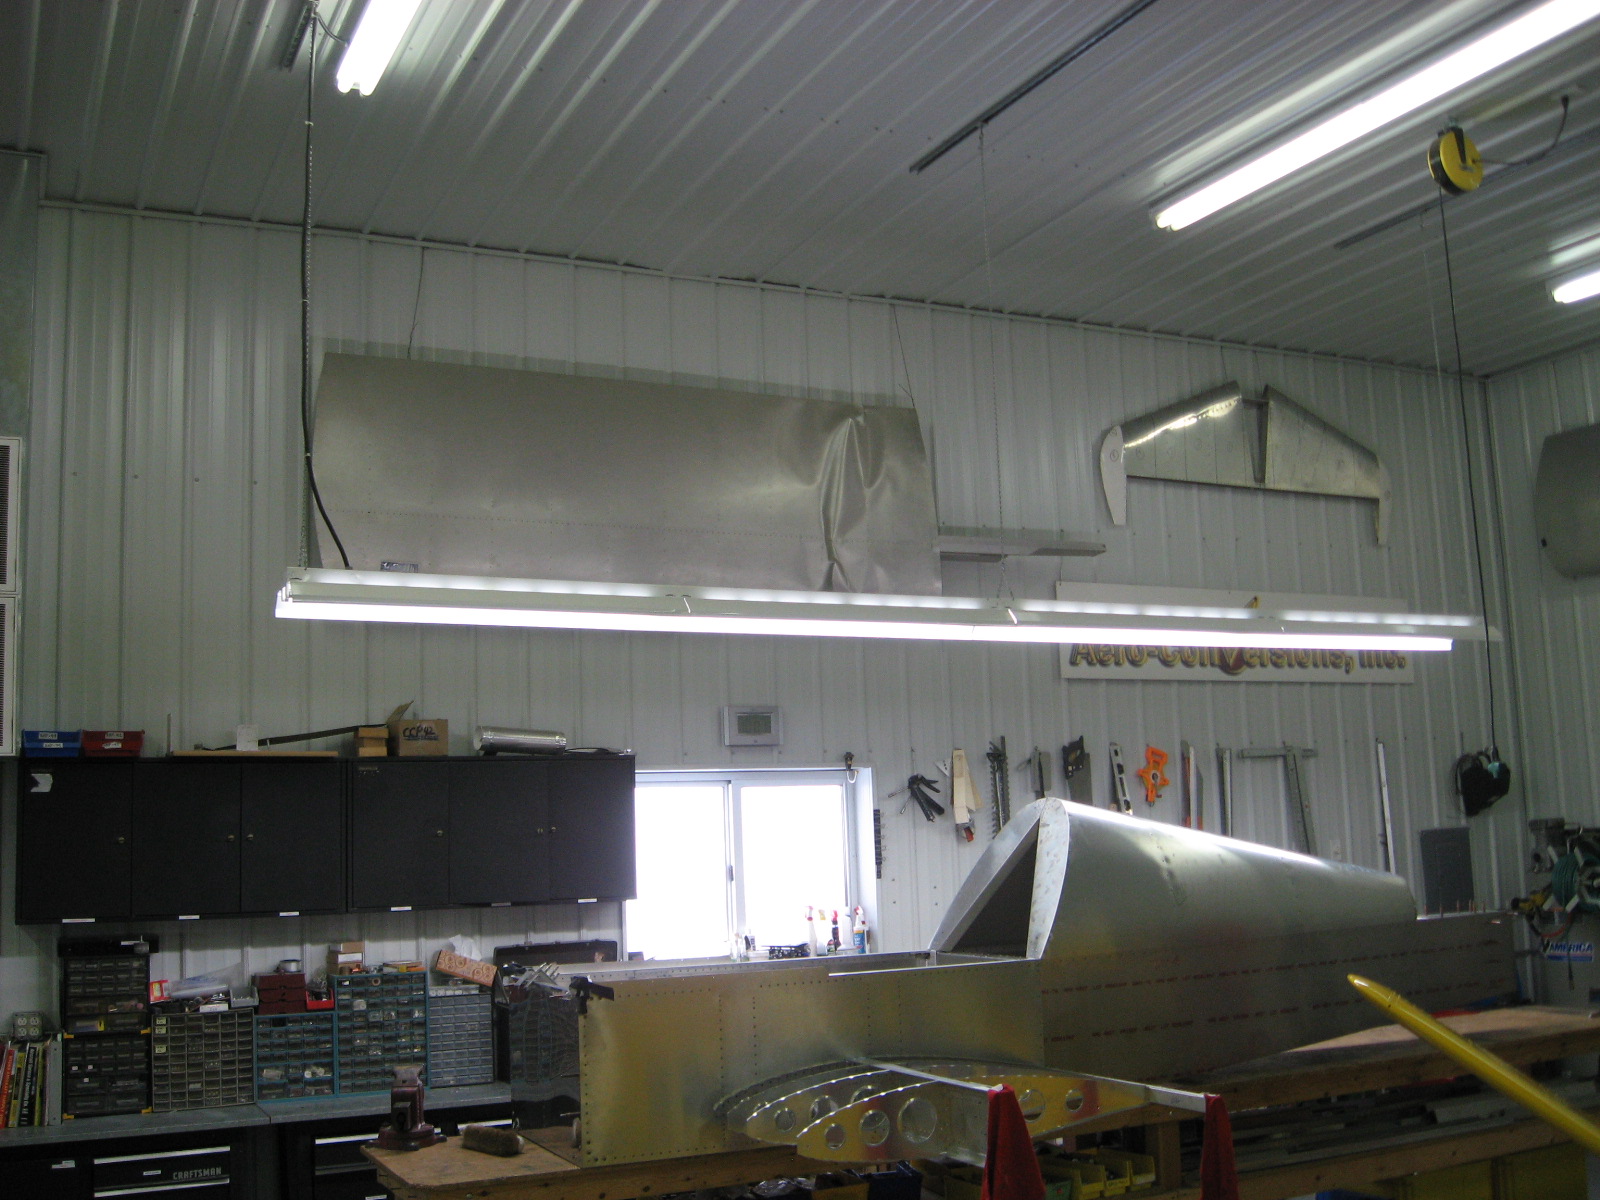
When I purchased the tail kit I decided I would like more workbench real estate.  I made this smaller workbench to keep my larger tools off the main work area.

Here I think I have found a good home for the new workbench and am trying to find the best positioning of the tools.

Tail 1

I purchased a mostly-unused tail kit from a builder in Georgia.  I was able to meet him half-way to save on shipping costs, but I totally forgot about the time zone and arrived half an hour late instead of early like I was hoping to.

He completed the rudder horn assembly to pretty high quality.  He also drilled one of the piano hinges.

Aluminum Angle Bundle 15

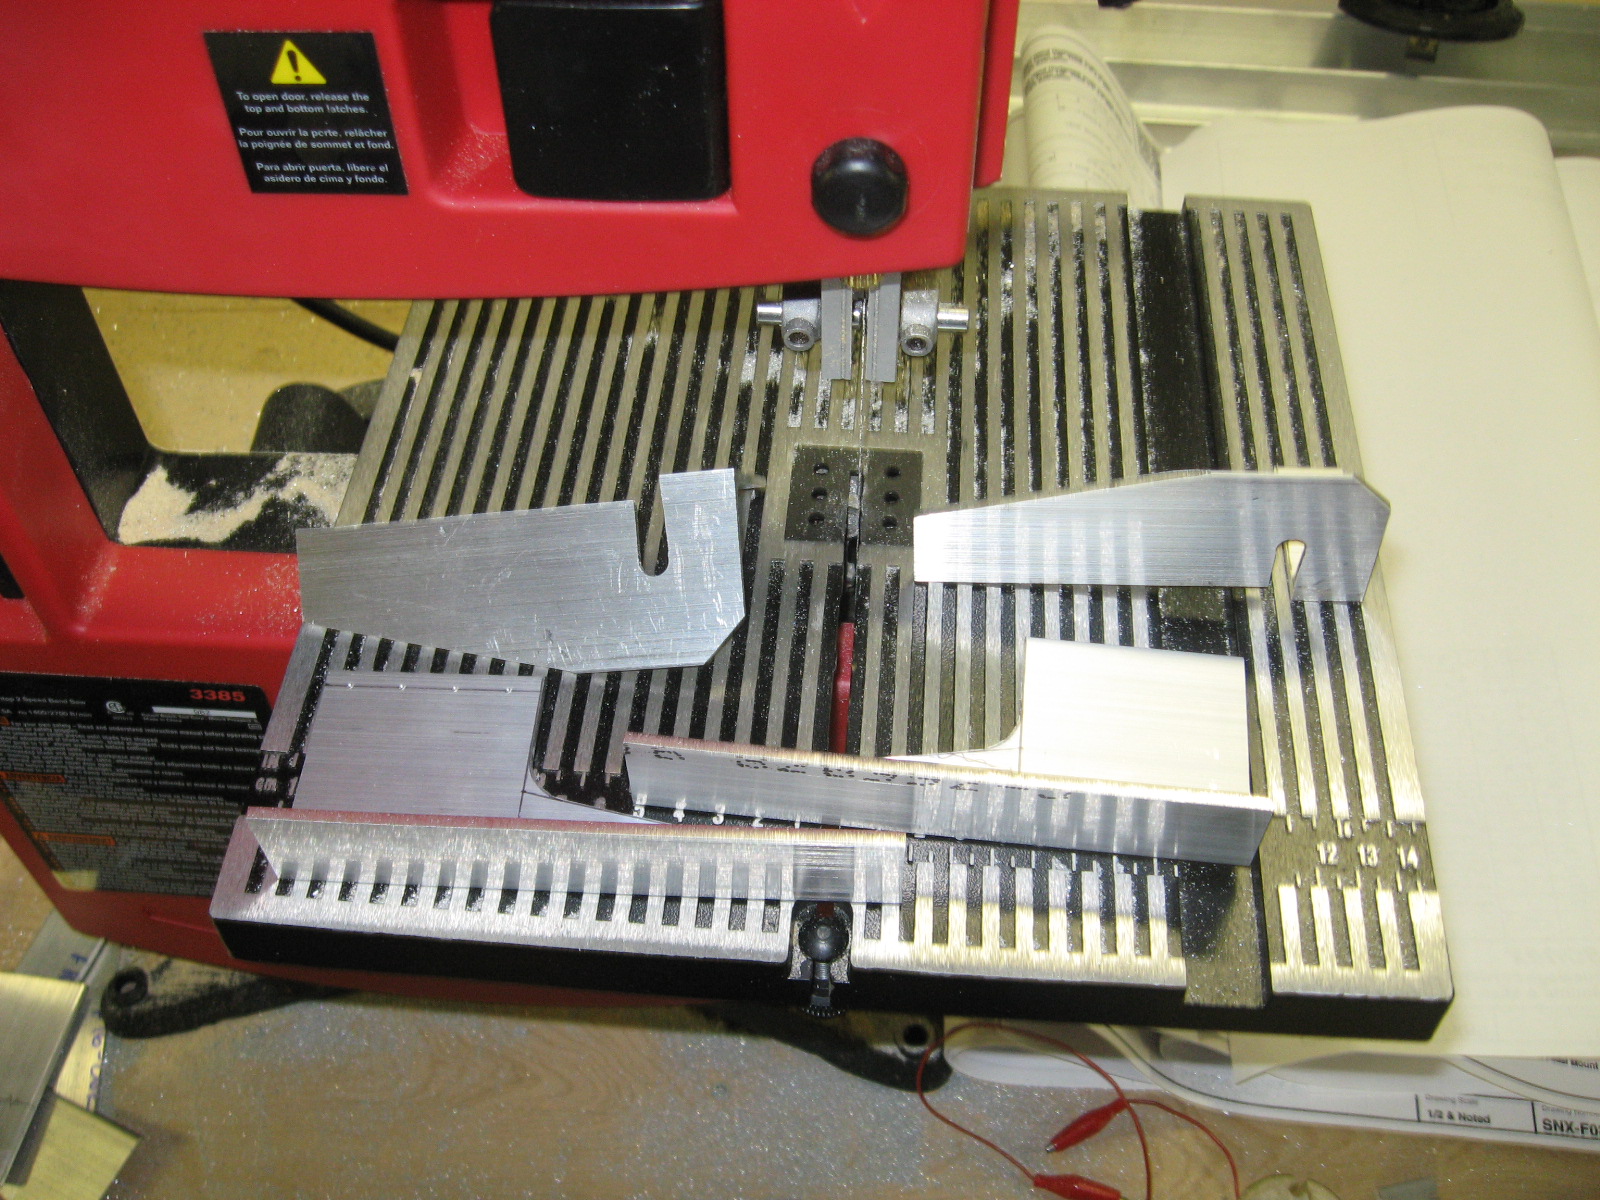
I cut the parts I previously drew in SolveSpace.  I noticed one of the parts had been rough cut too small–I cut the dimension for one side of the angle and didn’t notice the other side was longer.  Instead of fixing it, I decided to cut out the rest of the parts out of that sized angle to make sure I will have enough–looks like I will.

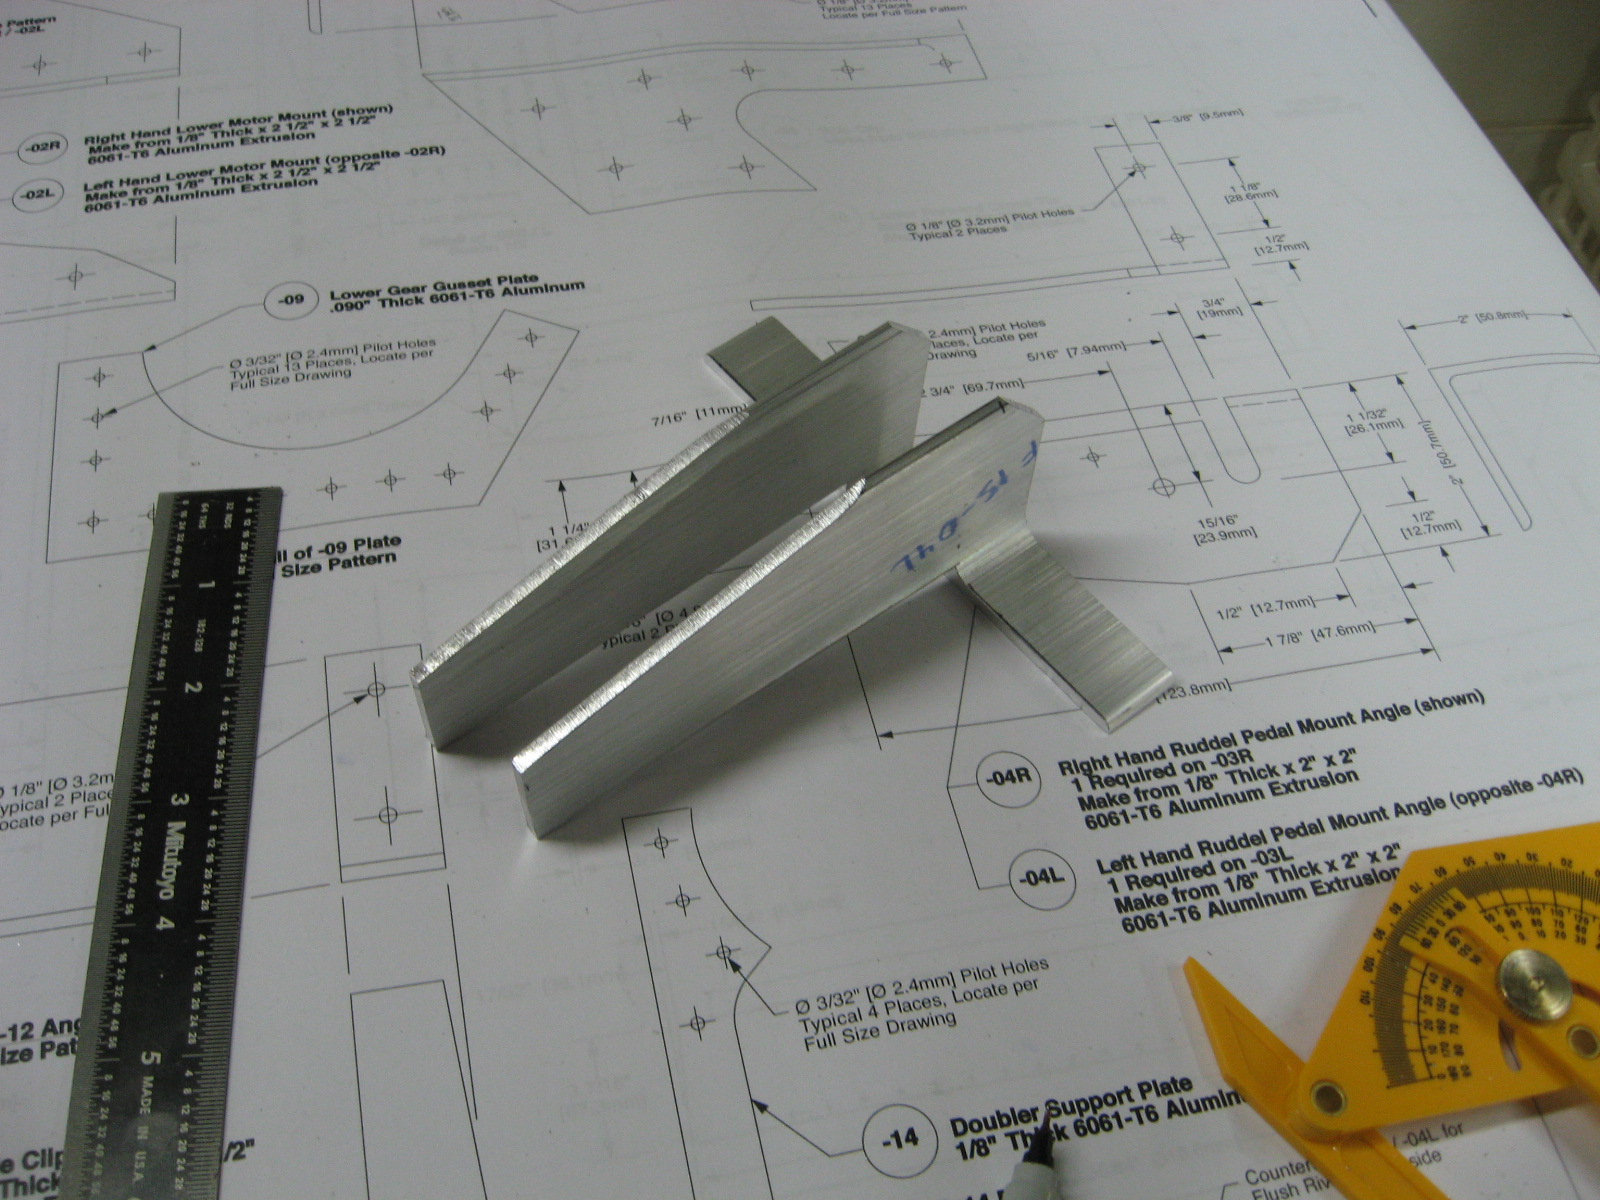
Some of the longer pieces have measurements to within 1/32″.  My 3 foot ruler only does 1/8″, but it also has a mm scale, hence the graphing calculator in the image.  I’m pretty sure I could have fudged it, but this is half the fun.

Edit: I later noticed the plans also show millimeter measurements, so no need for the calculator.

Almost forgot to mention I bought a 3lb hammer and used it to open the two small parts to 95 degrees.

Sonex Workshop

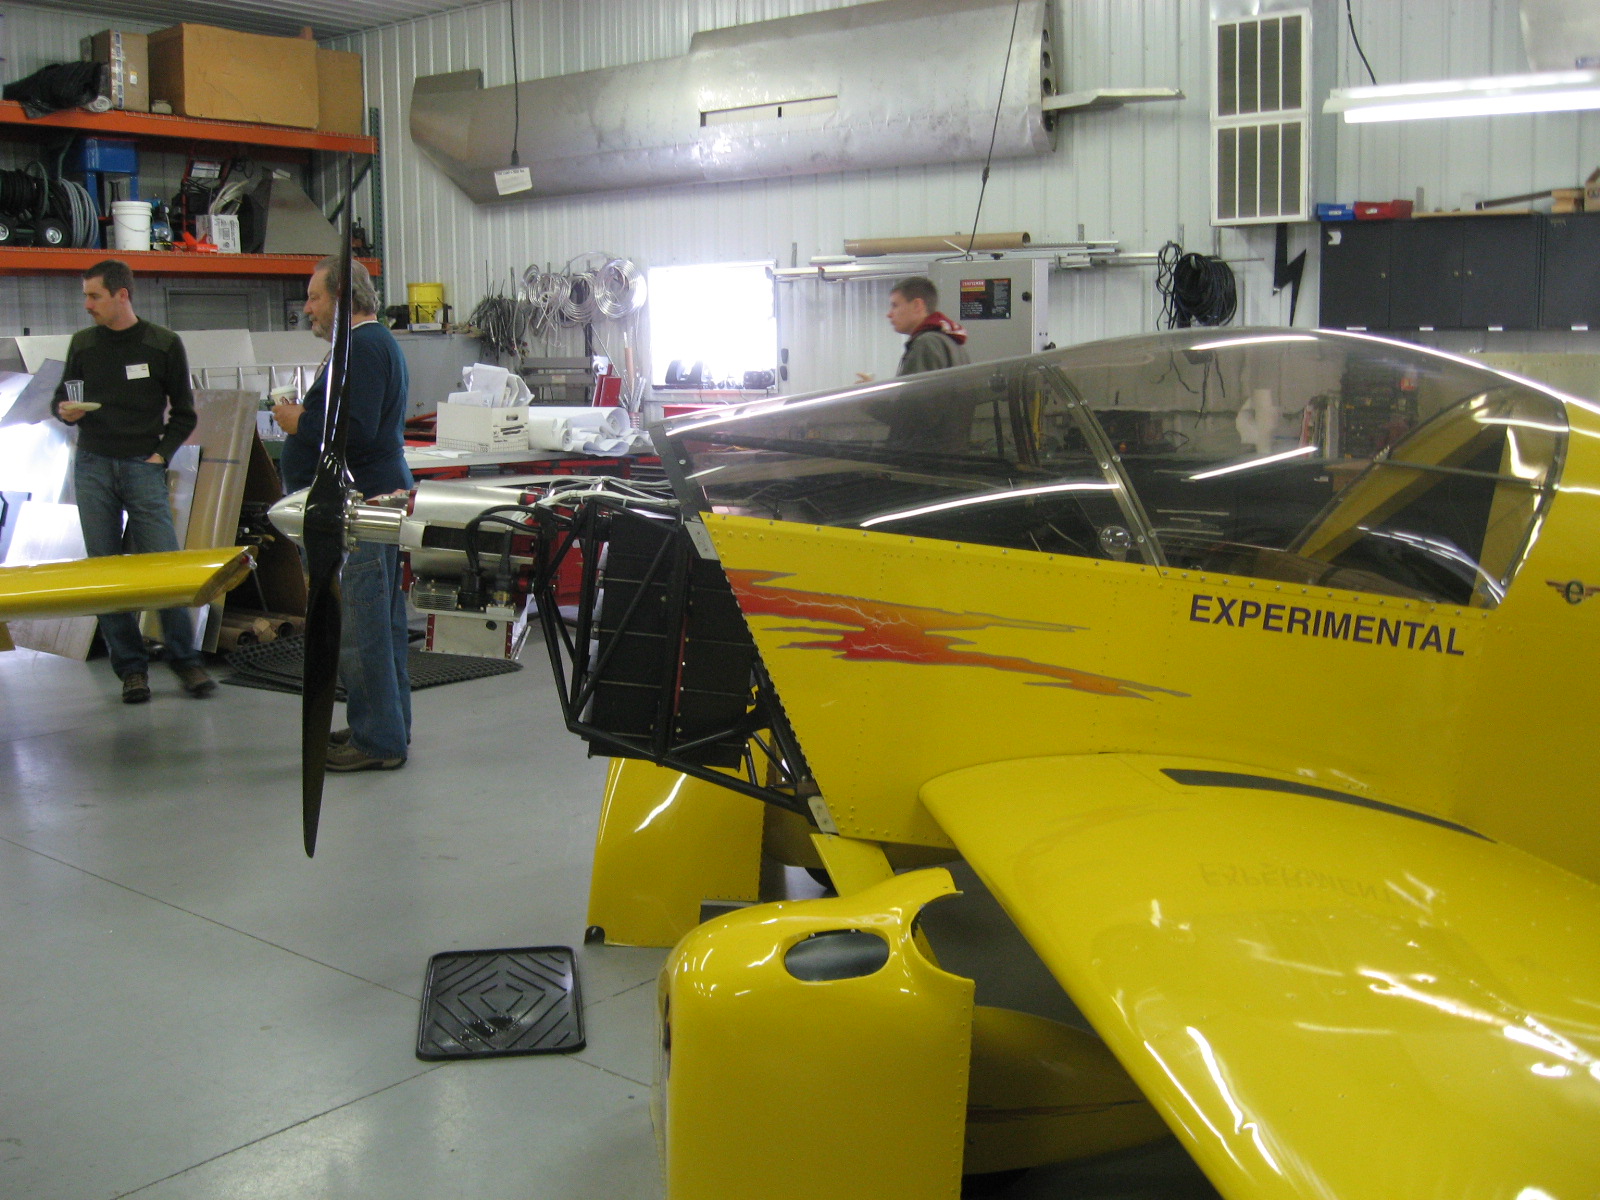
We decided to attend the Sonex builder’s workshop in Oshkosh, Wisconsin.  We were a little worried we might not make it due to the blizzard a few days prior, but the drive was pretty smooth.

We drove through the impressive Fowler Ridge Wind Farm.

The snow from the blizzard we missed was piled up everywhere as we ventured further north.

We were given a tour of the warehouse where they have all the nice laser-cut parts.  Some of the parts I have chosen to make myself and it was fun to see parts I have already made on the shelves.

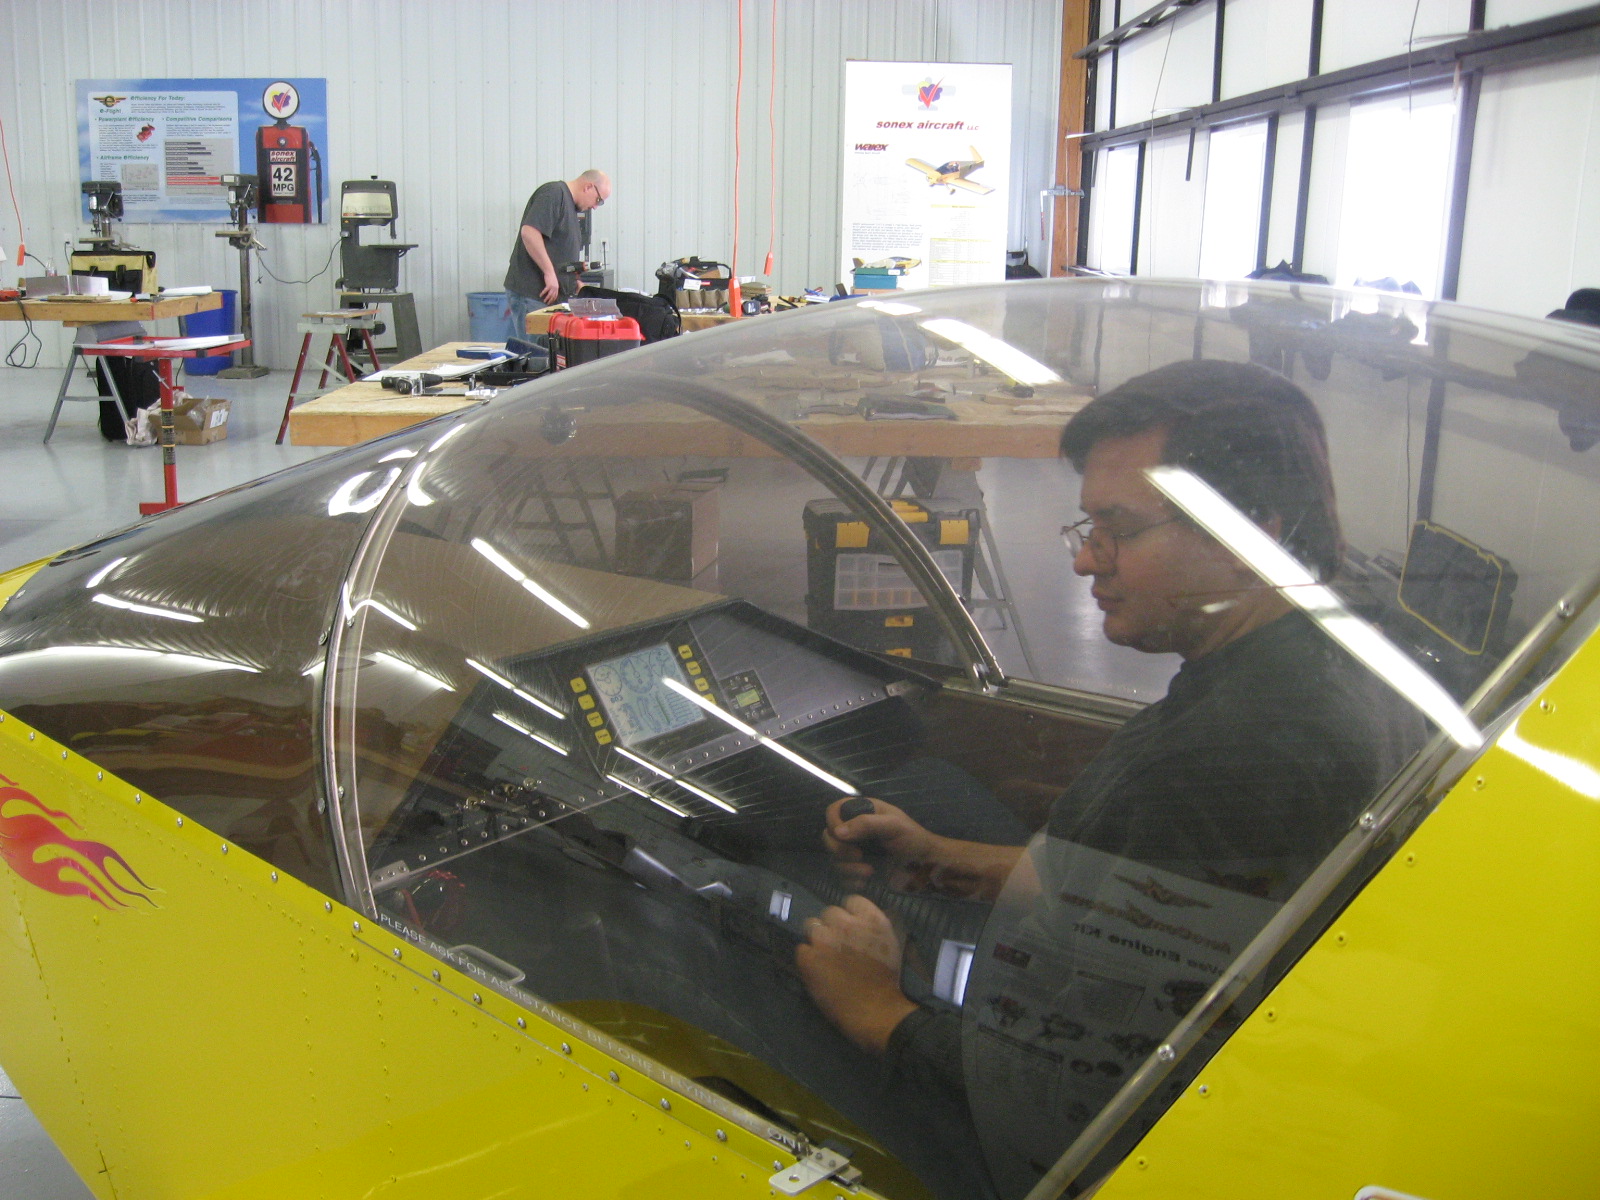
A big desire was to finally sit inside a Sonex.  They have a model cockpit just for that purpose.  I am 6’2″ and had plenty of head room and decent leg room–I didn’t notice any tendency to bump my knees on the instrument panel.  I was prepared for it to be tight for two and it was, but better than I was expecting.  More than anything, sitting in there really got me excited about building mine.

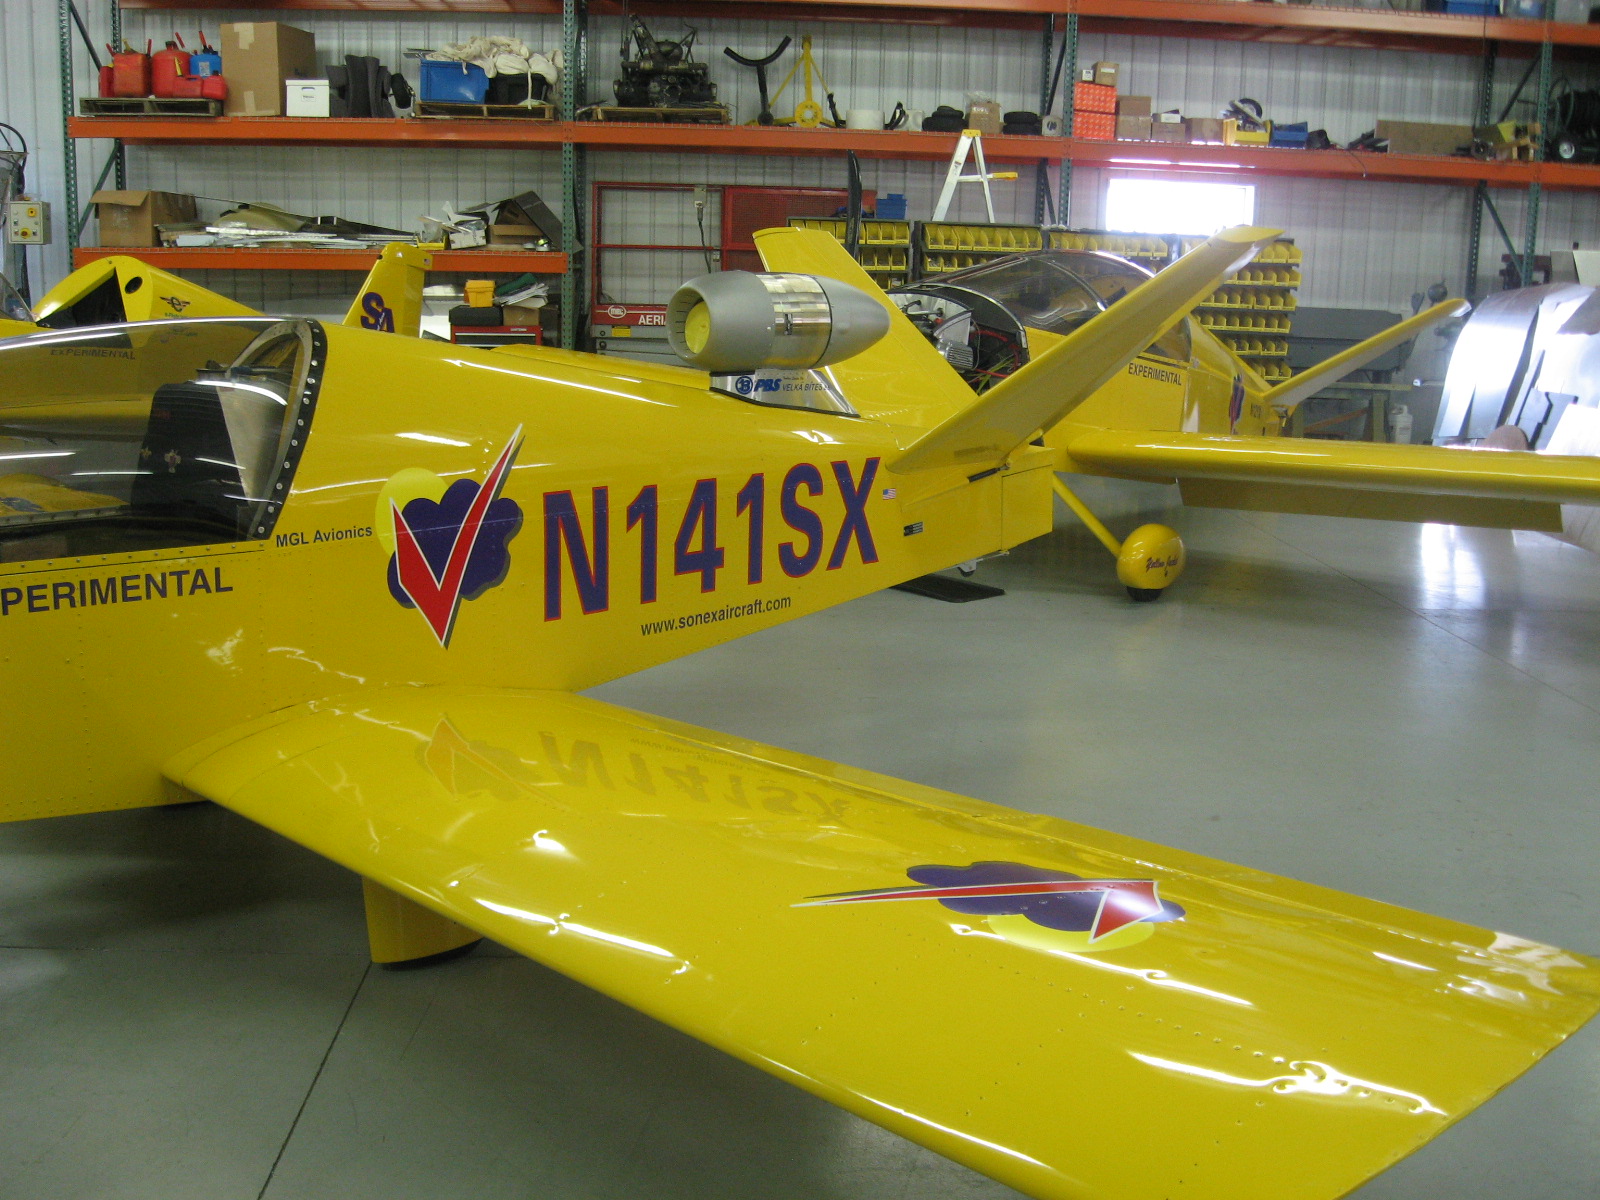
We got to tour the Hornet’s Nest (the research and development part of the company).  There they experiment with jet power,

electric power,

turbochargers, and everything else.  They have trophies hung on the wall of wings they broke by stressing them well beyond the design limits of the airplane by loading them down with sandbags to confirm the strength of their design.

We got to tour the Airventure museum.  Unfortunately, before we went I put the memory card for the camera in my computer and forgot to remove it.  While there I remembered we had cellphones, but it was hard to get decent pictures.  We saw a replica of SpaceShipOne.

We found a couple of short-winged airplanes that seemed to match our outfits.  The first is a Stits Sky Baby, once the smallest airplane in the world.

The second, the Stits DS-1 Baby Bird was designed by the son of the Sky Baby’s designer and also became the smallest airplane in the world.

Aluminum Angle Bundle 14

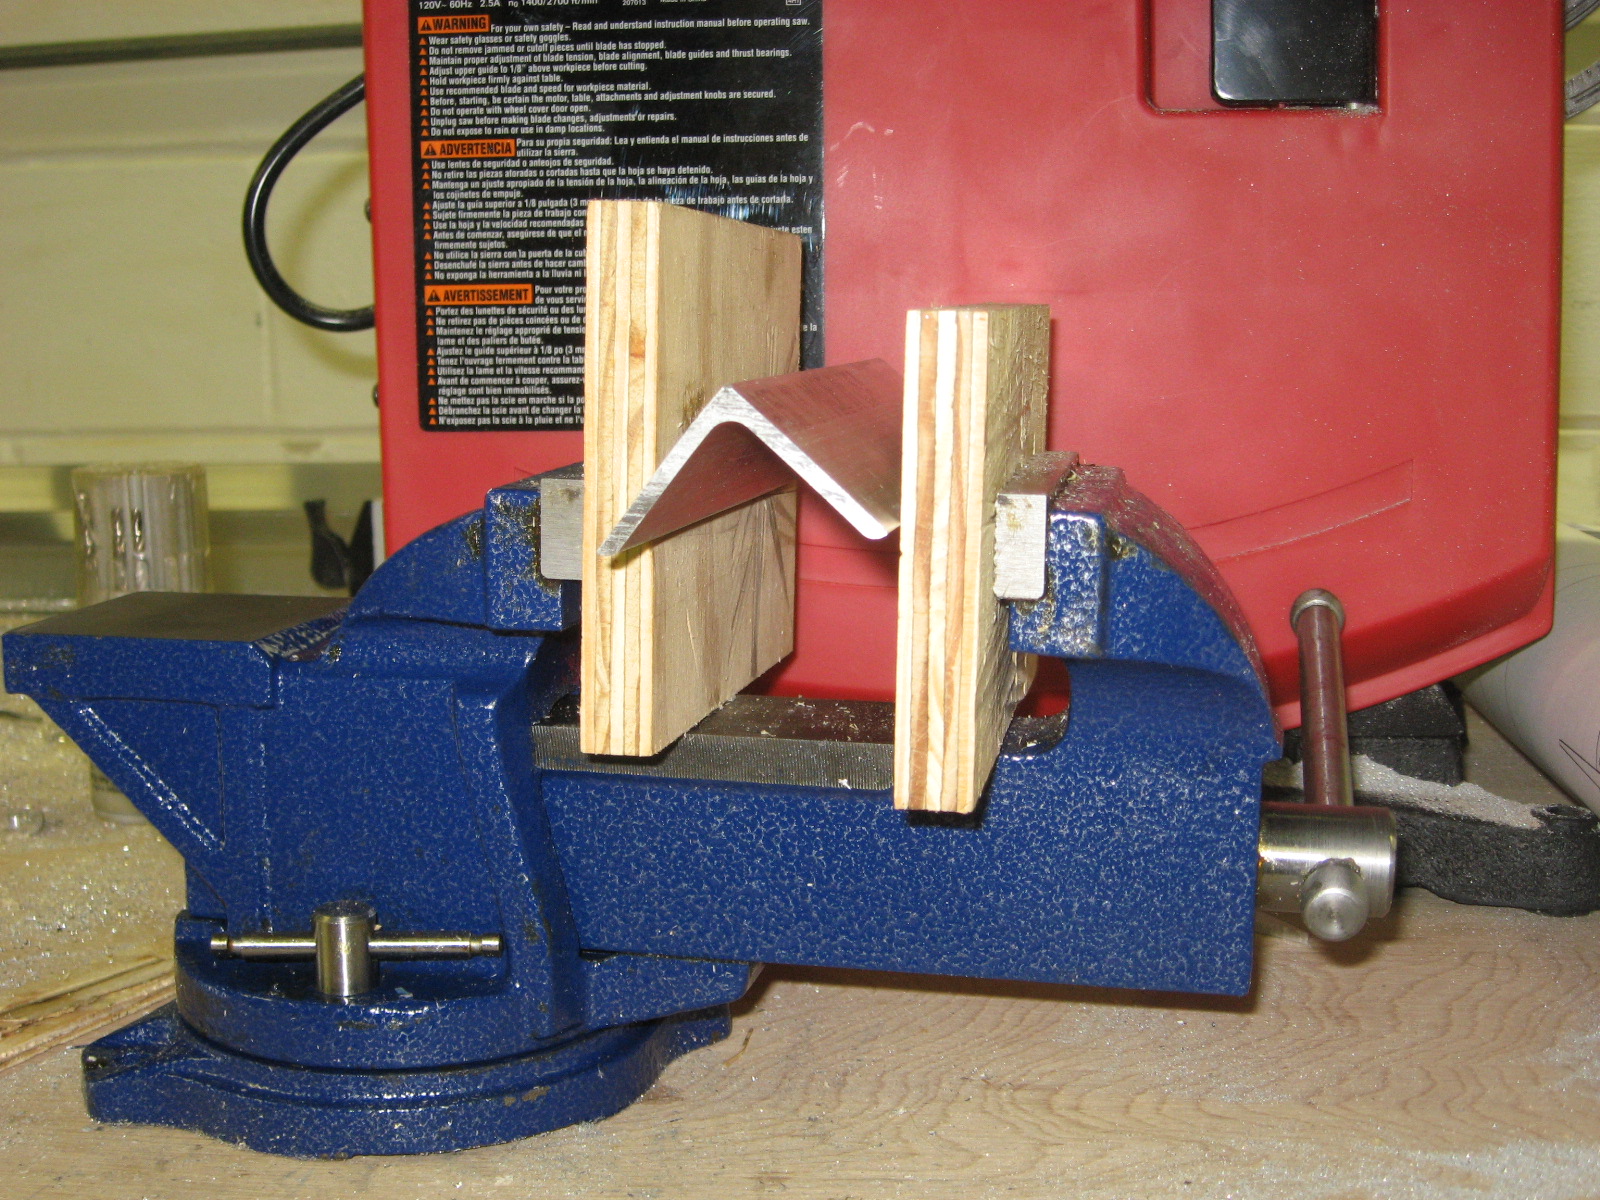
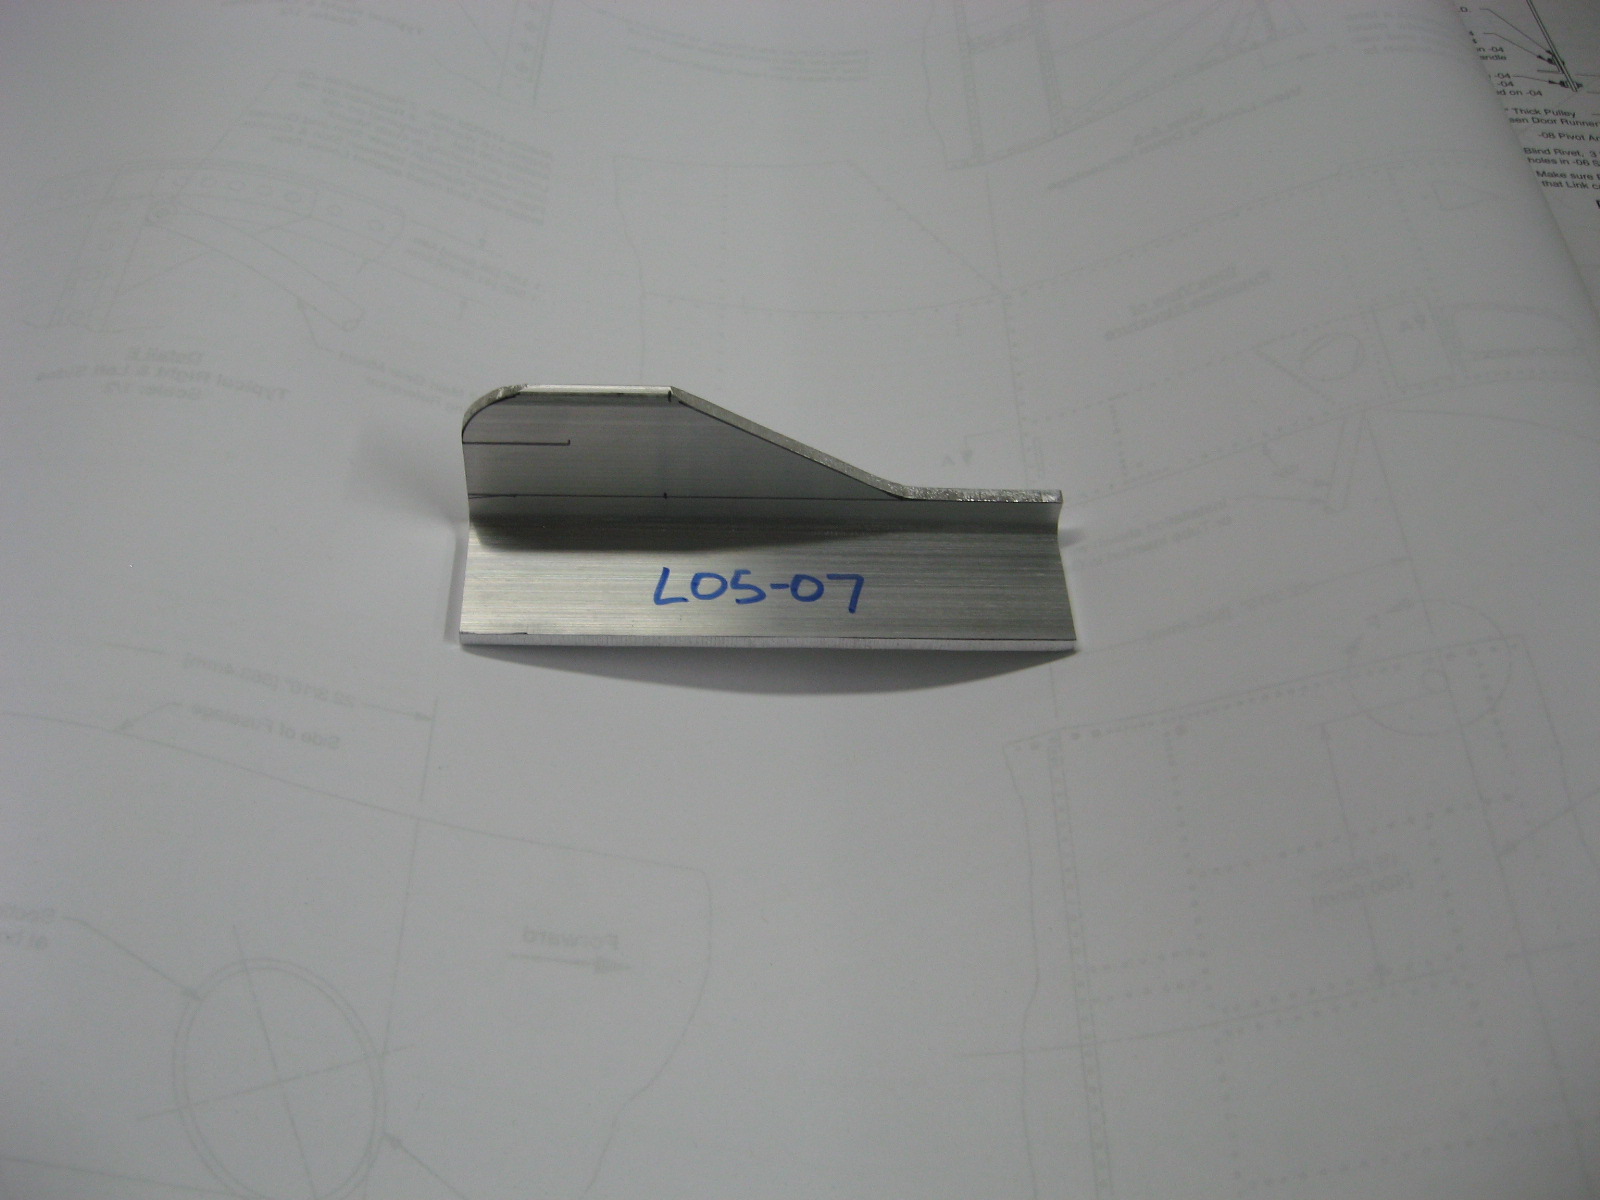
I bought a bench vise off Craigslist and decided to put it to work bending parts I have been skipping because they are not 90 degrees.  You’ll notice the vise is not bolted down–I’m considering building a smaller workbench for tools.

The bend was 86 degrees–so small it seemed insignificant, but this picture captures it well.

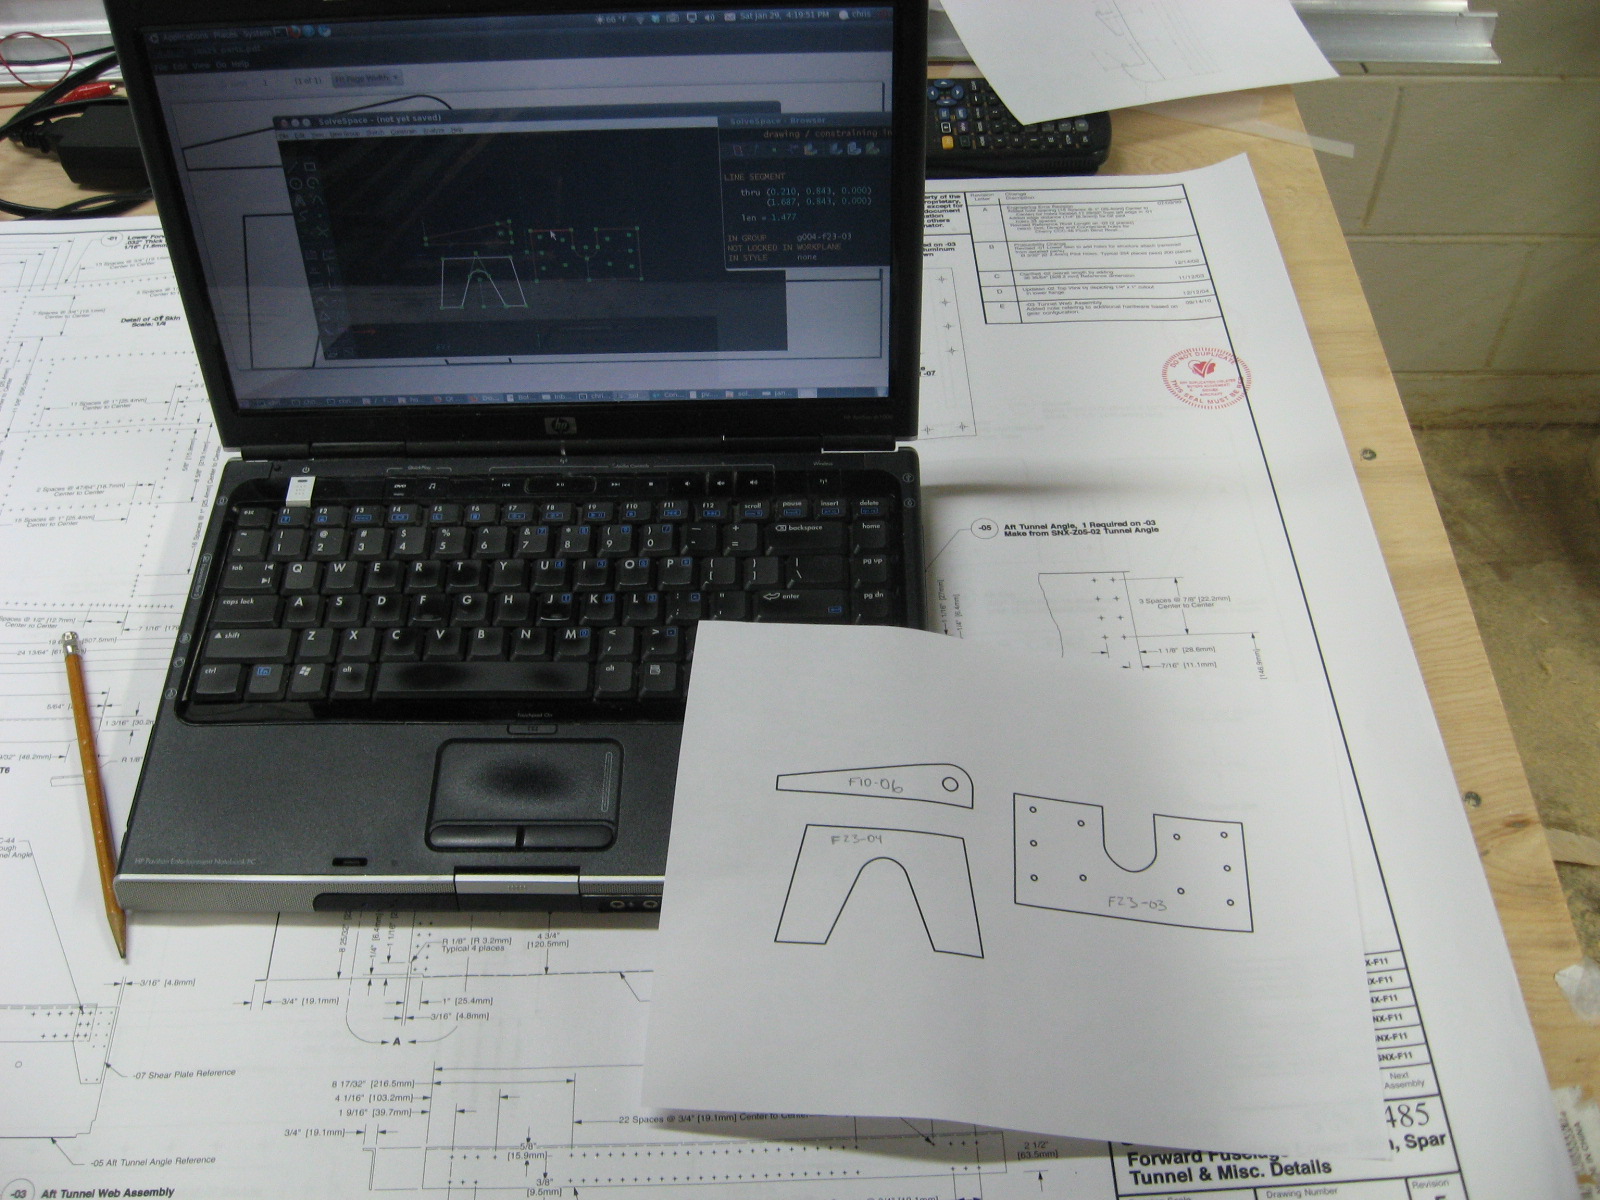
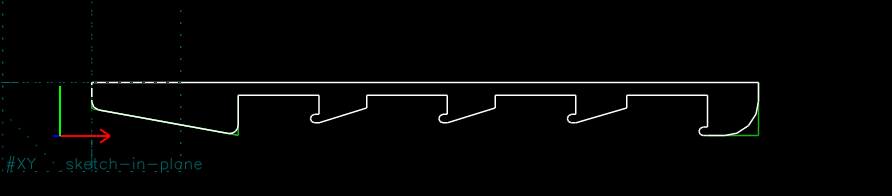
I decided to use SolveSpace some more to draw parts that are presented in the plans at other than full scale and print them out full scale.

Aluminum Angle Bundle 13

Didn’t spend much time actually constructing anything on the airplane this week.  The last part I was working on is the flap detent angle.  This has notches where the flap handle rests at 0, 10, and 30 degrees.  Other people have added a detent for 20 degrees so I decided to give it a try.  I spent far too much time researching other peoples’ designs and noticed some people added nibs to more than just the 30 degree detent as shown in the plans.  Then I noticed a couple people mentioning the flap handle getting stuck in flight and it seemed to be due to the flap lever bending within the detent and getting jammed in–easily solved by modifying the geometry of the detent.  Needless to say I fantastically over-thought the part and decided to go even more extreme and draw it in CAD.

I found SolveSpace, a simple parametric CAD program that is very intuitive, and drew my own version of the flap detent angle.  Then I decided to cut it into aluminum on my wood-cutting CNC machine.  I was trying 25ipm with .03″ passes and it was estimated to take about 20 minutes to cut.  It was obvious I was cutting too fast–the tool was chattering like crazy so I quit and will cut it with the band saw.

I’m not counting all the time I spent messing around this week to my build time :-)

Here’s a video of me creating the part in SolveSpace:

Aluminum Angle Bundle 12

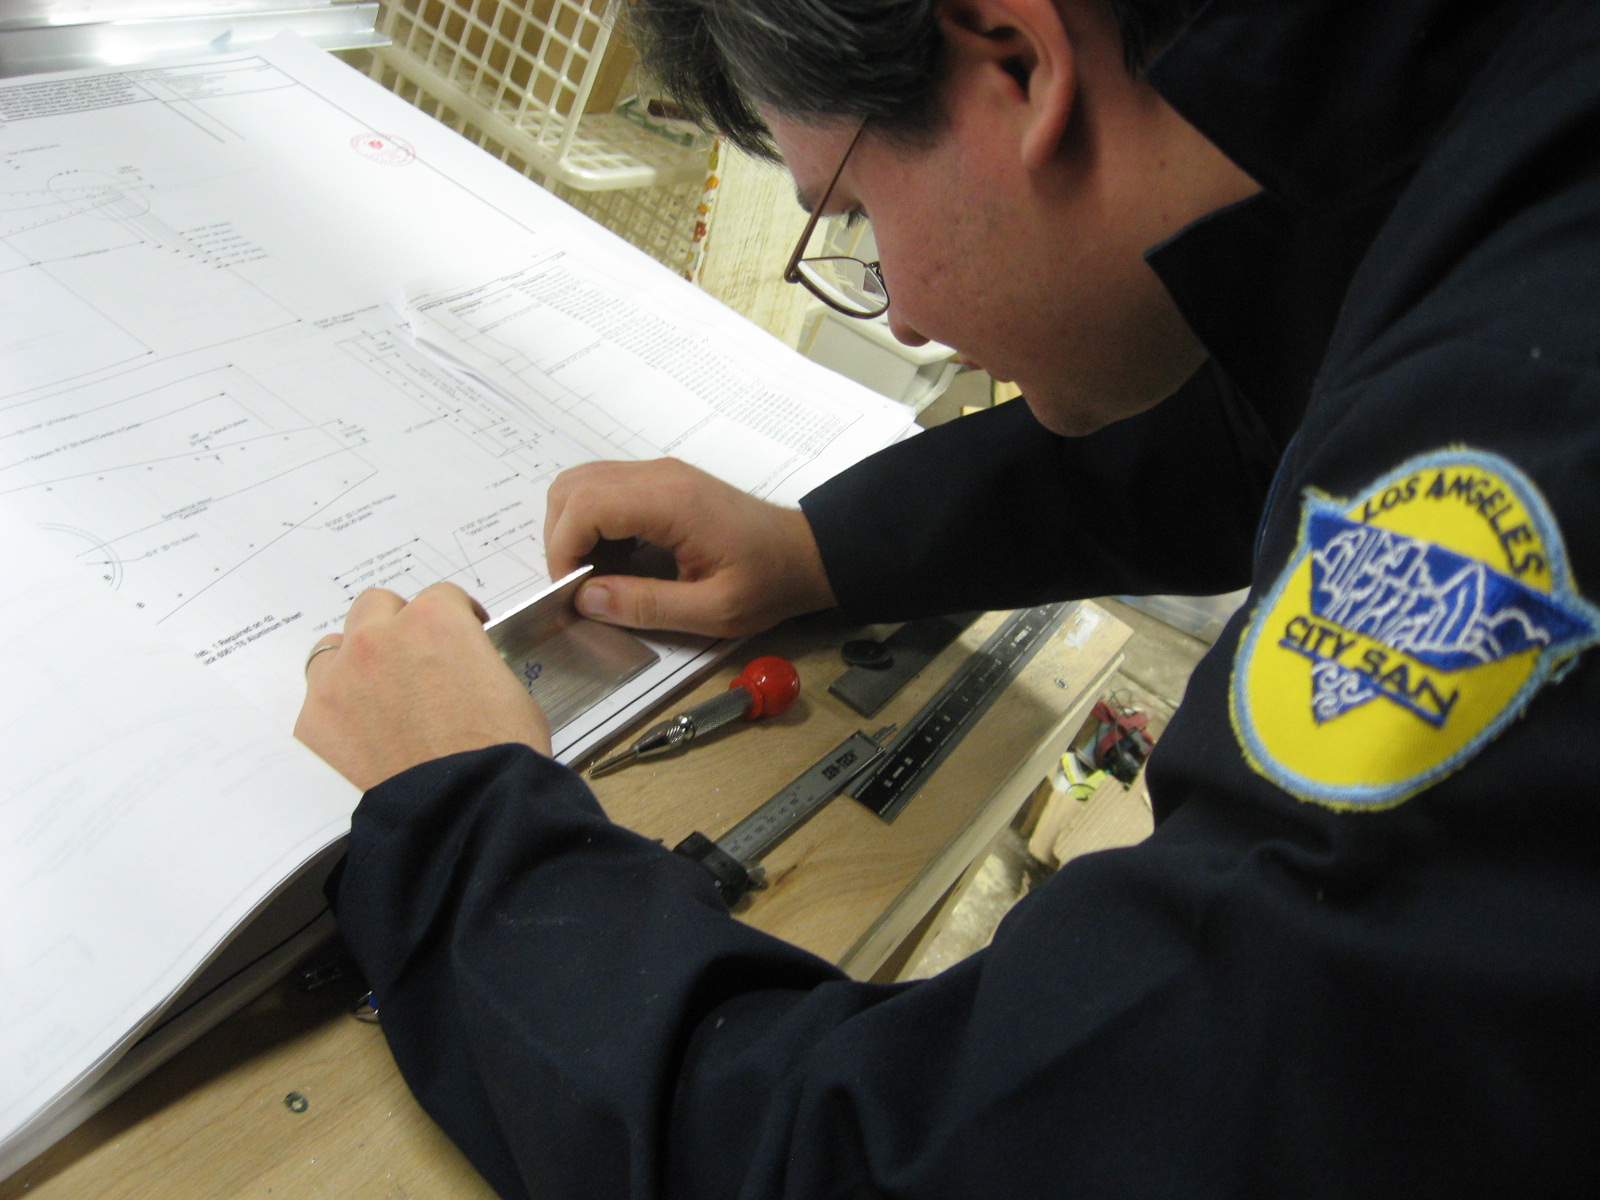
Was starting to feel worried I might end up with a build log without any pictures to prove that it was actually me building the airplane, so my wife helped me by taking some pictures.  Here I am wearing a Los Angeles Sanitation jumpsuit in an effort to keep the house a sterile environment with no exposure to aluminum flecks.  I also try to leave a set of old sneakers in the basement and take them off before coming up stairs.  Seems to be working fairly well.

There are a few things wrong with this picture.  Yes, I am actually using my head to dampen vibration on my band saw.  For some reason the top wheel has a fairly significant vibration that almost totally disappears once I touch my head to it.  The band dangling from my eye protection needs to be trimmed or adjusted.  I’m wearing my fancy ~ $3 Harbor Freight hearing protection–I decided when I finally get to fly the airplane I’d like to still be able to hear other pilots on the radio.

I have cut more parts but have no pictures to show.  I am trying to finish all the parts that don’t require bending and aren’t longer than 12″ for now.  I started preparing to cut the flap detent handle, but read about some people adding an extra setting for 20 degrees.  Also, builders have added nibs in an effort to prevent the handle from accidentally bouncing out of position.  These seem like a good idea, but have caused me to spend an excessive amount of time reading others’ build logs :-)

Aluminum Angle Bundle 11

I read about other people using tracing paper and spray adhesive to trace the plans and attach them to the metal.  For some of the parts without dimensions labeled in the plans this seems to be the most convenient method, so I decided to give it a try.

Here the tracing paper has been glued to the aluminum.  I think a somewhat weaker adhesive may have been better–once the paper touches it is difficult to move.

I was able to remove the tracing paper, flip it around and reuse it to make the mirrored parts.  Yesterday I started using some of the sanding attachments on my dremel tool to finish the edges–especially the inner radii.  This has worked well but it seems I’ll probably go through a sanding attachment just about every evening.  I have a bunch that I was probably never going to use, but I might look into getting something better like small scotch brite attachments.

Aluminum Angle Kit 10

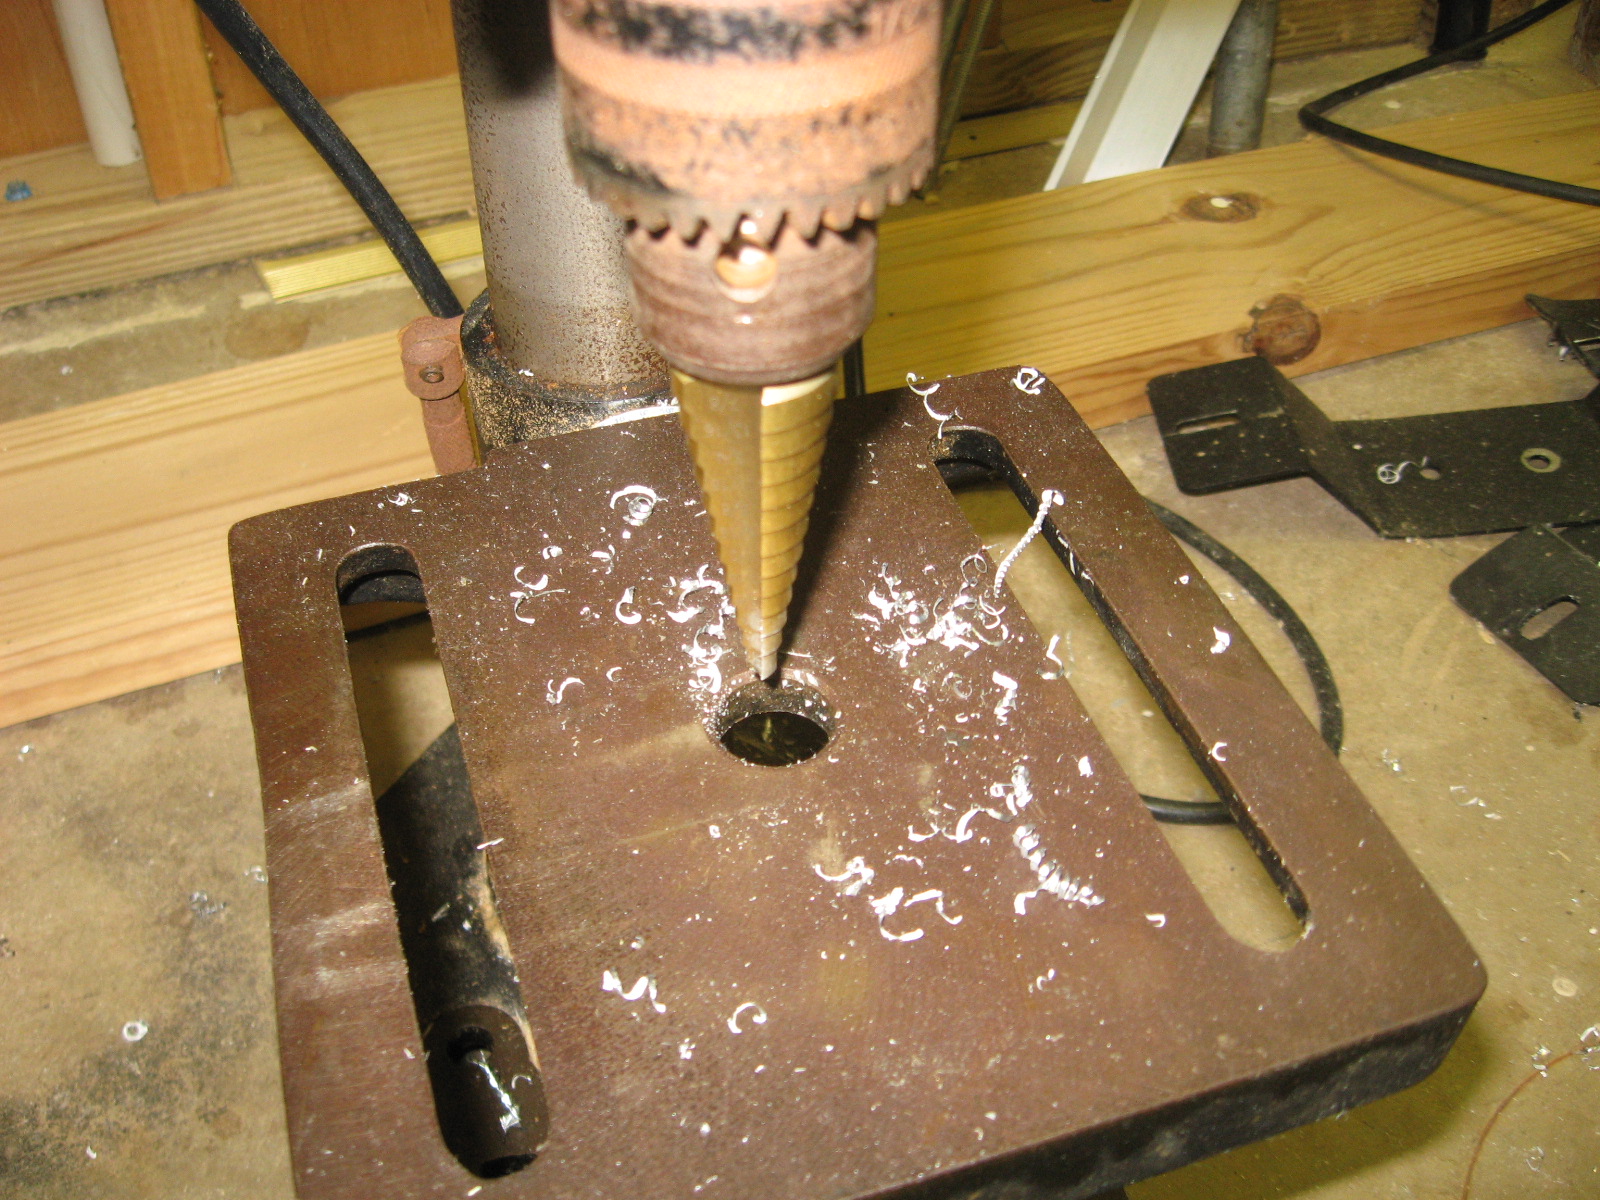
I decided I better start wearing hearing protection so got some $3 earmuffs from Harbor Freight.  While there I also got some step drills.

I used the step drill to cut some small diameter circular cuts from some parts I was working on yesterday and they seemed to work well.

My current work flow is to find parts that don’t need to be bent that I have previously cut to approximate size and finish all the cuts.  One of these days I might figure out how to do the bends and I will add that to my skill set.

Aluminum Angle Kit 9

Snowmageddon 2011 hit and I was unable to buy a replacement blade for my band saw until today.  I bought the same metal cutting blade as before, but not without scouring the internet and a local machine shop.  I was really tempted to get something really nice like a bimetal or carbide blade (these seem to be around $30 online).  The local machine shop offered to weld a bimetal one for me for about $80–they aren’t really set up to do this for customers.  I was too impatient to wait for an online order, so I settled with the Lowes one again.

The new blade cuts just as good as before, but made an annoying clunking sound once per revolution.  I traced this down to a piece of dull metal sticking out in front of the teeth at the weld–this was smashing into my aluminum once per revolution.  I ground this off with my dremel tool and it was working great.

I started going back to parts I cut to size a week or so ago and finishing the more complicated cuts.

The curves were supposed to have a 1″ radius.  I found a conveniently sized container with the same dimension and traced that.  I need to figure out what everyone else uses for these types of cuts.  I did consider cutting out a bunch of circles on my CNC machine.

Its fun after reading other peoples’ build logs to finally be building parts I have seen before.  By the way, I have no clue how that yellow protractor thingy is supposed to help me.  I probably need to see someone who knows what they are doing use it.