Category Archives: Fuselage - Page 4

Fuselage starting to take shape

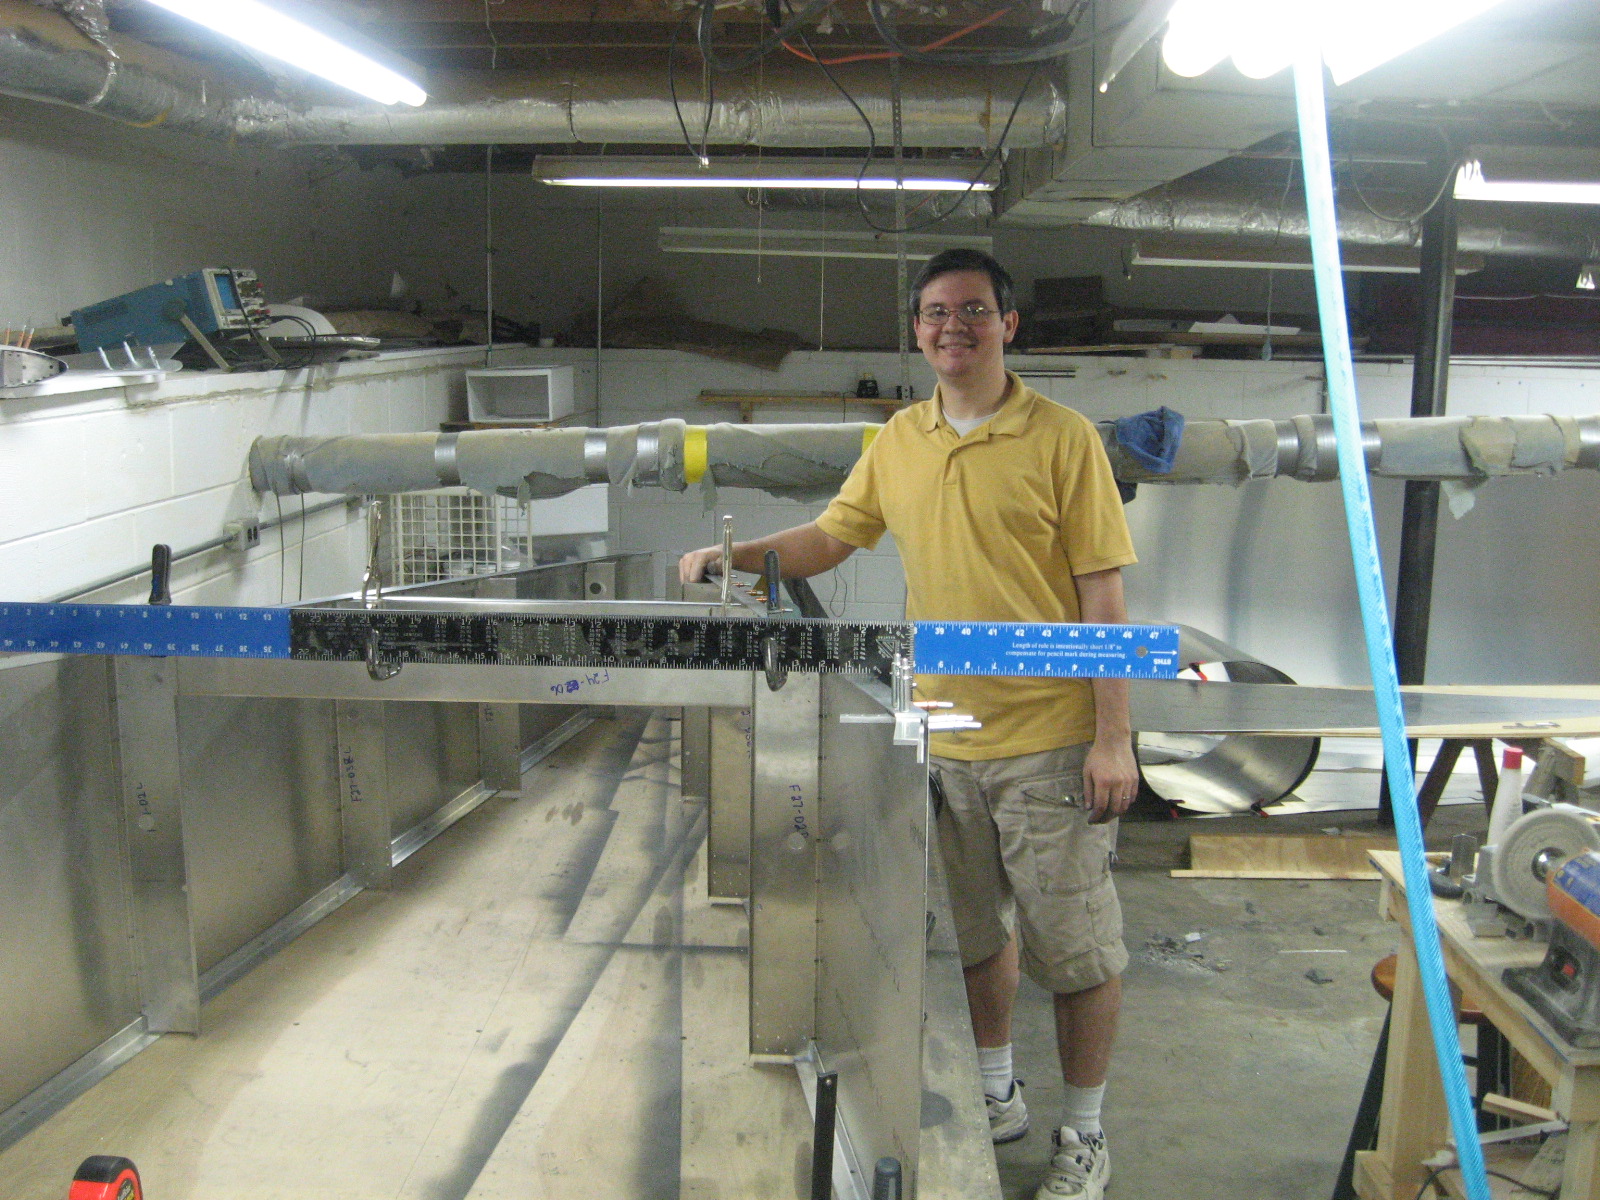
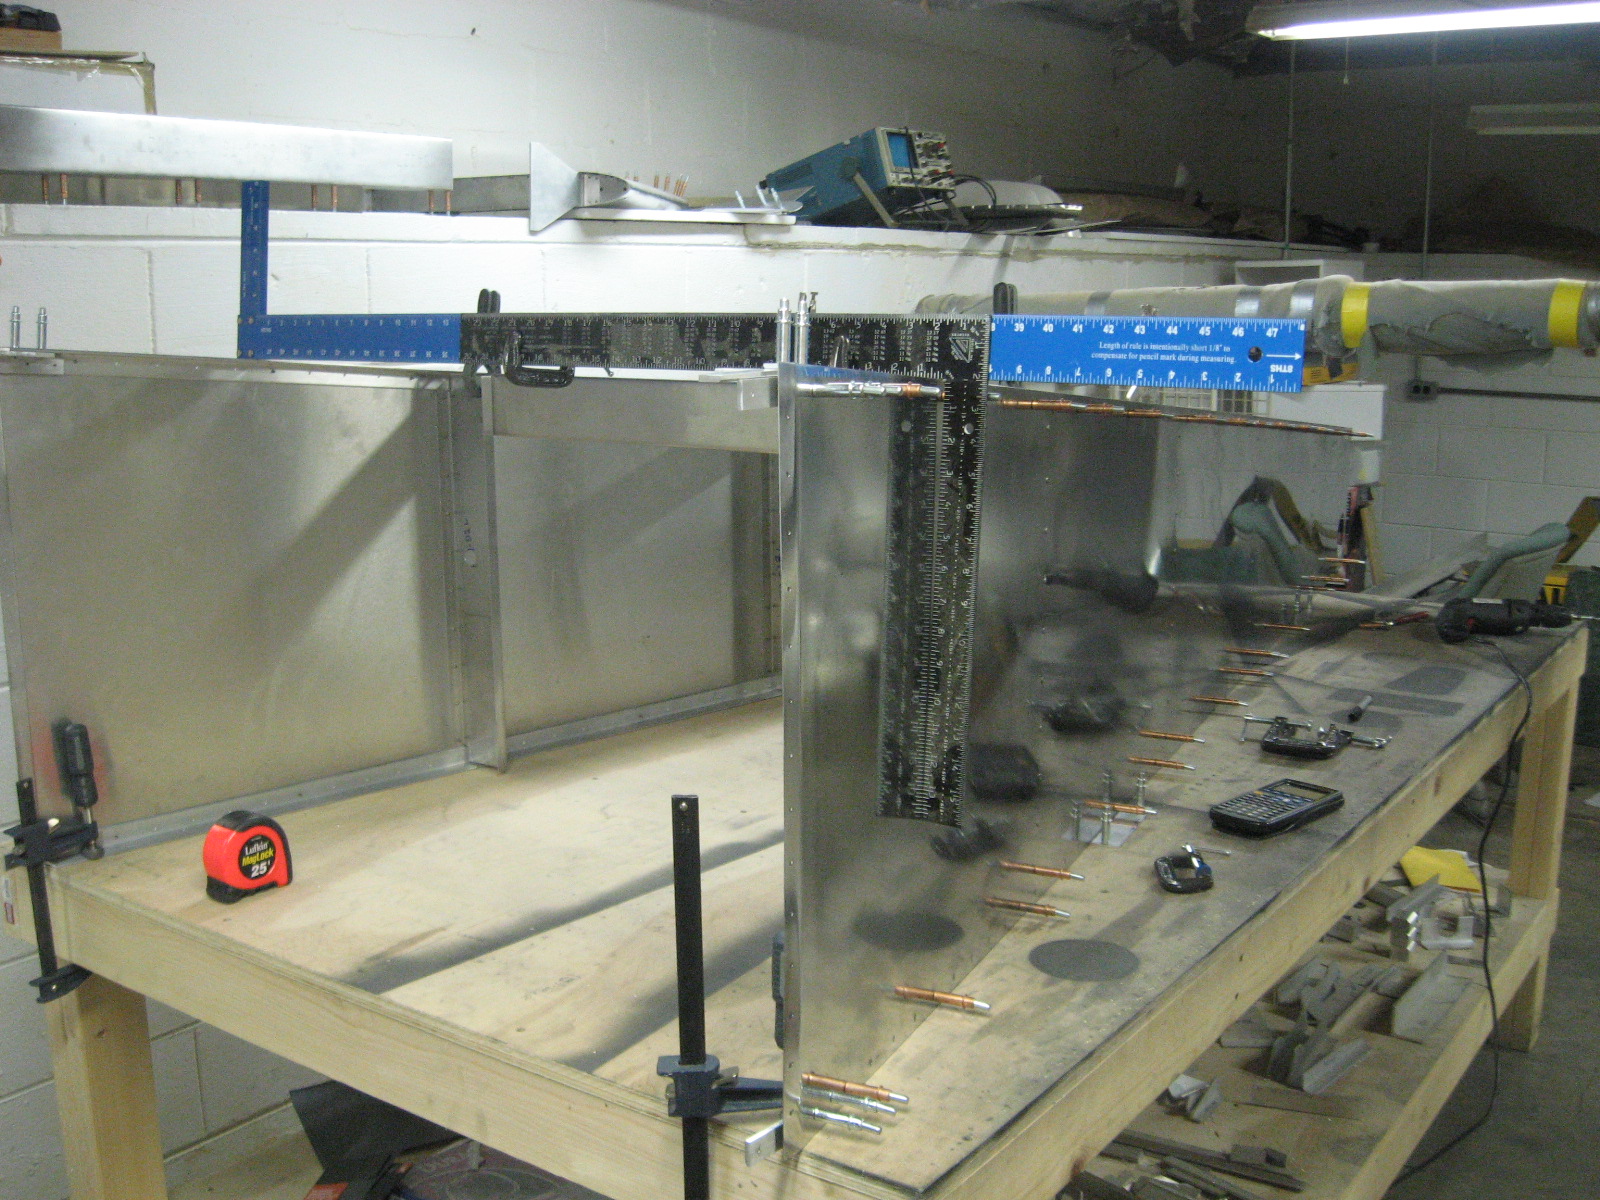
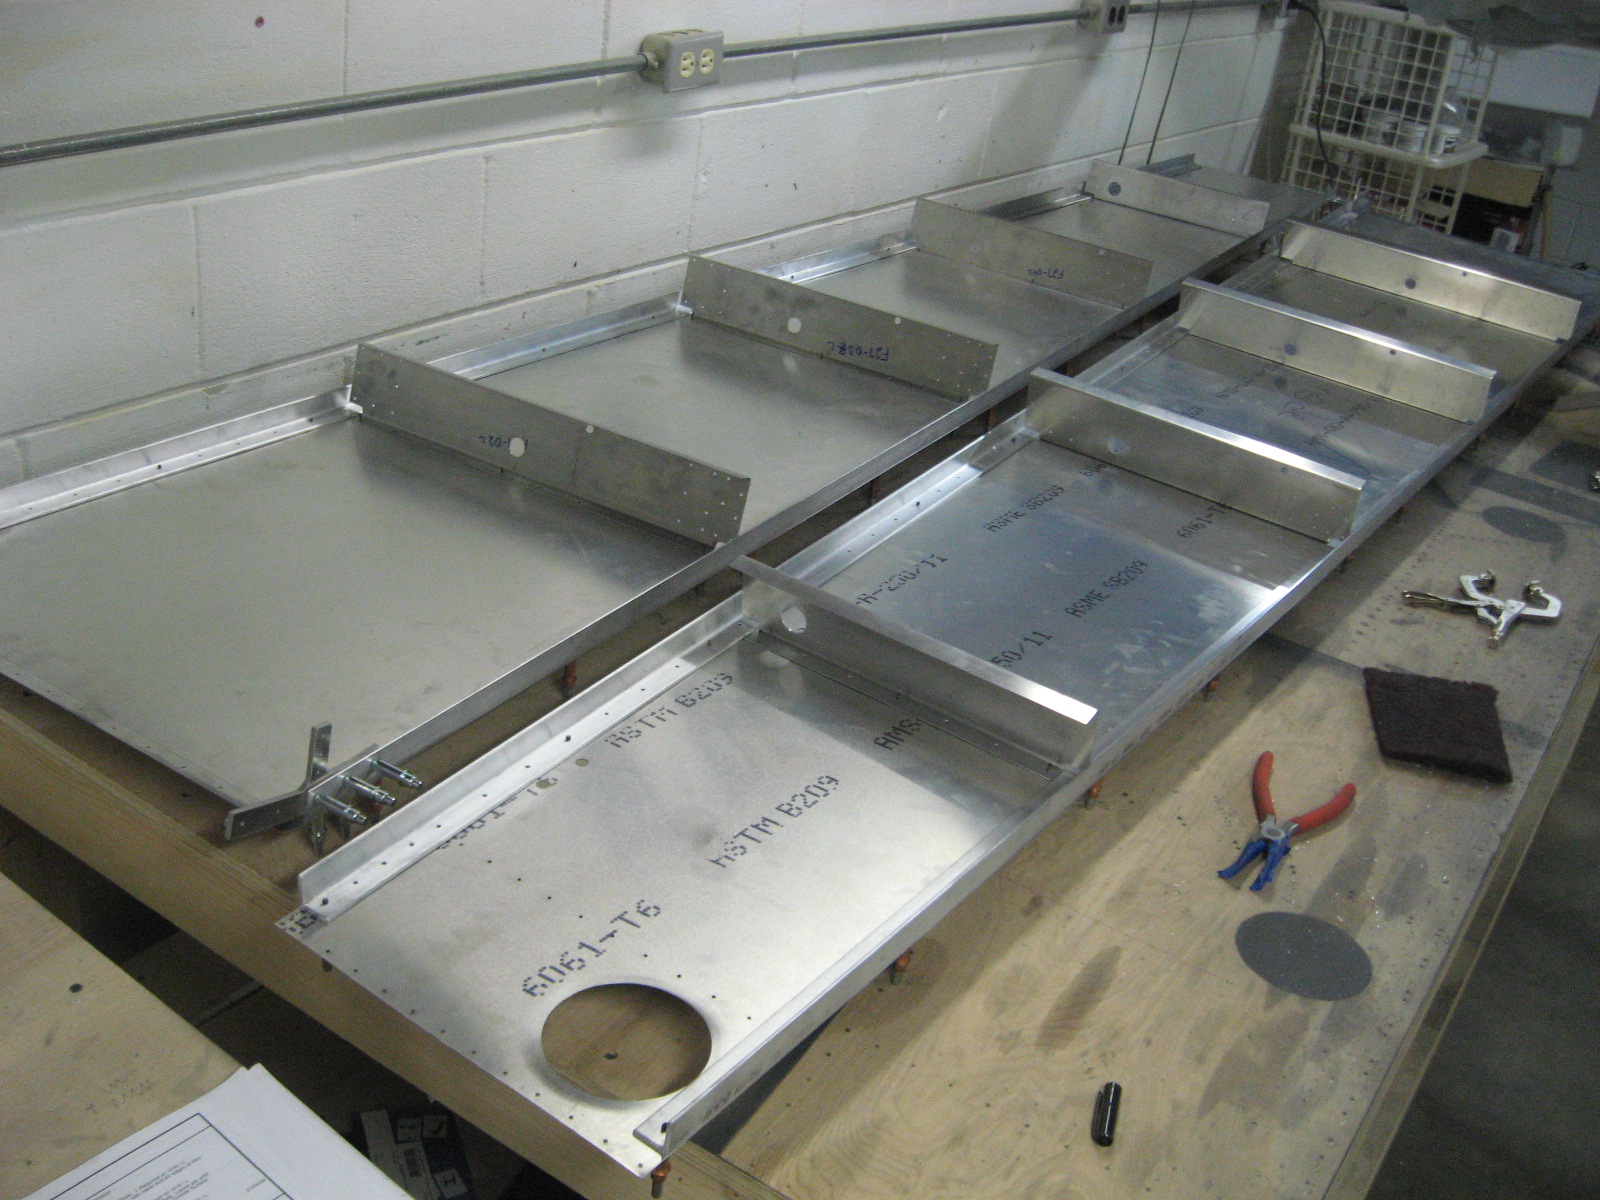
I finally had no excuse not to start assembling the fuselage.  I drew some lines on my workbench and stood the fuselage sides up vertical for the first time.  Now I am trying to clamp everything together so it is nice and square.
Here’s a picture that attempts to show how much progress I made polishing the fuselage sides compared to the unpolished inside.  It has come a long way from the mill finish.
I worked on a few other parts this week.  I had to remake on of the aluminum angle pieces that I made too small and I bent a few more parts on my sheet metal brake.
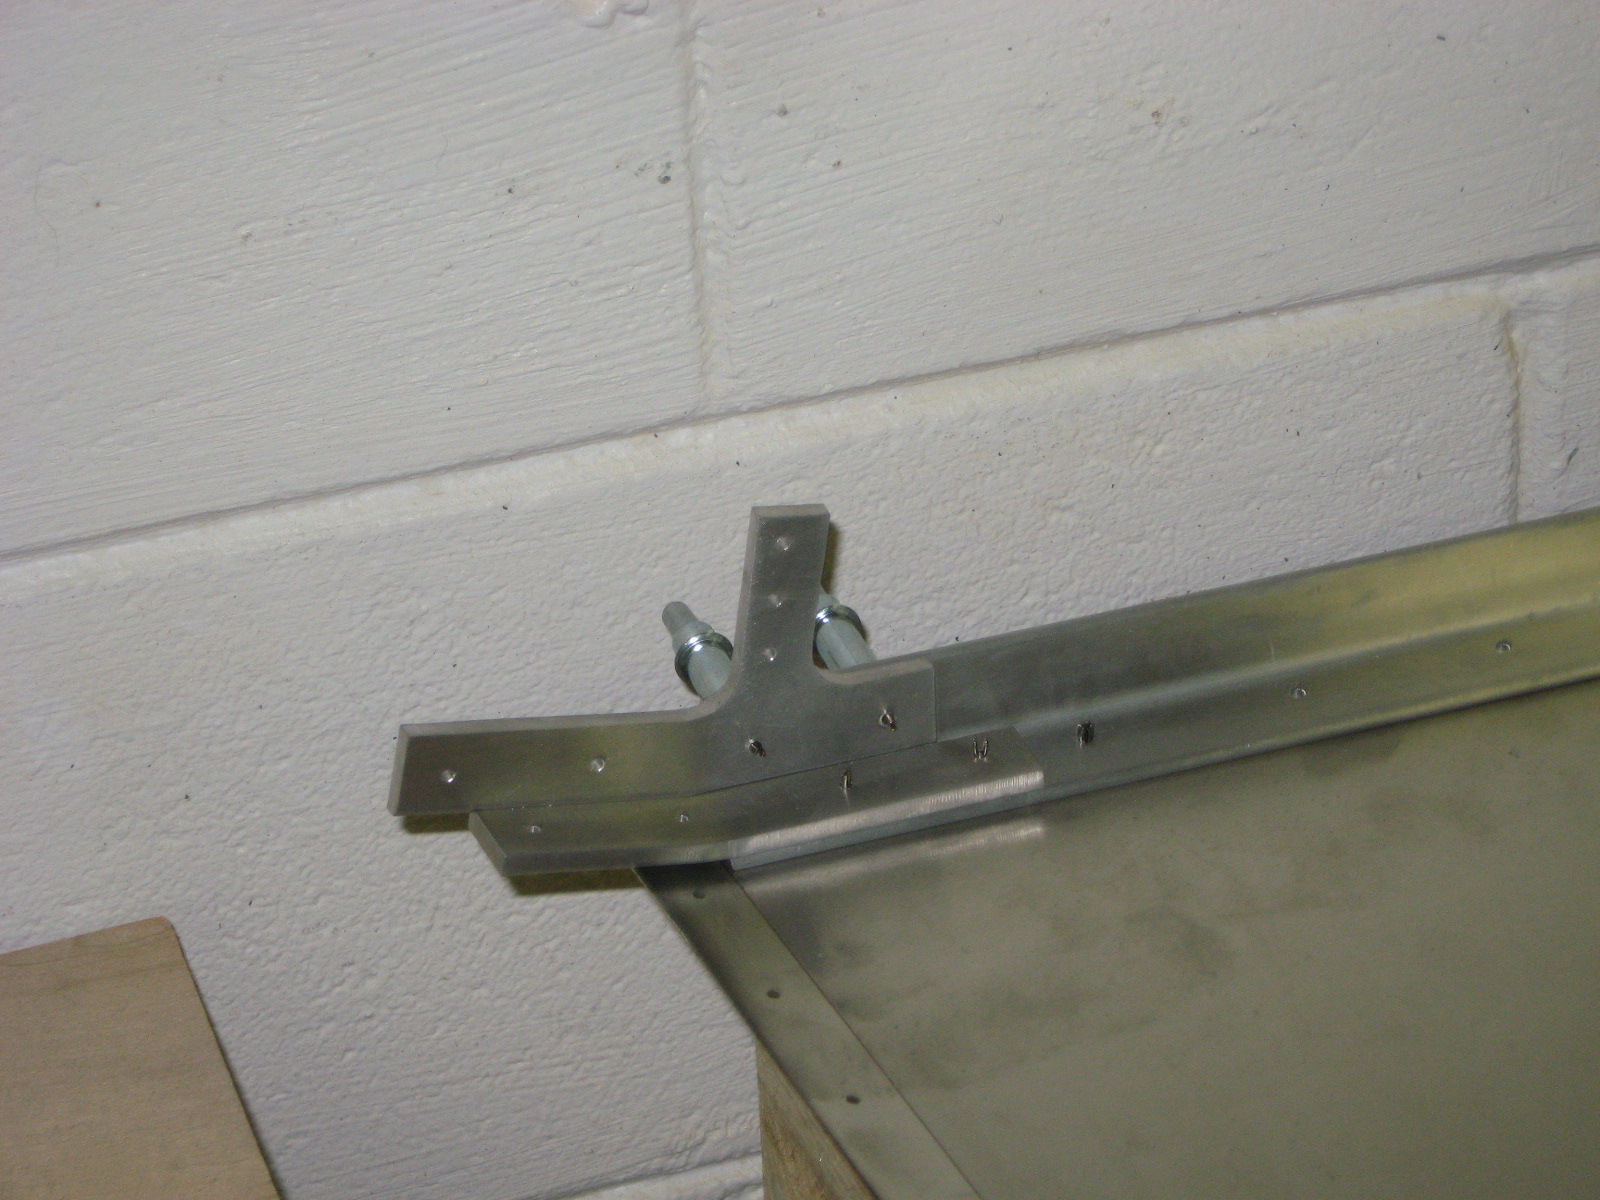
Attached fuselage splice plates

I attached the splice plates to the rear fuselage.  These will connect the forward fuselage to the rear.

I re-attached the vertical channels with the new holes drilled.

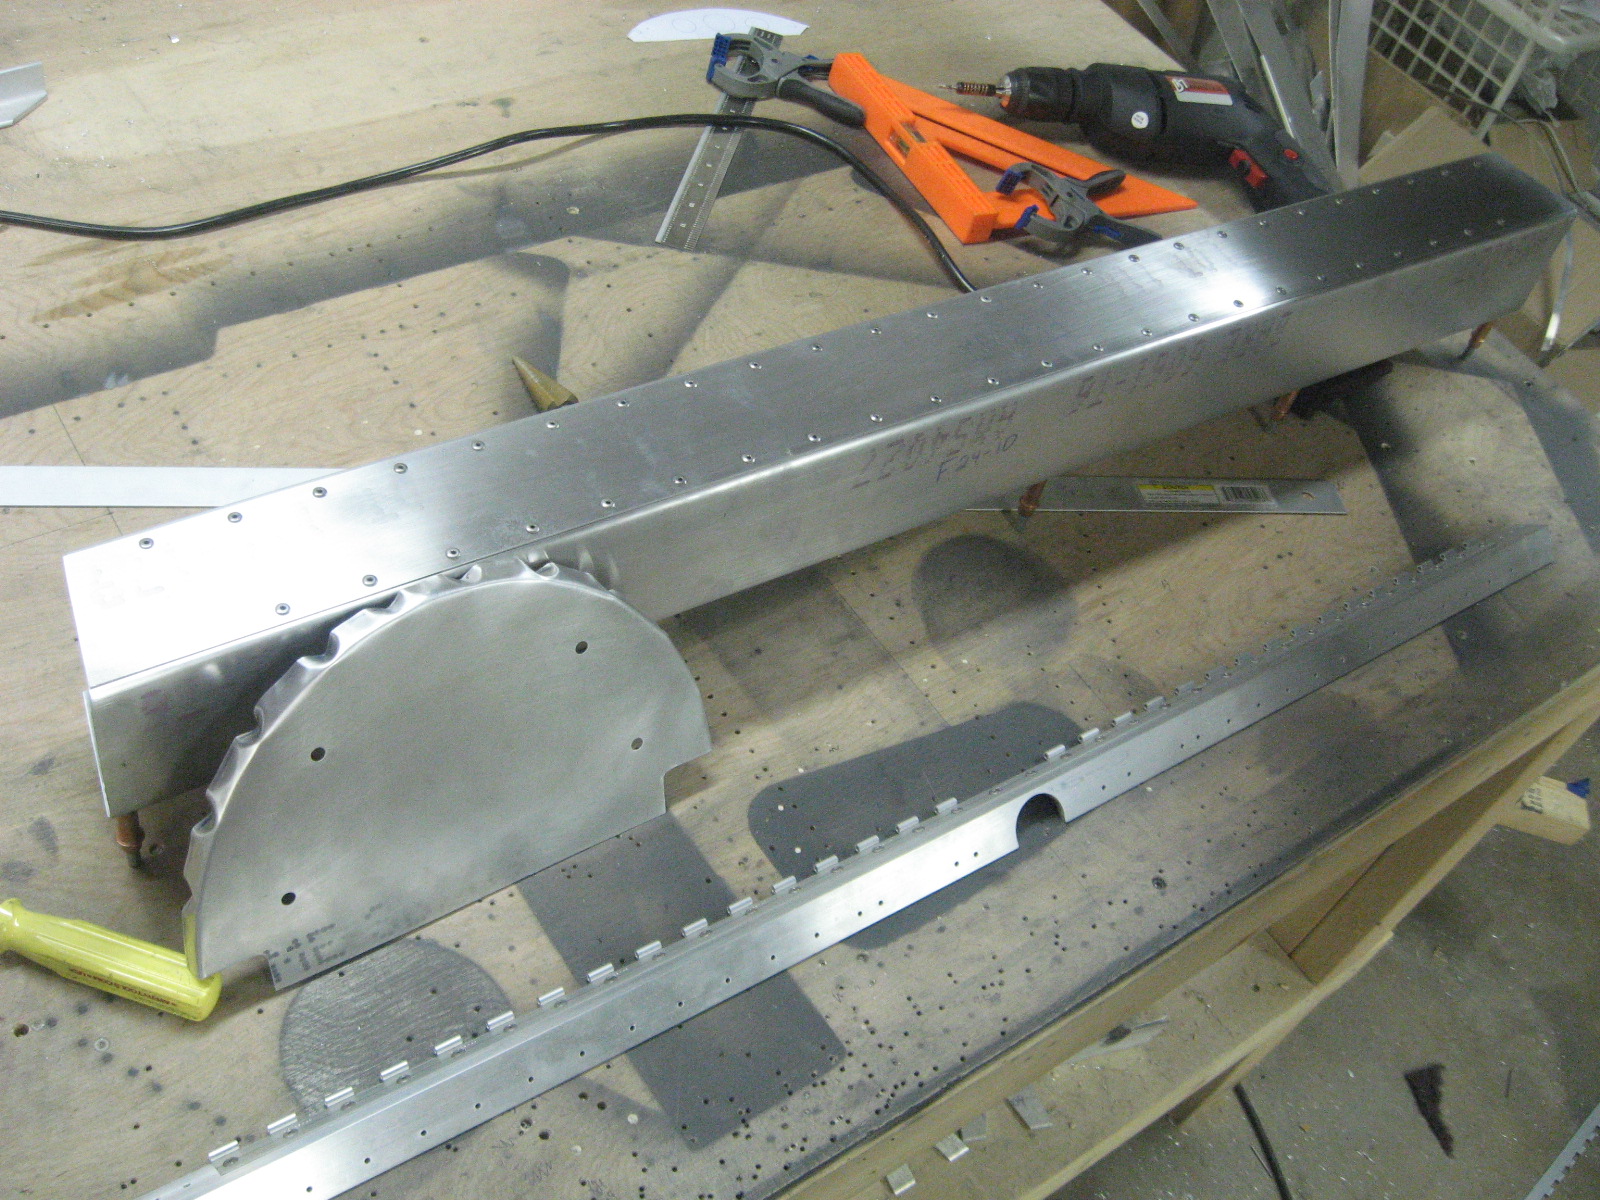
Rear fuselage vertical channel

I formed these channels a couple months ago and already attached them to the fuselage sides with clecos.  Yesterday, I finally drilled all the rest of the holes.  The 3/4″ and 1″ holes were drilled with wood-drilling forstner bits from Harbor Freight in my drill press.  I really like these bits for this sized hole in aluminum sheet metal even though it probably isn’t the perfect tool for the job (it should only need to remove the outer edge of the hole, but it starts shaving some extra metal inside the hole before it breaks completely through the sheet).

Notice the two templates below the channel.  I made these a couple months ago and finally used them to save time laying out all the holes on each channel.  They came in really handy, but I started getting worried that the holes might have been positioned wrong and I might end up in a measure once, cut 6 mistakes conundrum.  I double-checked and they are fine.

I haven’t mentioned them yet, but I have made some of the rear fuselage formers.  My dad helped with this one.

Fuselage parts and air compressor valve

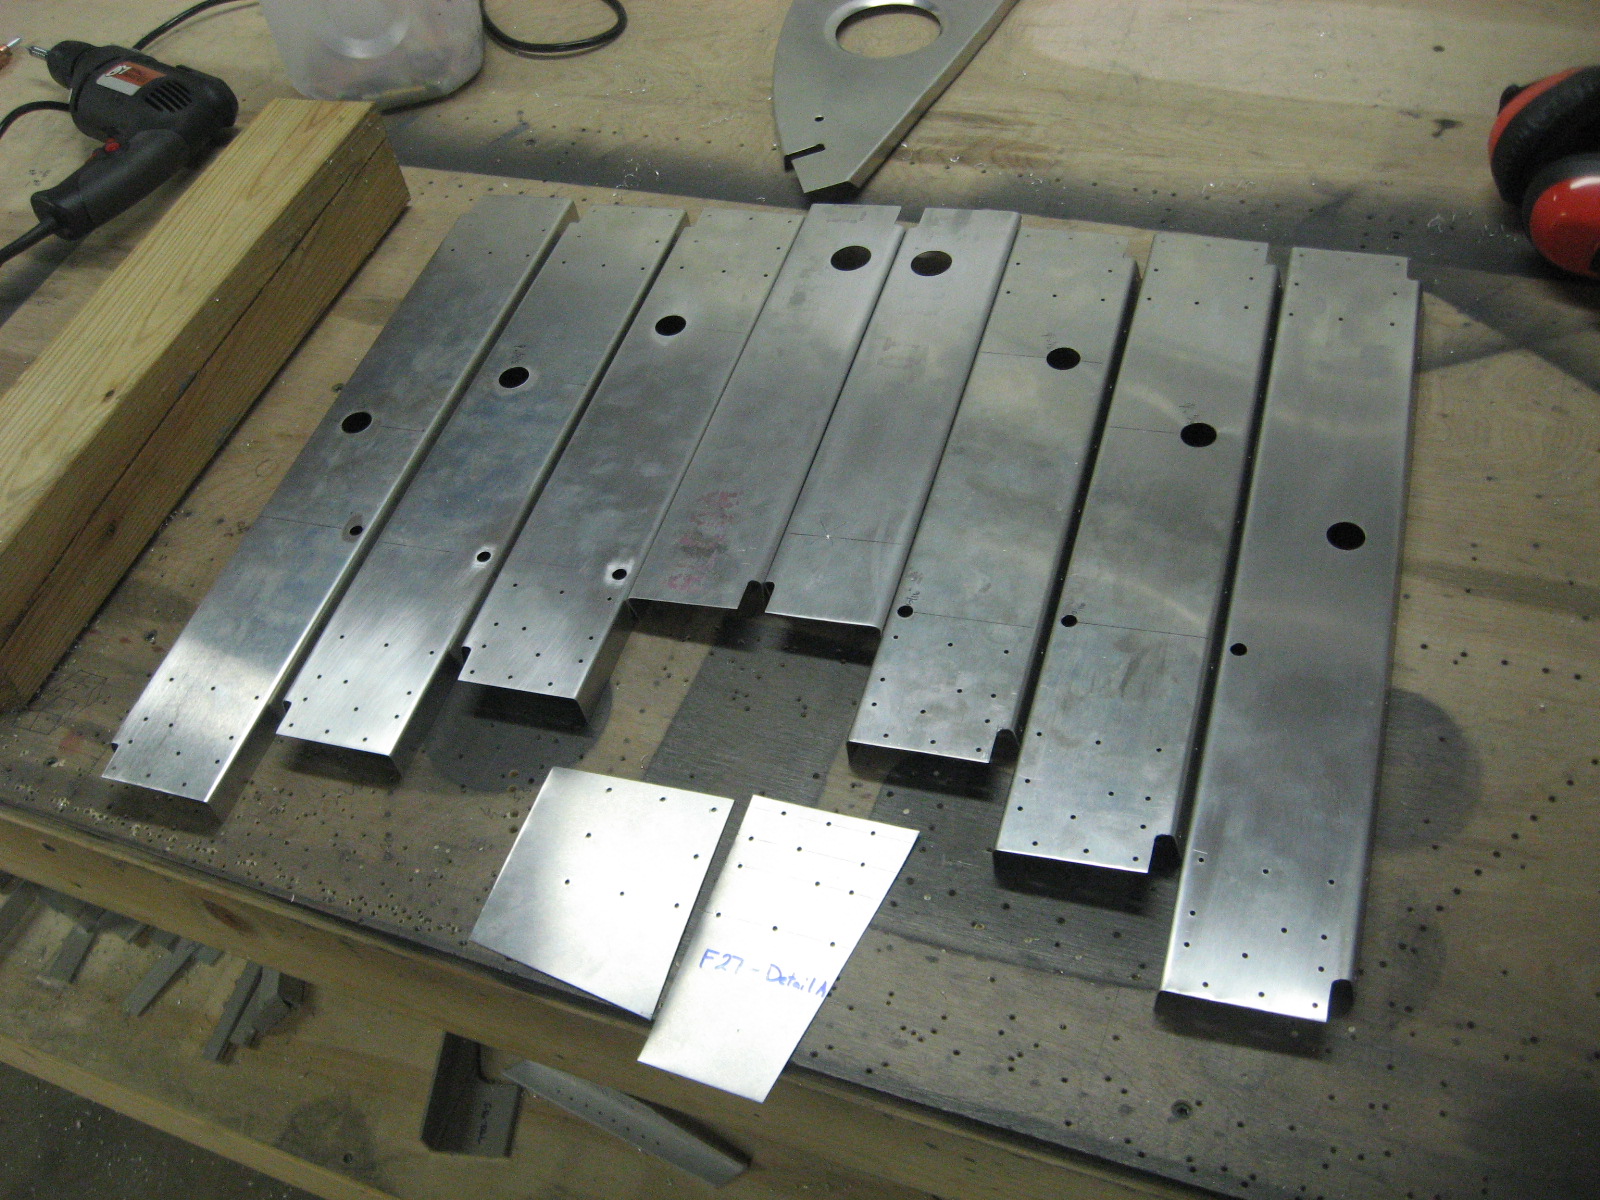
I’ve been jumping around making fuselage parts that seem interesting.  Here are a few I finished this week.

I got annoyed with having to almost completely empty the tank before I could twist the drain valve at the bottom of my air compressor.  I wanted to replace the valve with an elbow joint and a ball valve, but I couldn’t find any elbow joints in any of the local stores.  Instead I ground one side of this ball valve off to give it some clearance from the floor and stuck it on.  It works way better now, but I wish I had ground a little bit more off.

Forward Fuselage

I started working on the forward fuselage sides even though I’m not finished with the rear fuselage.  This is reducing the size of my pile of aluminum angle pieces I started making about a year ago and so far everything has fit nicely.

I had some question about fitting the F15-12 angle clip into the F14-12 seatbelt attach angle.  The plans only showed a 1/8″ radius chamfer on the angle clip, making it impossible to nest into F14-12.  After asking on the forum, it sounds like the aluminum angle that the seatbelt attach angle is made of originally had a 1/8″ radius instead of the current 1/4″ and it should be fine to grind the angle clip to 1/4″.  I am happy with how well these pieces nested together as shown in this picture, and the grinding wasn’t nearly as tedious as I expected.

I had to bend two of these .060″ parts.  I was not looking forward to it, but I was able to bend both at the same time on my 8′ brake with no problem at all.  It was almost too easy.

Bending parts on my new brake

Now that I finished my 8′ metal brake, I have been able to bend a lot of the aluminum channel that is too long for my harbor freight 30″ brake.  I’m pretty sure I’m going to spend less time using this brake than I spent building it.

Here’s the pile of parts I’ve bent since building the brake.

More parts and longerons

Here’s an assortment of parts I’ve been working on.

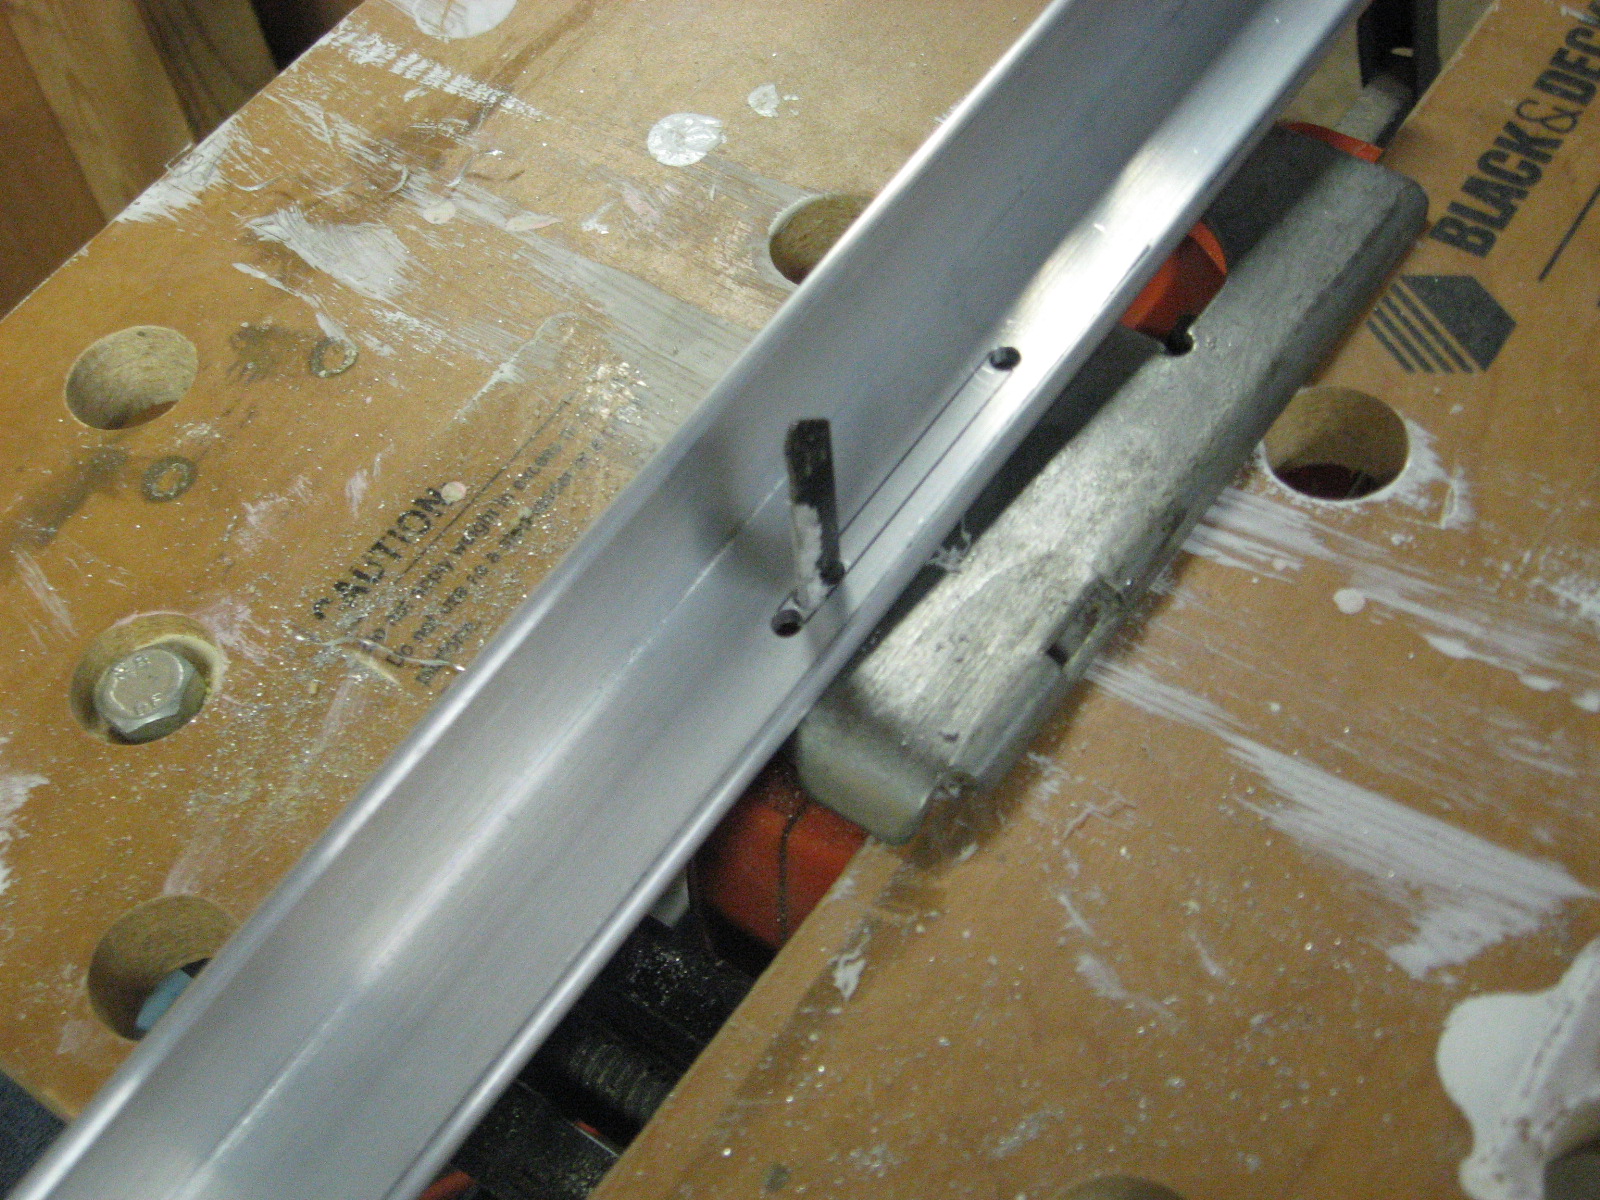
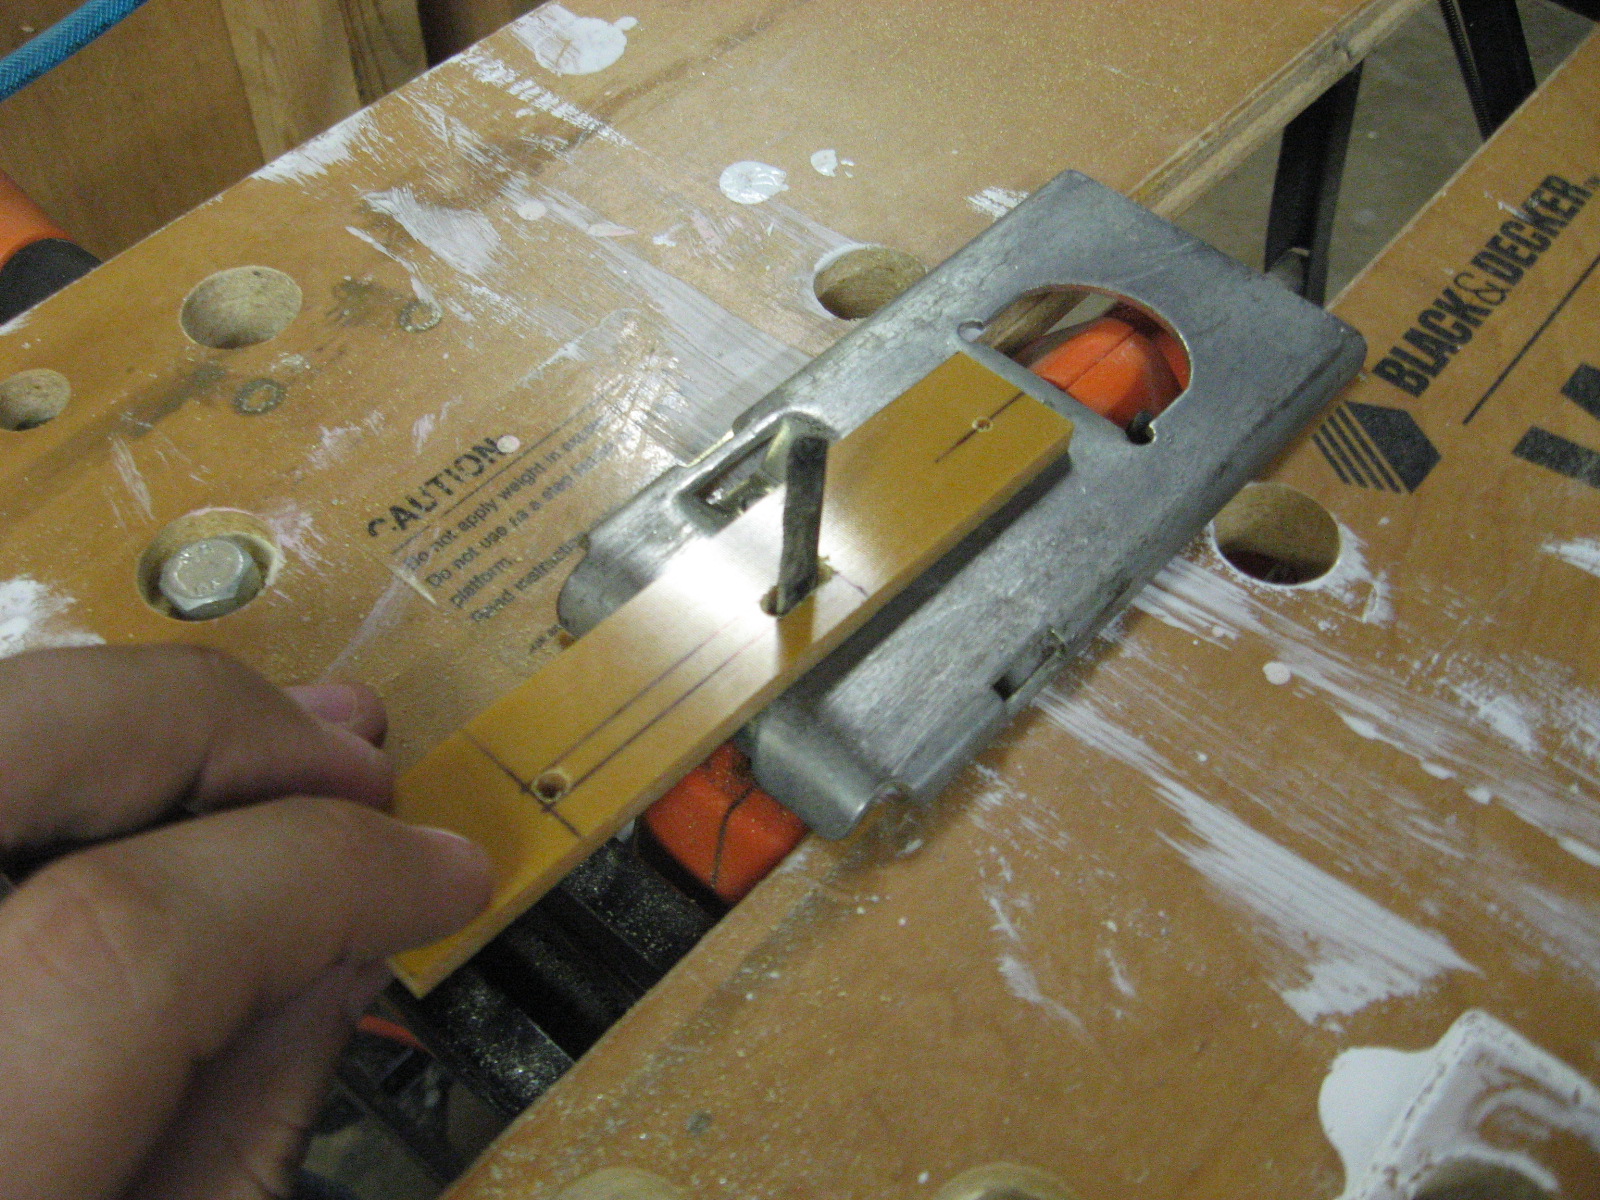
I’m pretty close to where I can start putting the aft fuselage together once I finish building my sheet metal brake.  Instead of working on the brake, I have been jumping around making all the low-hanging fruit in the fuselage section.  I have been dreading the slots in the forward fuselage longeron that the canopy latches slide into.  I ended up using the jigsaw method to cut the slots.  It is probably a less-than-ideal method, but I decided to just get it done and quit worrying about it.  I am pleased with the results–I just need to do a little more work with the file.
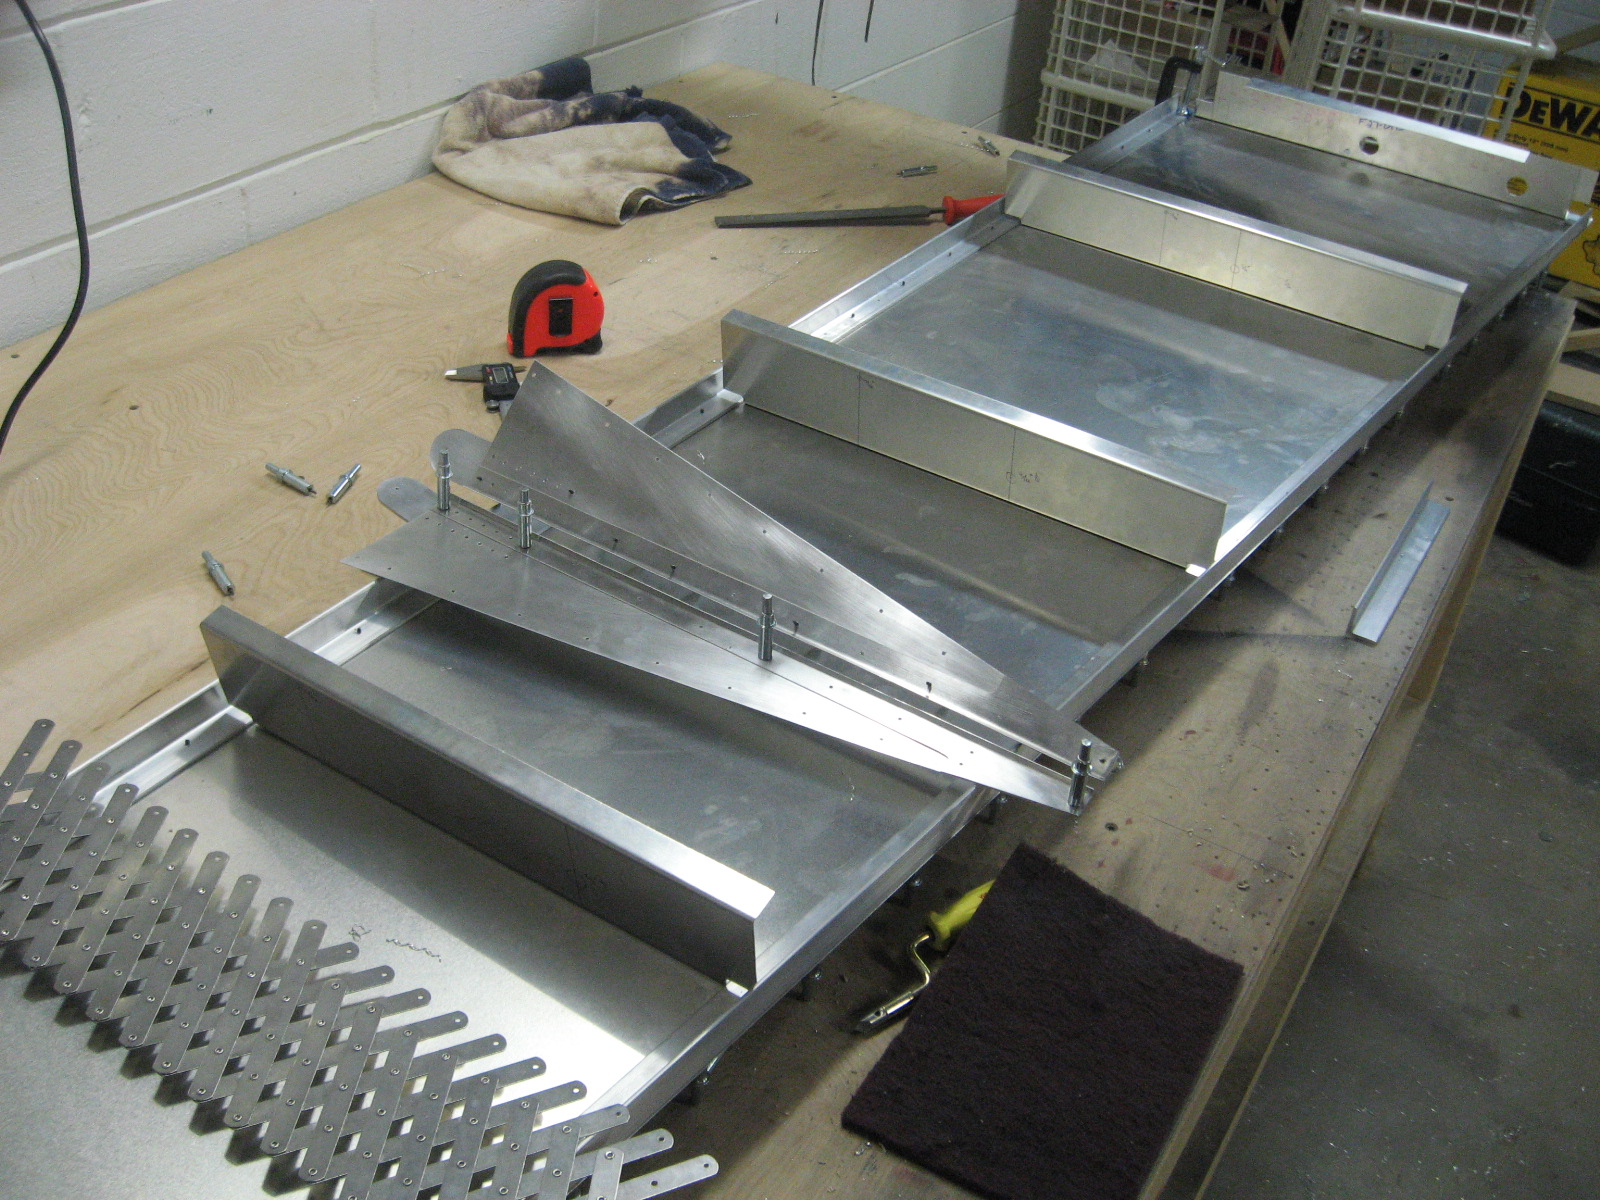
There’s gotta be a rule against using a jigsaw like this.

I used the same technique on the phenolic–in fact I tried it on the phenolic first.

Here are the completed slots and countersunk holes.  I had it all bolted together, but then realized I had more holes to drill and had to take it all apart.


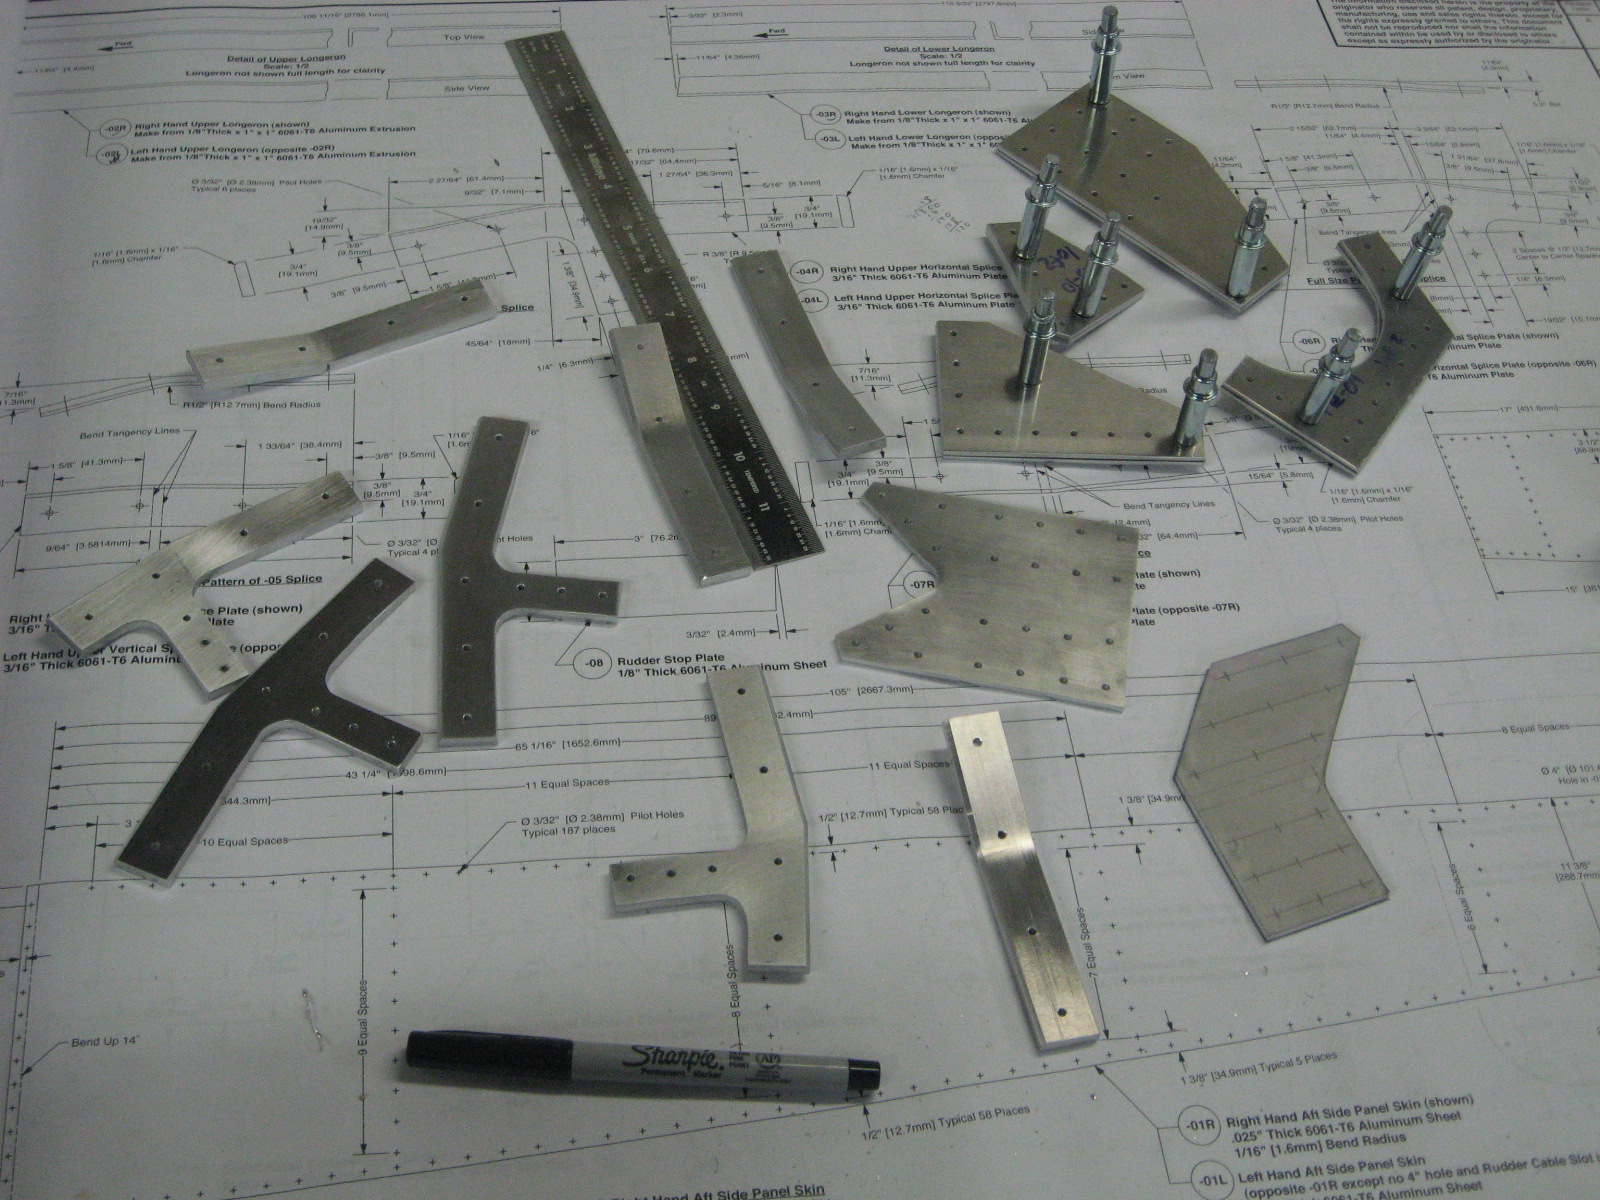
Fuselage splice plates

I cut my splice plates out on the bandsaw and was worried how I would create the precisely chamfered edges.  I ended up getting the critical edges perfectly straight with my vixen file, then used a chamfering router bit to do the edge.  It worked great.

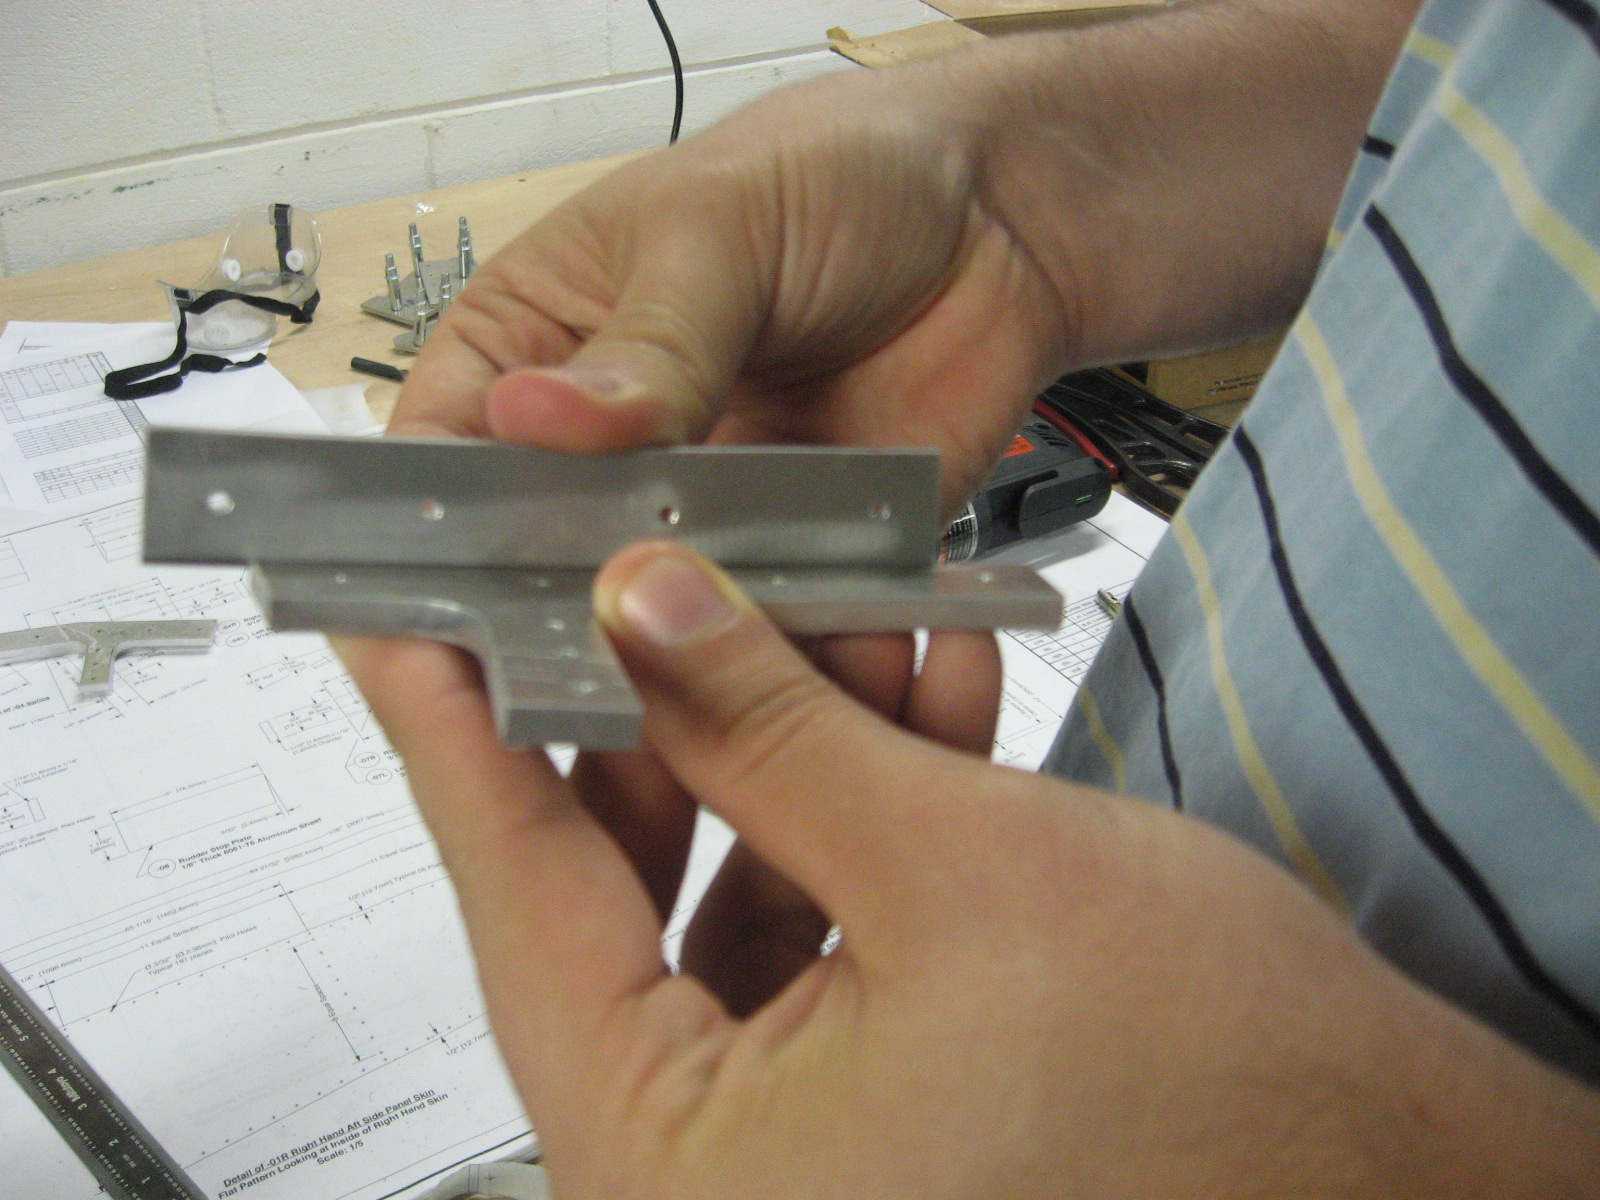
I also bent the parts using the v-block and steel pipe in a vise method.  This is how they are supposed to fit together.

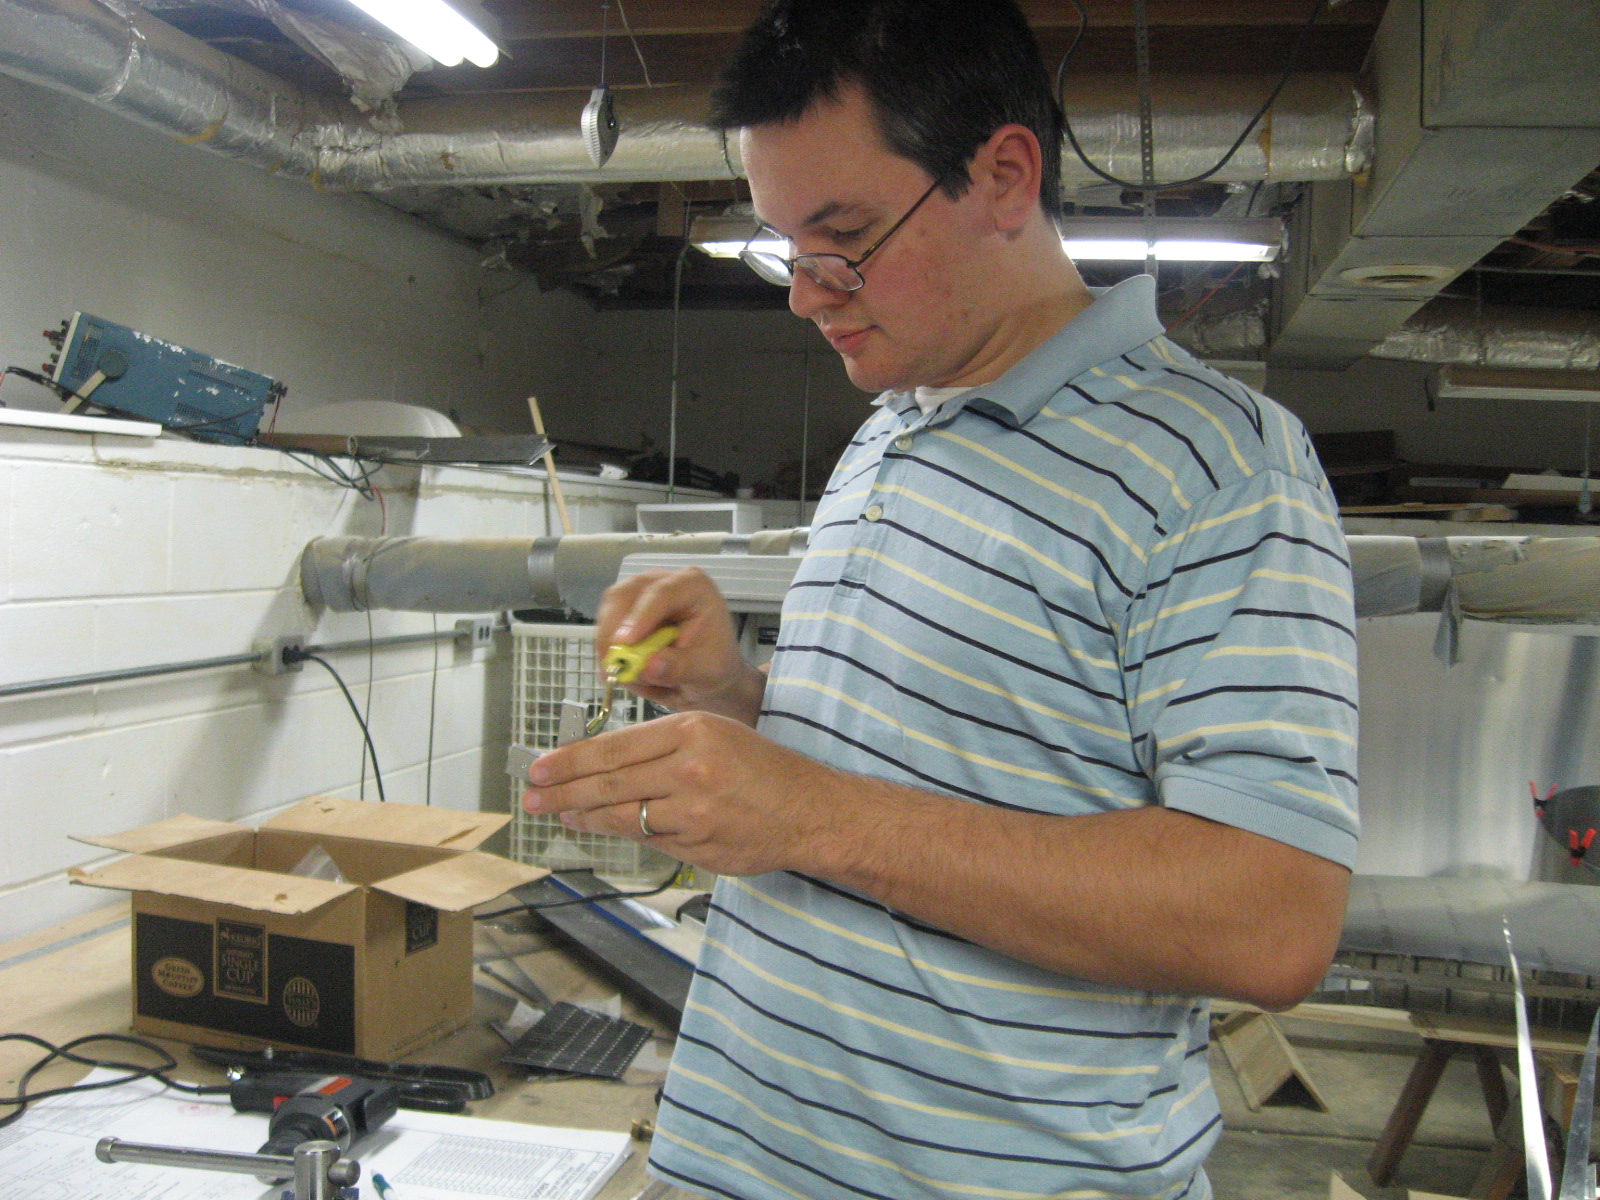
It’s been a while since I had a picture of me working on the plane.  Here I am deburring the holes on a splice plate.

Aft Fuselage


I changed jobs and took a 2 week vacation to Taiwan.  This interrupted my Sonex work and work log entries.  I have done a considerable amount of work since the last post.  I trimmed all the aft fuselage longerons to the correct length and attached them to the fuselage sides I previously cut out.  I attached the fuselage vertical stiffeners in place with clecos.  This picture shows a fuselage side with two seatbelt attachments laying on top that I also built recently.

I asked around and have not found a 8′ sheet metal brake, so I finally started building another workbench for a homemade brake.  This has the added bonus of helping me better organize the basement and gives me another surface to work on when the fuselage sides are taking up the other workbenches.

Aft fuselage sides

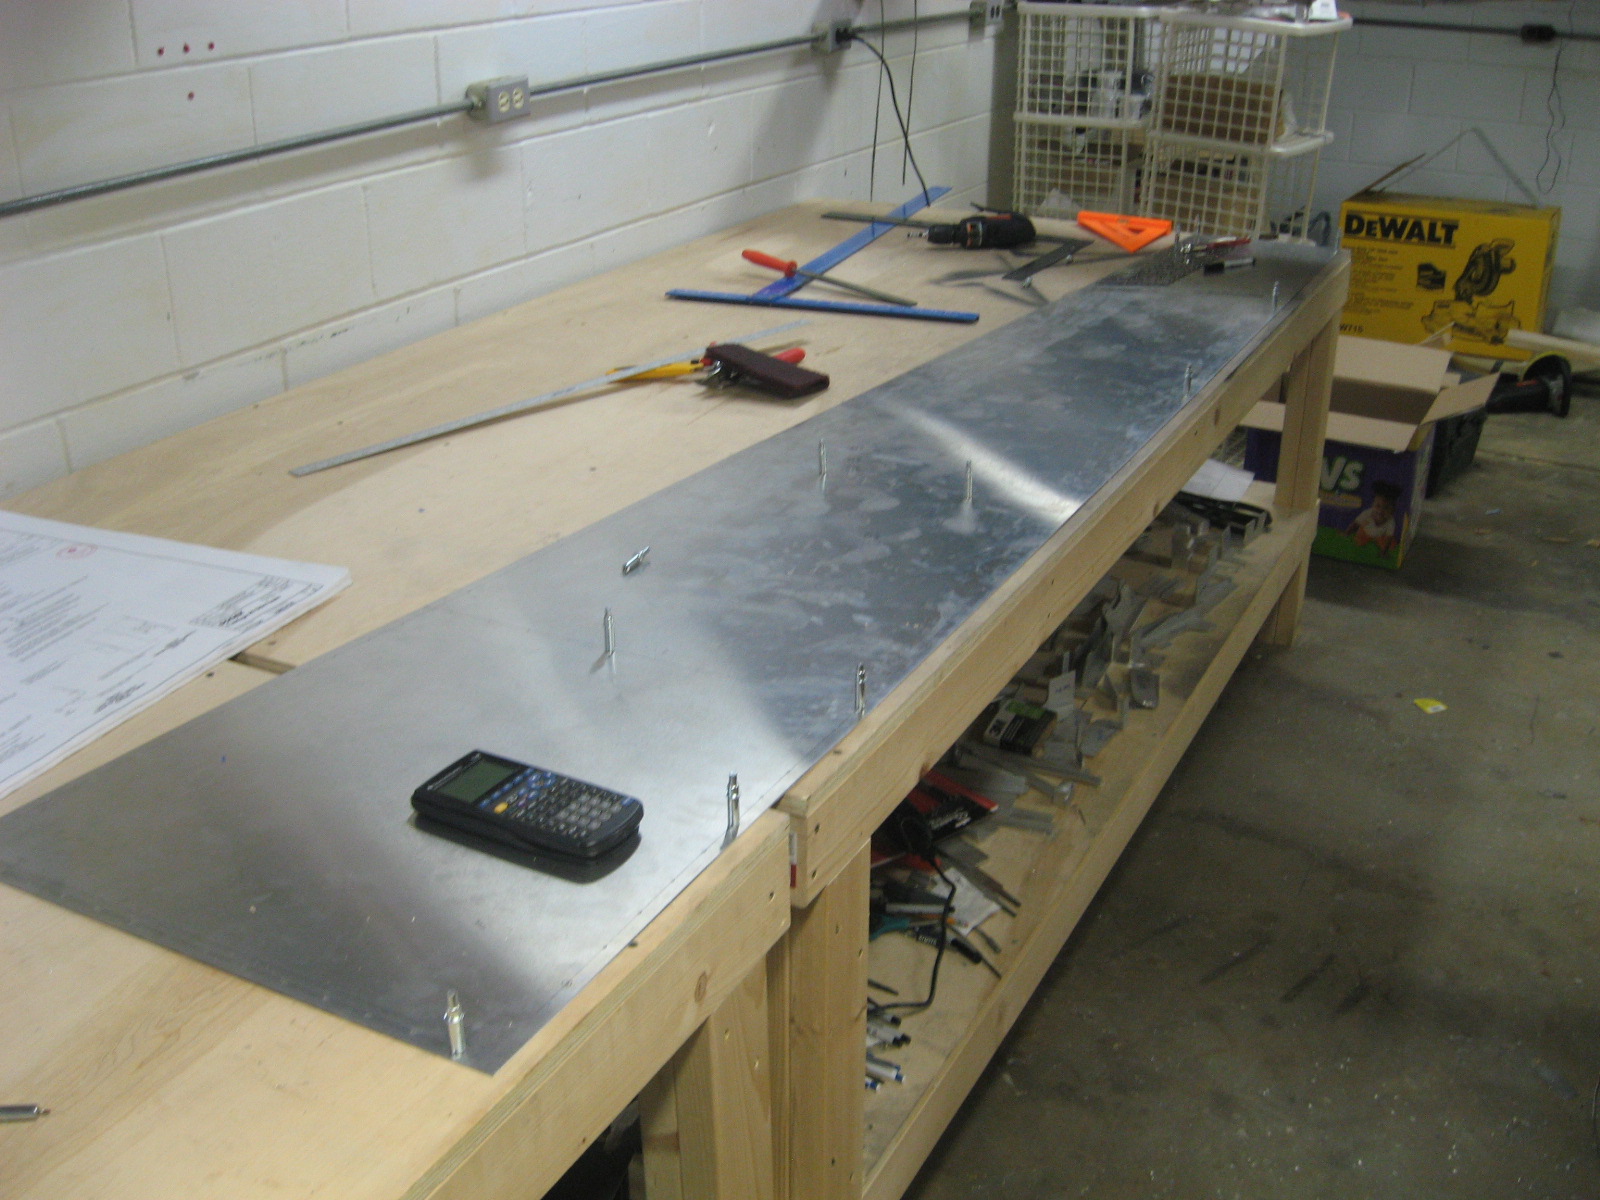
Cut the fuselage sides from sheet metal using the edge of a sheet as a straightedge.  I drilled all the holes with the two sides clecoed to each other and the table.

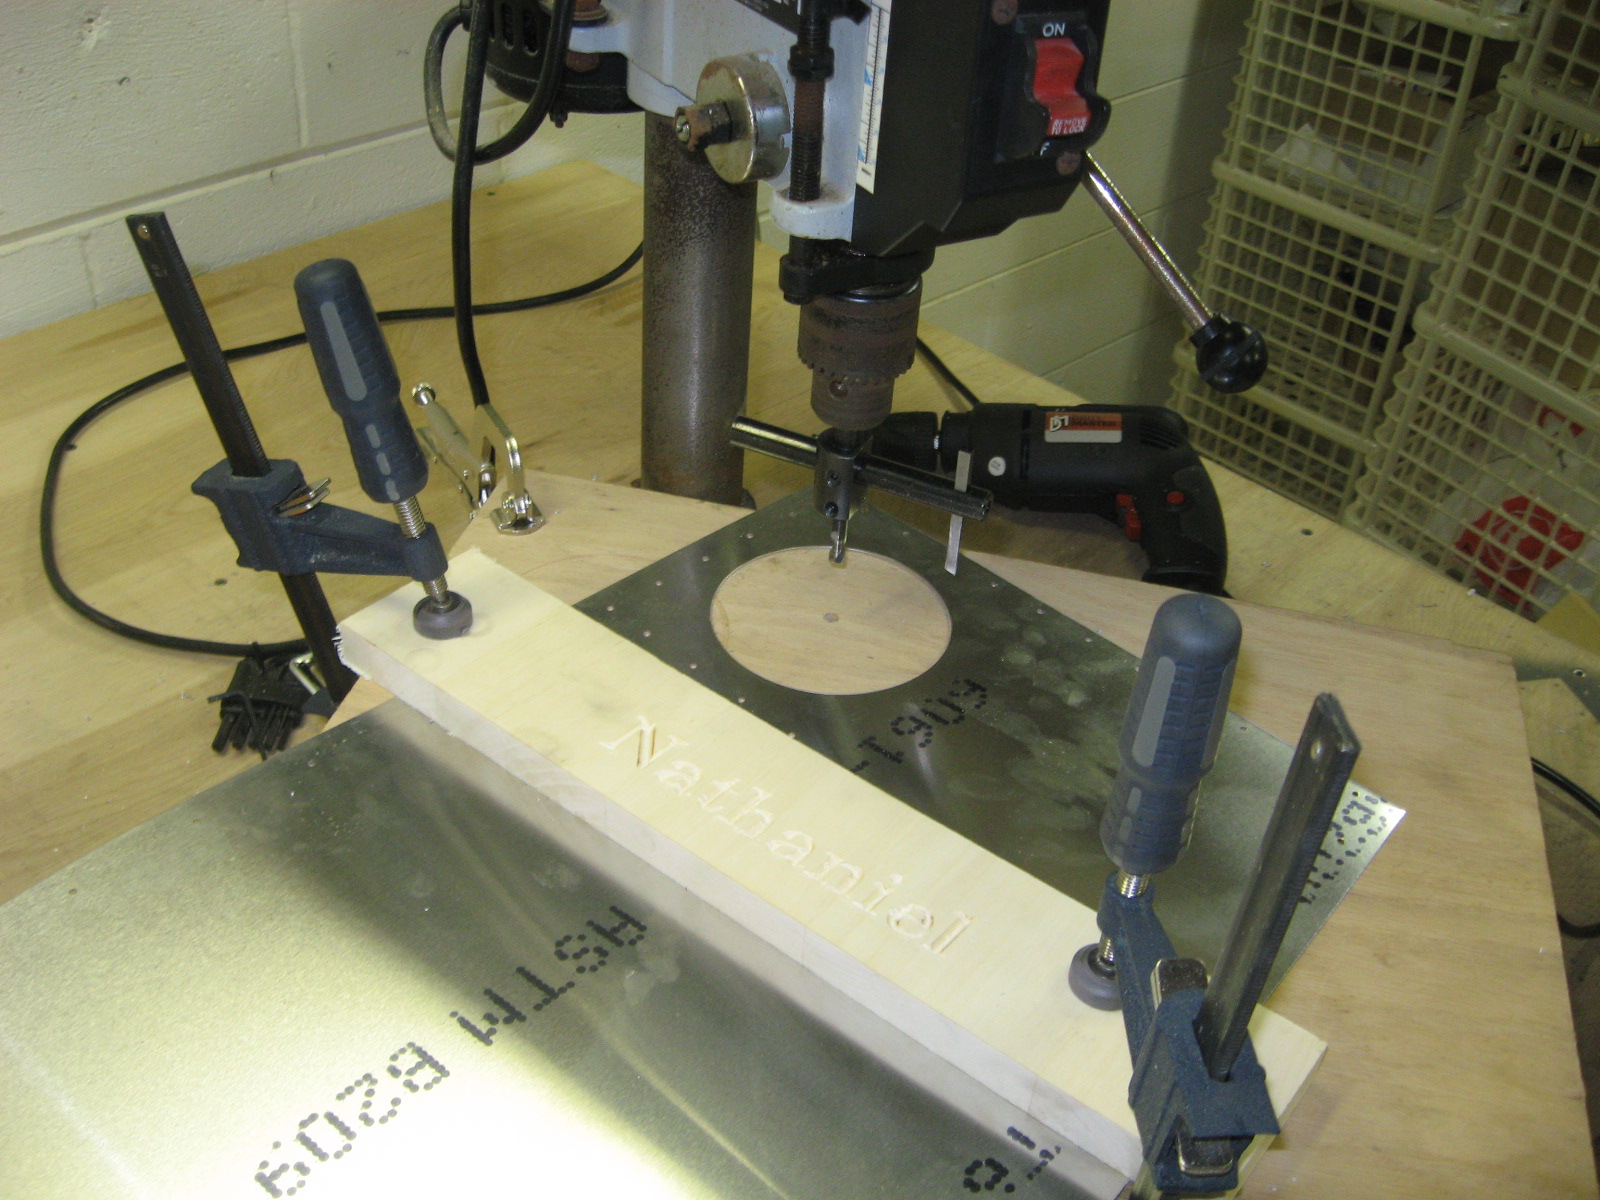
Cut the inspection holes with the fly cutter on my drill press.  I was pretty careful to get everything clamped down well.  The fly cutter occasionally stalls, but I found that if I raise the cutter up and down slightly while cutting, it gives the cutter a chance to return to speed before cutting again.  This seemed to help and it never stalled again.

I also started cutting the longerons.  These are simple cuts, just on really long pieces.