For our fifth wedding anniversary, Caroline and I decided to go to Niagara Falls, somewhere neither of us had been before. We flew into Buffalo, New York and drove to the Canadian side where we stayed.
It rained most of the days we were there and the first day was no exception. Our first official act as tourists was to buy Canada jackets. They turned out to be a really good investment, even if they were a dead giveaway that we weren’t from around those there parts.
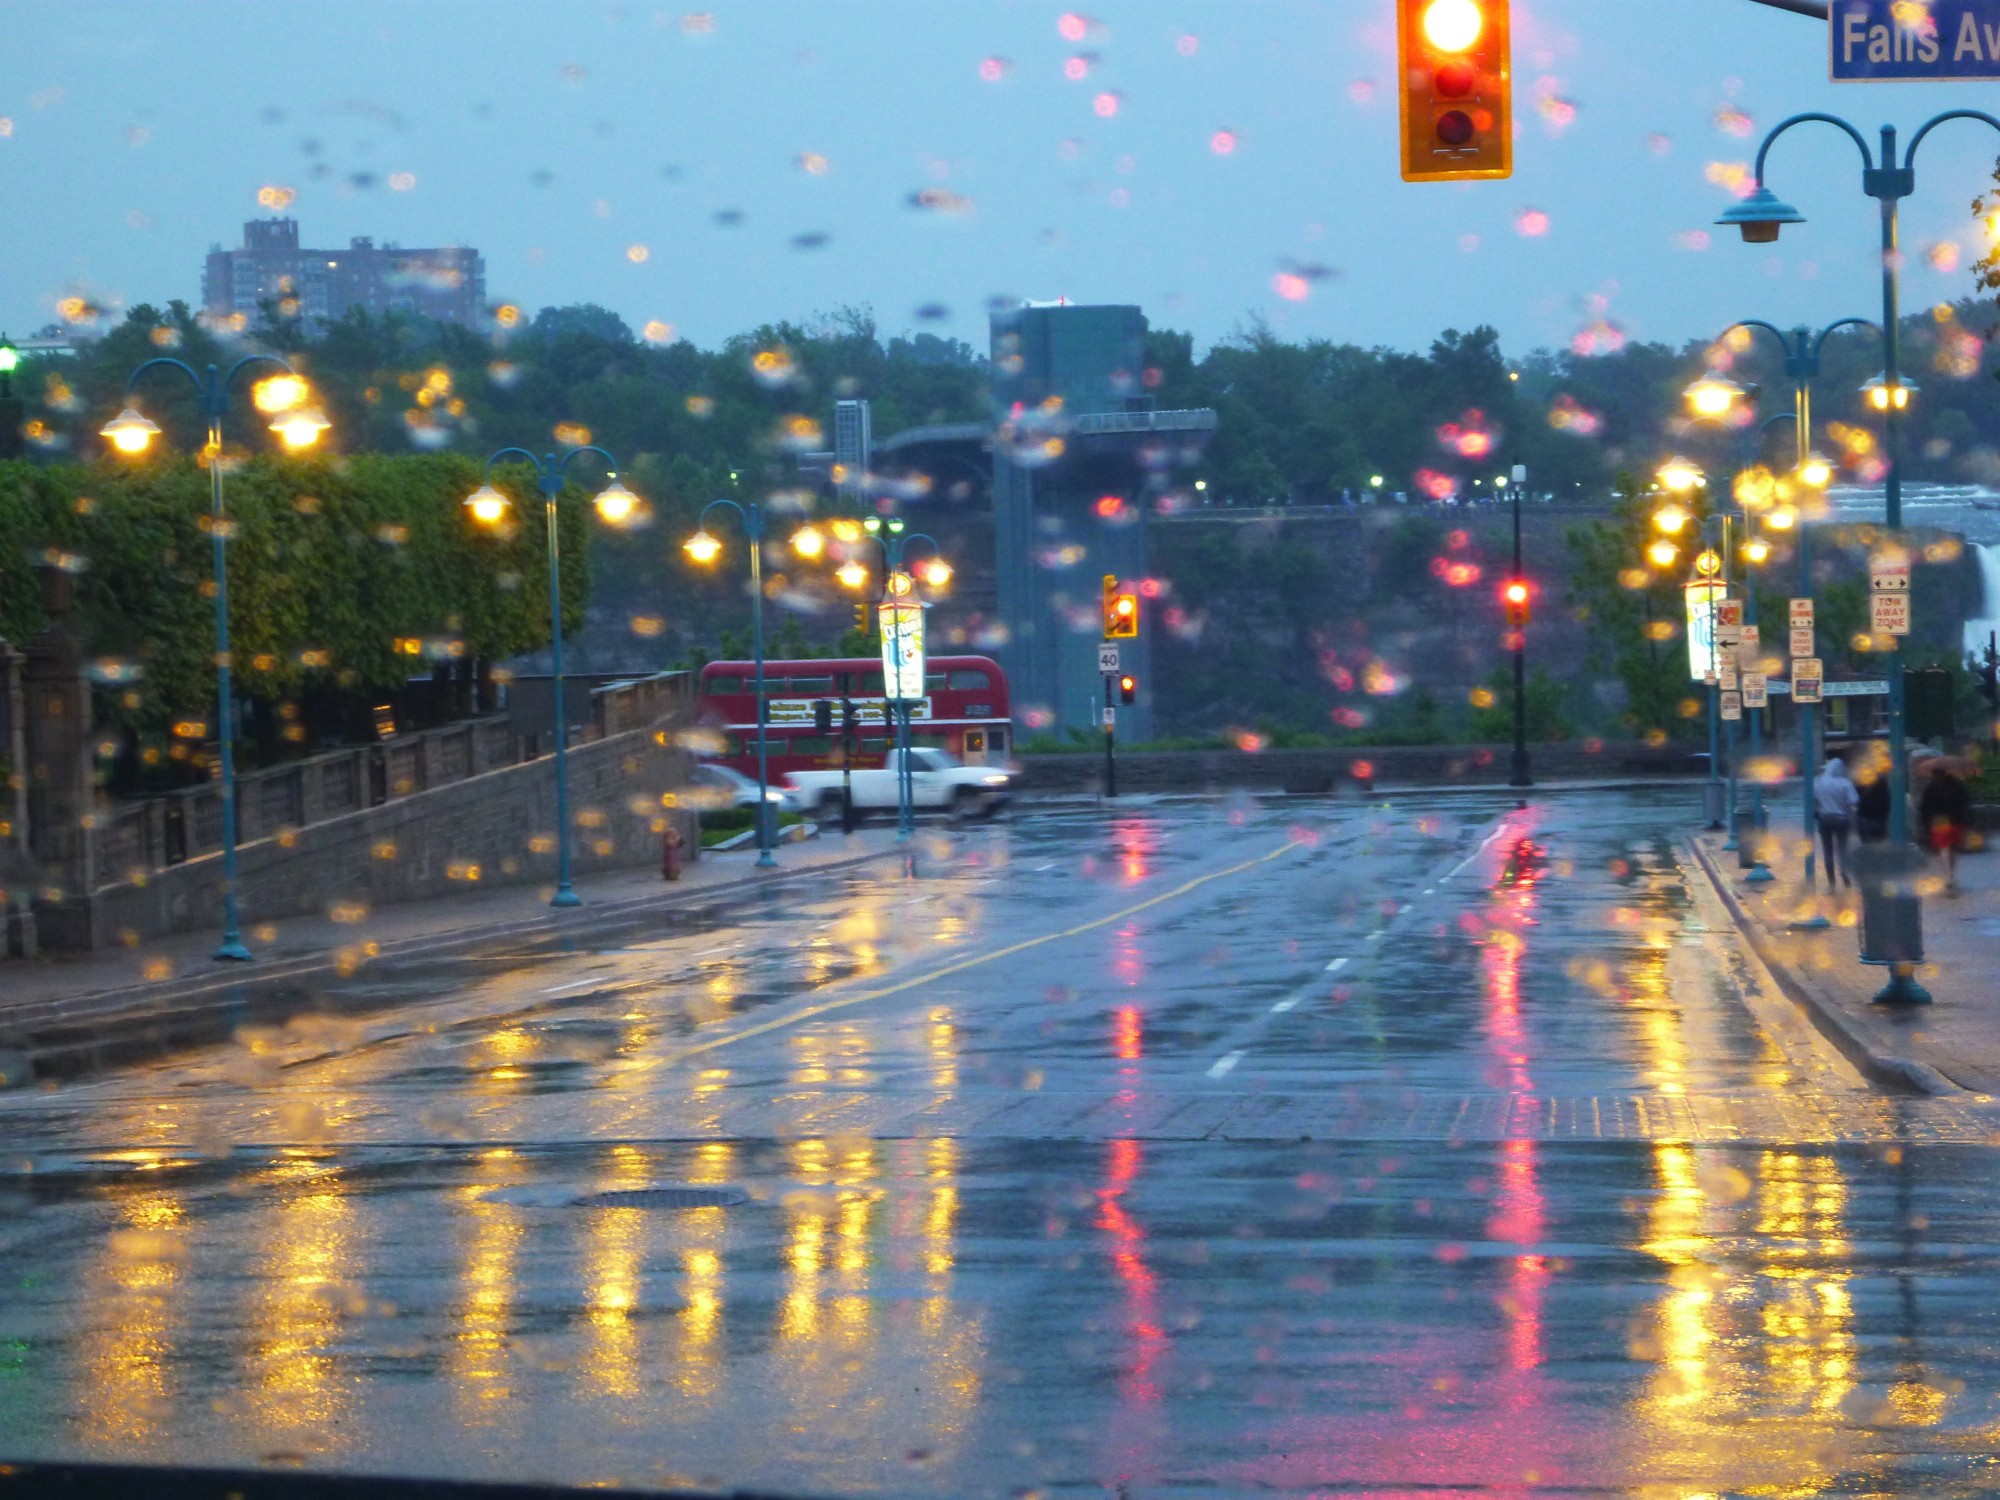
Here’s a picture Caroline took shortly after we arrived while we were driving down River Road trying to find our bed and breakfast.

We stayed at the Accommodations Niagara Bed and Breakfast, about a 15 minute walk down river from the falls. The host, Lee, has Southern Hospitality beat by a long shot: the B&B felt like home, with every detail planned for and taken care of before you knew you needed it. And the food was amazing! The breakfasts were huge and different every day of our stay. Most days we didn’t bother eating lunch since we were so full. We stayed in the Falls Suite and River View, both great rooms. So go visit Lee’s Place, and be sure to be hungry. Very, very hungry!

We bought the Adventure pass which got us on Maid of the Mist, Niagara’s Fury, Journey Behind the Falls, and the White Water Walk. Everyone should ride Maid of the Mist. We are glad we saw the other attractions, but given the choice, Maid of the Mist is definitely the best.

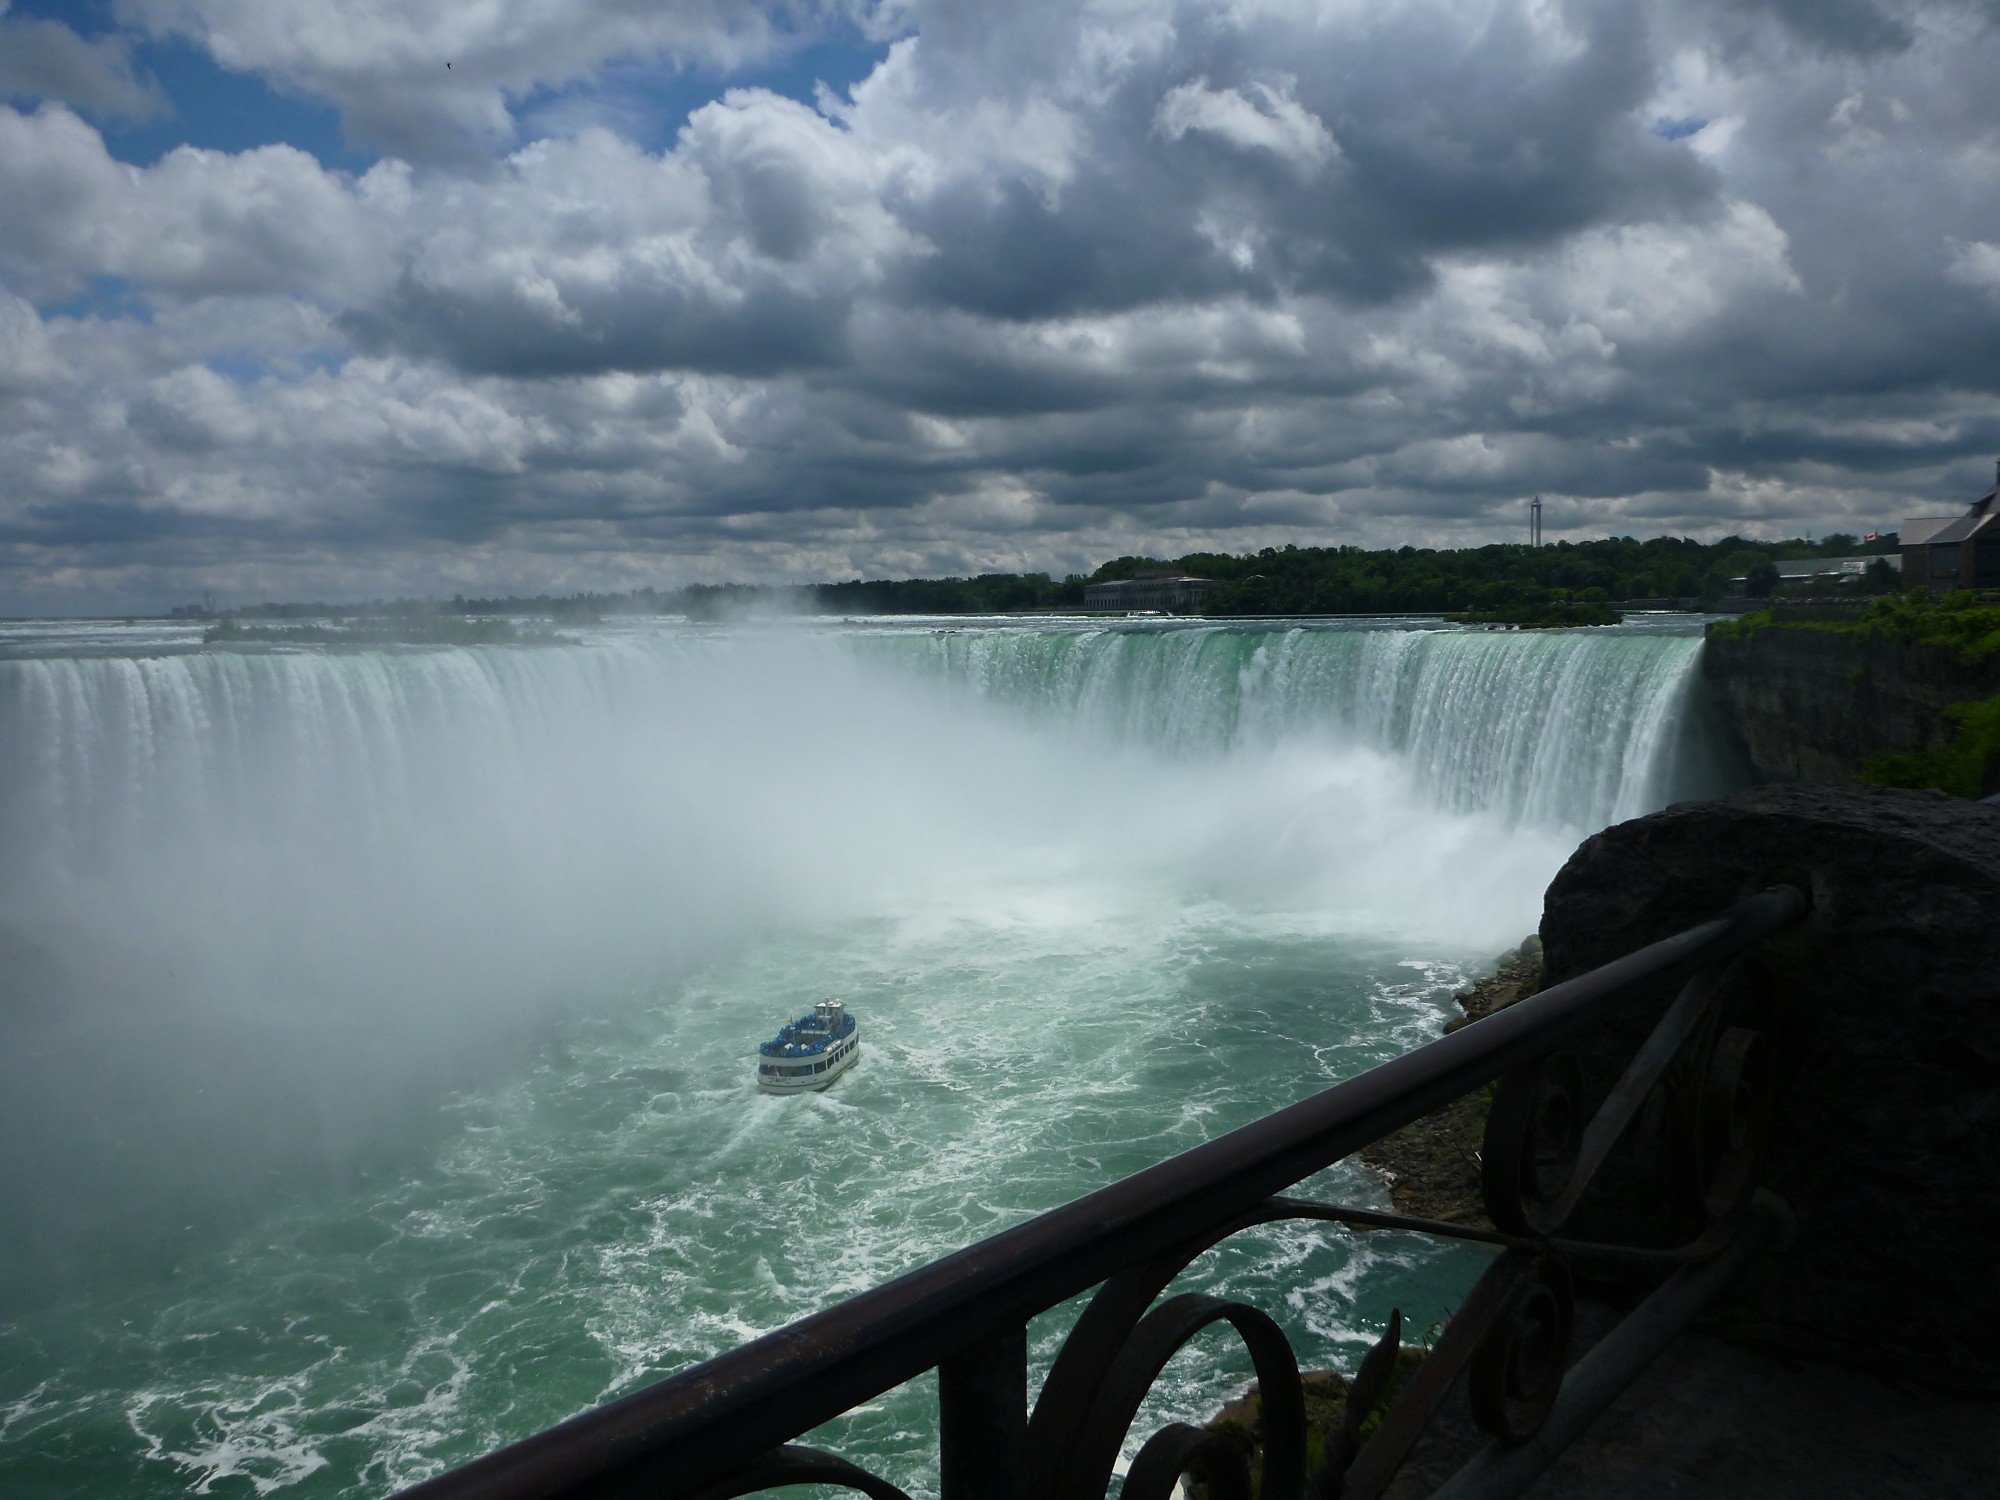
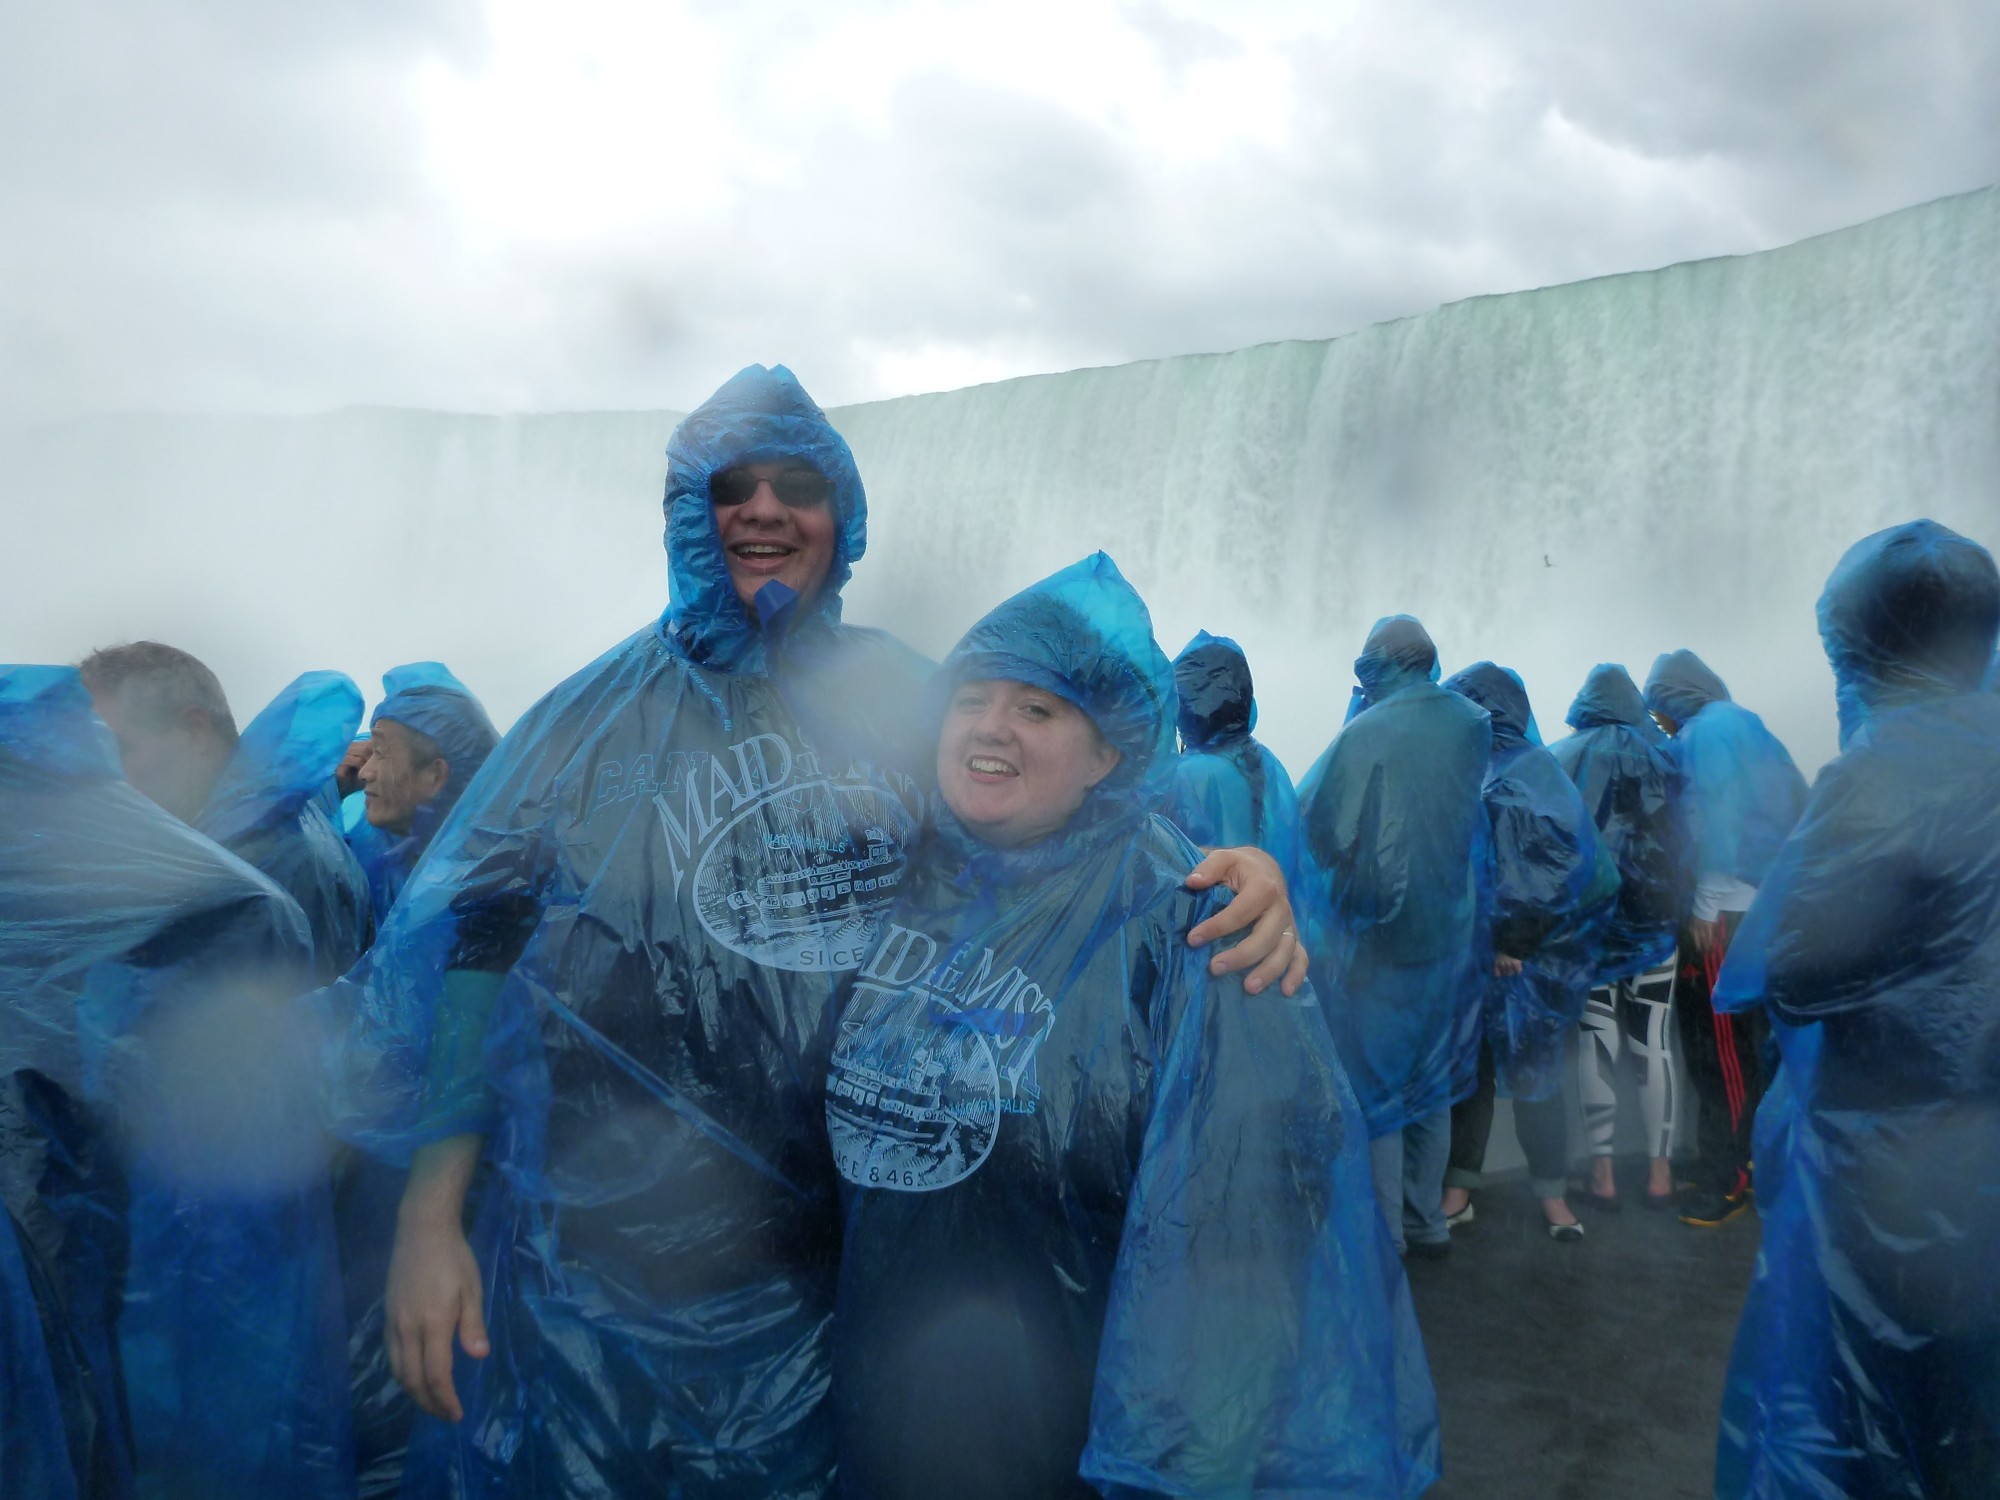
As advertised, the boat travels right up into the mist of Horseshoe Falls (and passes the American falls) and you get really wet, but the free poncho keeps you reasonably dry.

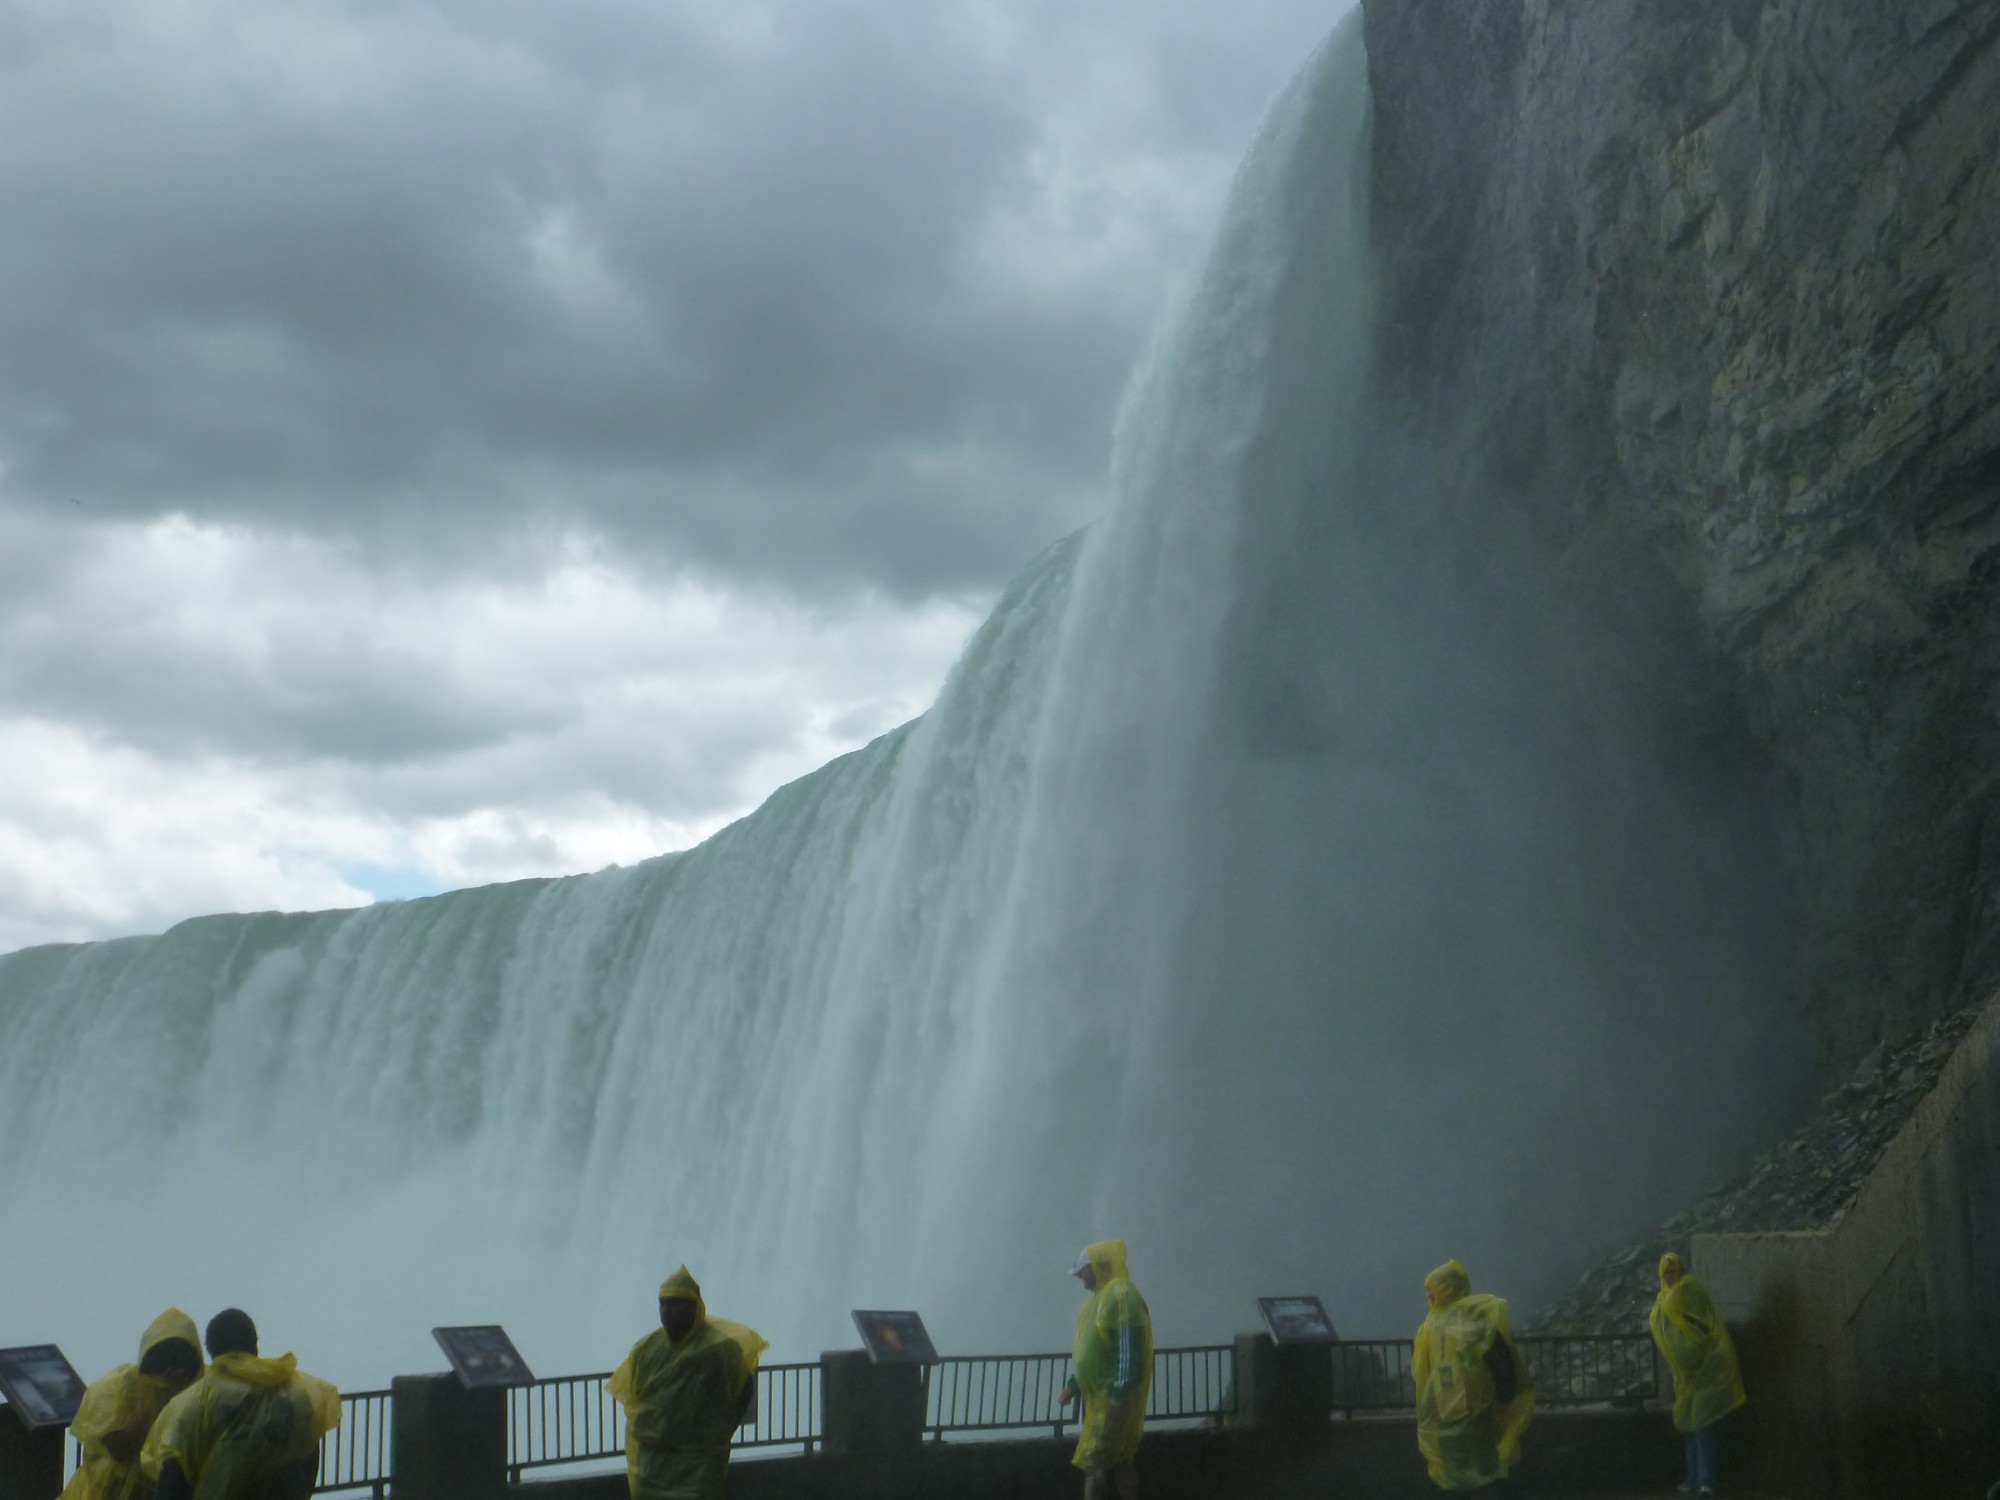
Journey Behind the Falls takes you through a tunnel that ends behind Horseshoe Falls. The best part of the attraction is probably actually the lookout to the side of the falls where you can feel/see the power of the falls.

Niagara’s Fury is a gimmicky 4D movie that gives a really brief history of the falls where they make the floors jump and the water fall on you. We’re hoping some of the issues with the arrangement of the 360° screen shots were because the attraction was so new.
We took the White Water Walk the second day of our stay. It was about the same walking distance from our B&B in the opposite direction as the Falls. The Niagara River boasts rapids the stay in the Class 5 and Class 6 ranges due to both the water’s trip over the Falls and being squeezed into a narrow gorge. The walk is relatively peaceful, but that water sure isn’t!

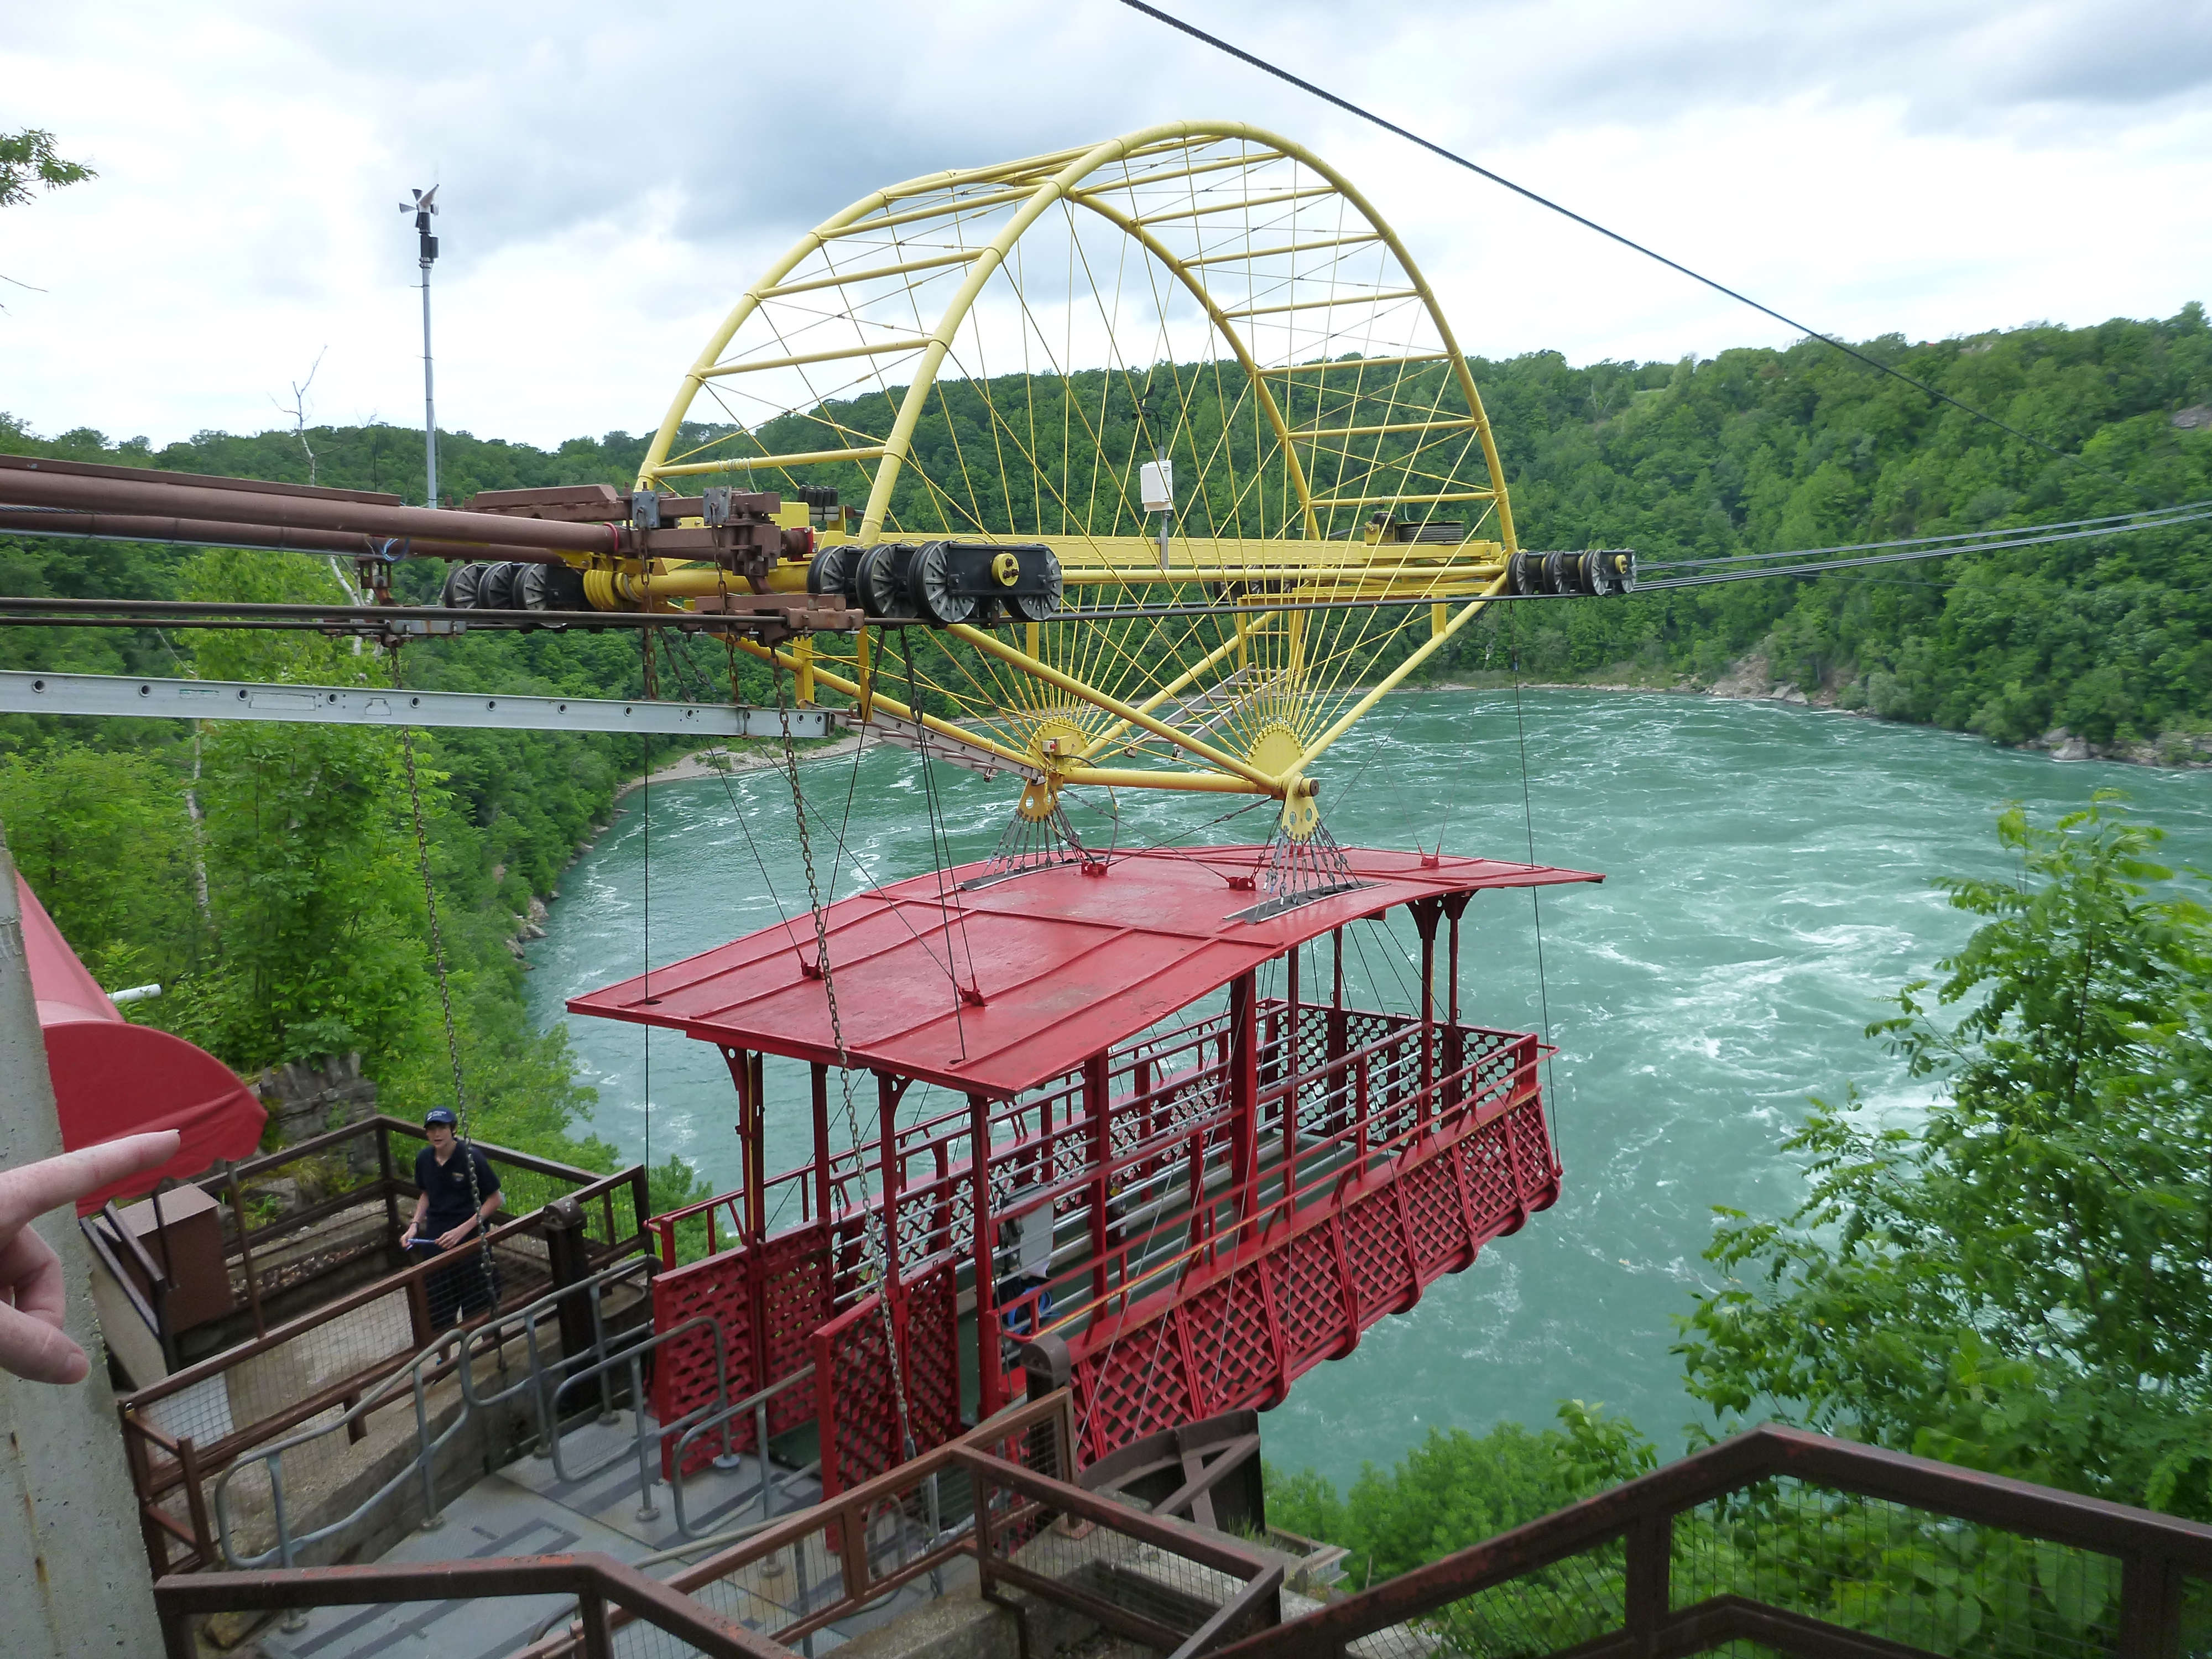
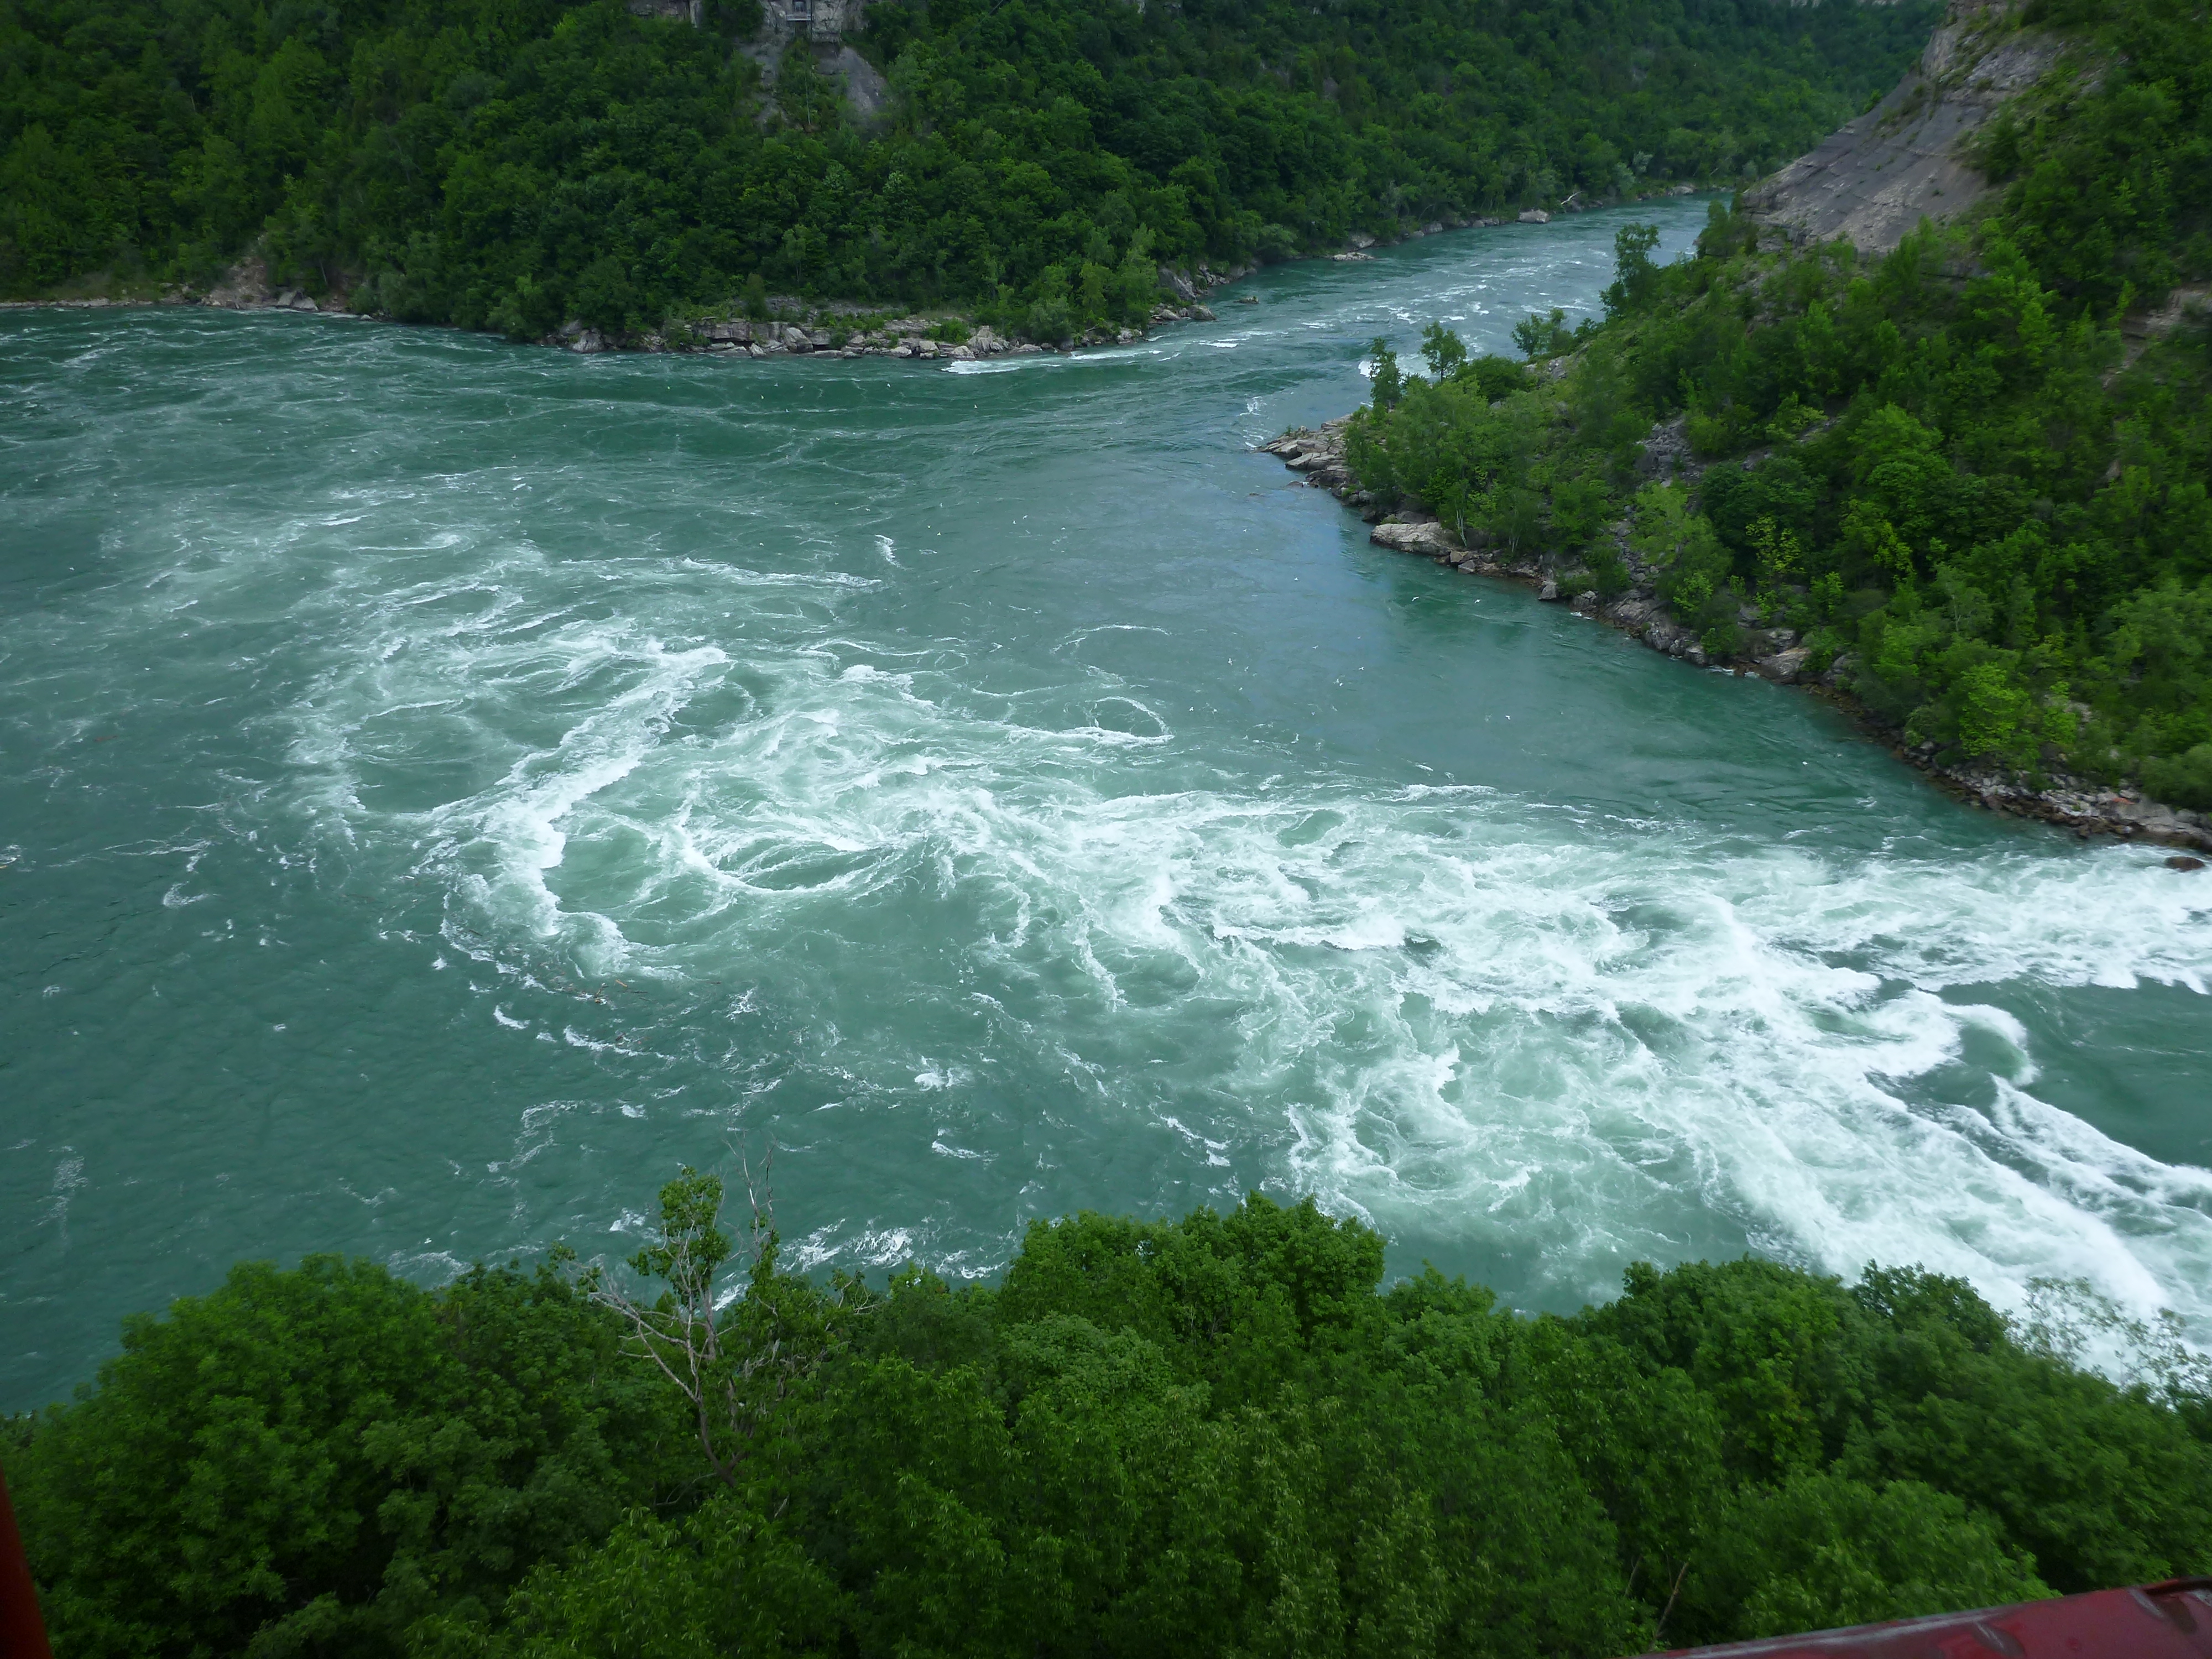
We continued from the White Water Walk to the Whirlpool Aerocar Ride. It’s basically right next door to the Walk, and is a cable car ride that takes you over another unique feature of the Niagara River: The Whirlpool. There is a 90° turn in the river, and with the water going so fast, it creates a whirlpool that might look calm, but has been disastrous for most who have crossed paths with it. The cable car itself was built in the 1916, and is basically the same as it was then. Perhaps we are just a little crazy?


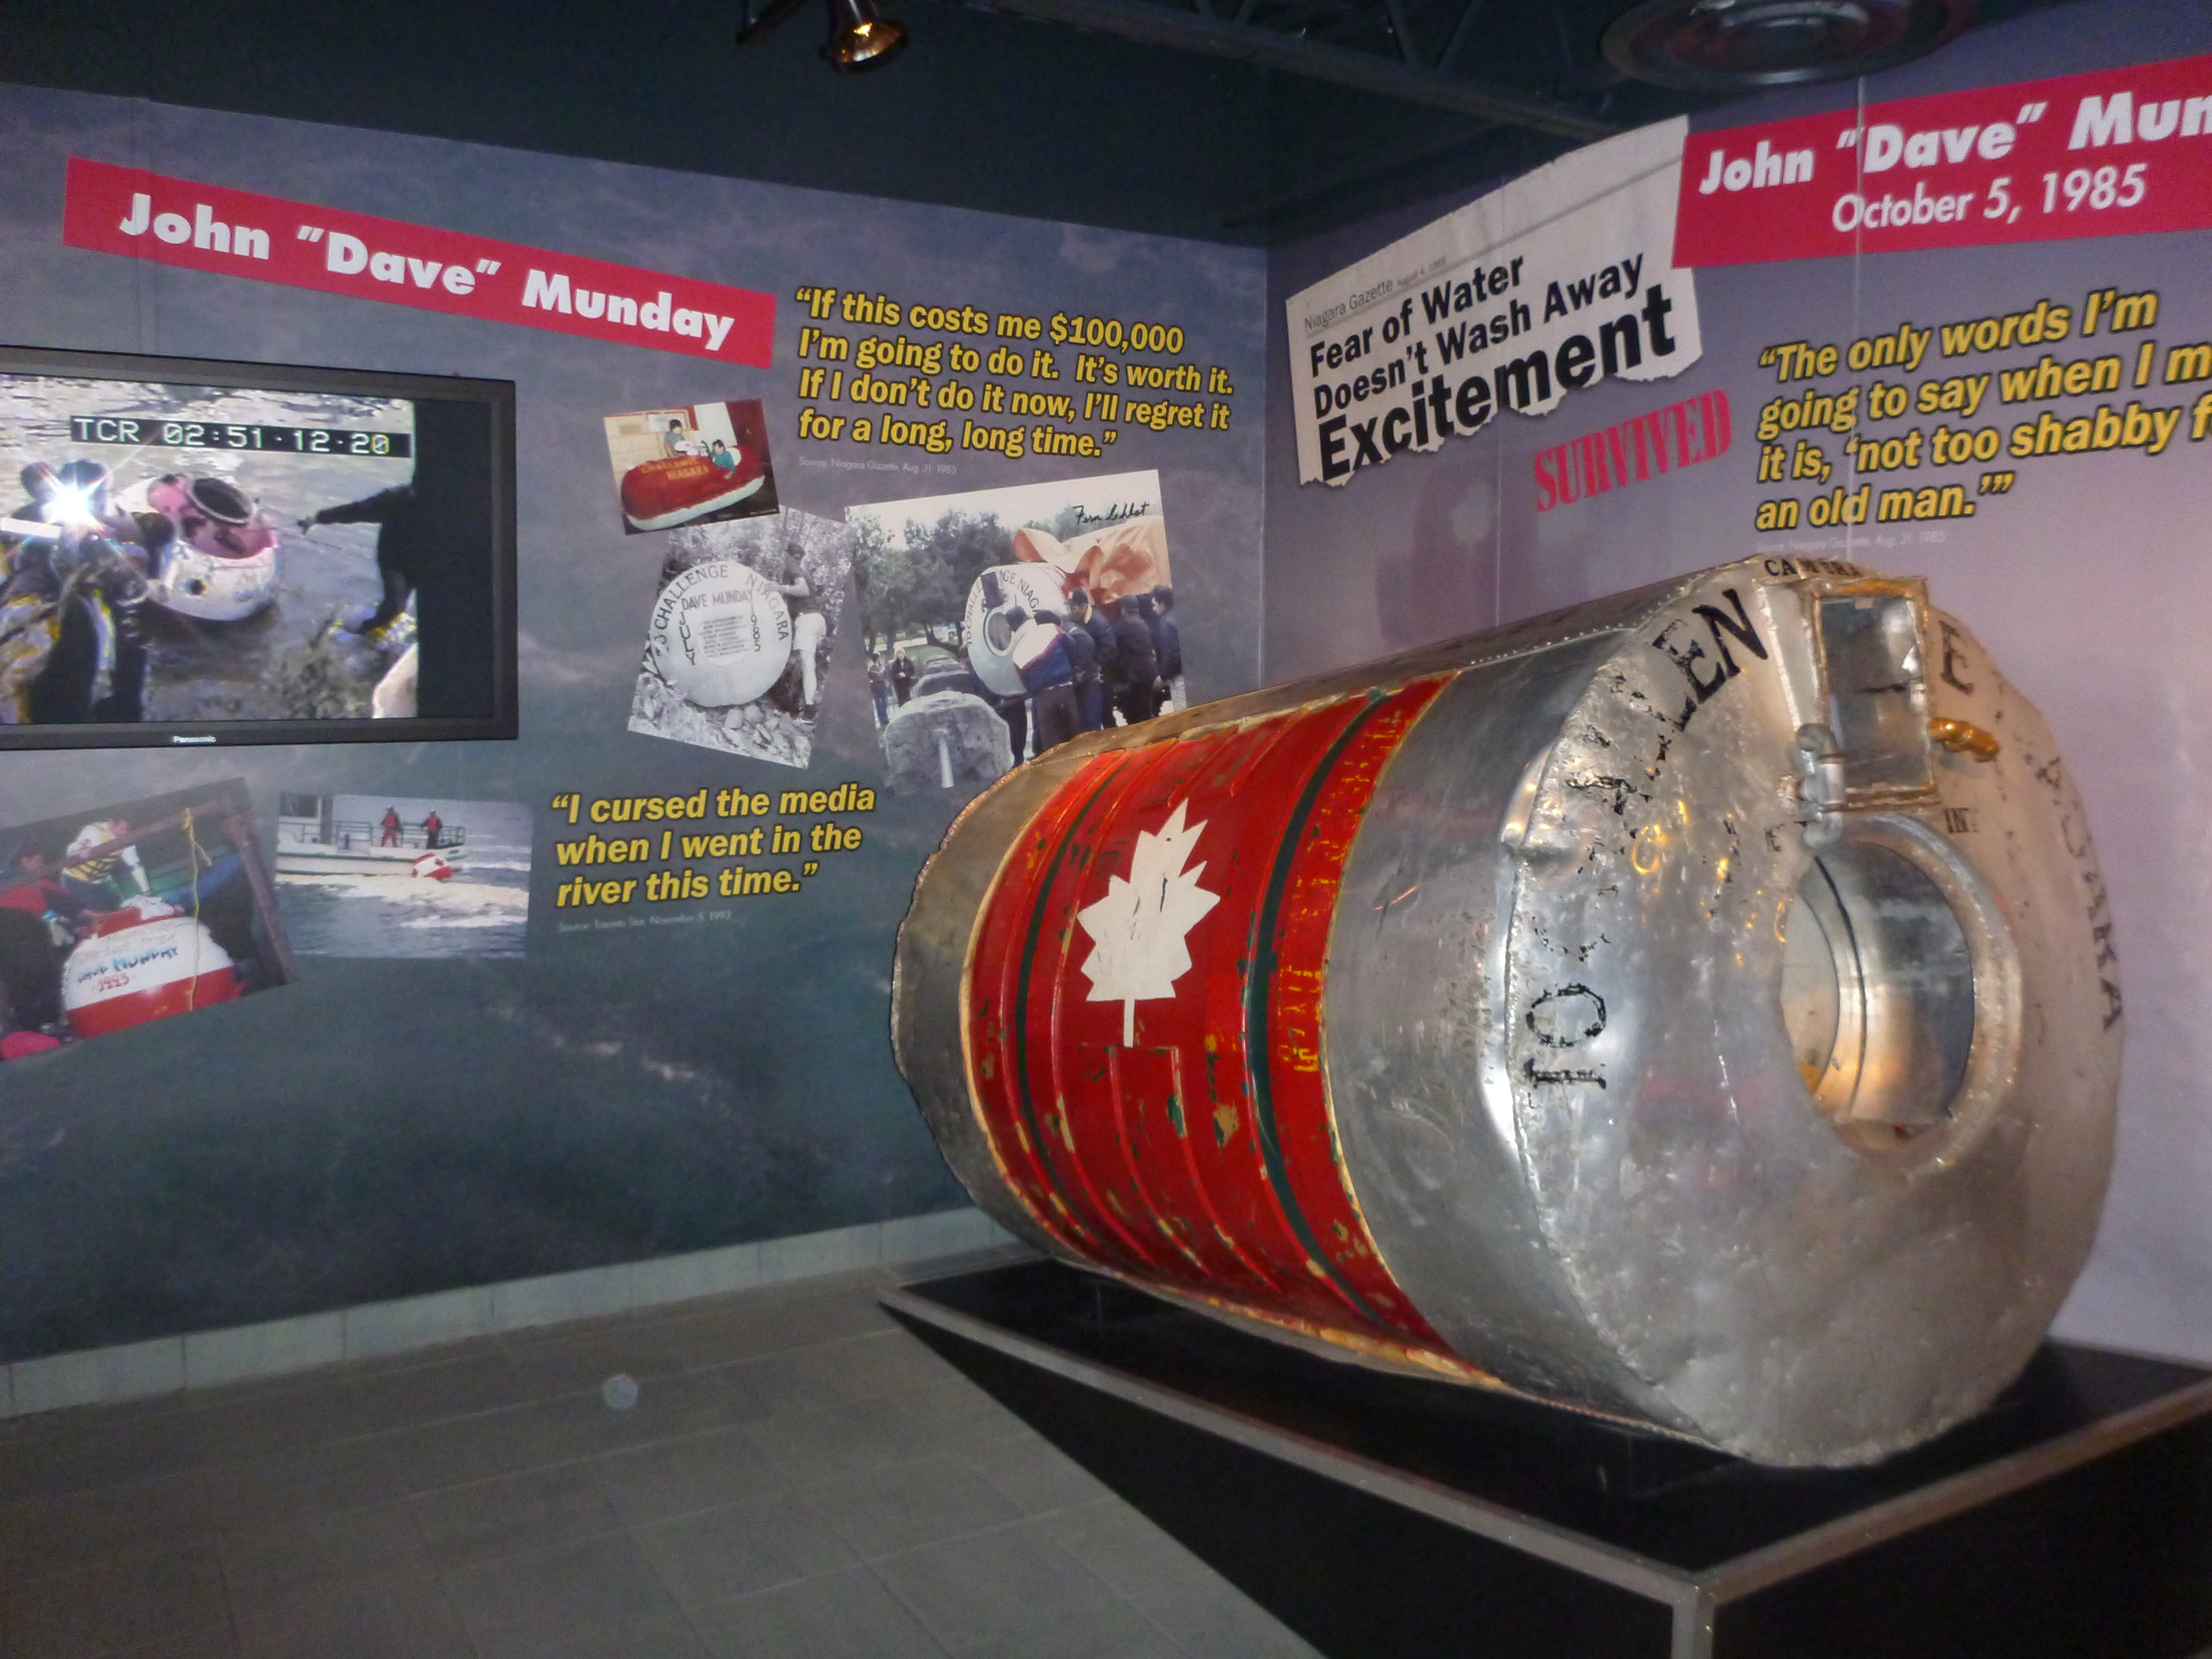
Basically every site around Niagara reminds you of the area’s Dare Devil history. We learned all about why Niagara Falls is the place every one wants to go over in a barrel. In 1901, a 63-year-old teacher did that very thing as the first person to ever try that stunt. Since then, no one seems to have heeded her first words upon exiting the barrel: “No one ought ever do that again”. All through the tourist areas you find examples of the boats, barrels, and contraptions the Niagara Daredevils have used to win their few seconds of fame both on the falls and in the rapids. The Imax theater even had a bonus mini museum with quite a few on display. We decided the Niagara Parks people were trying to subliminally convince more people to tryout the falls, rapids, and whirlpool since it is $10,000 a head in fines. We opted out this time.

We also toured the Canadian power plants on our second day. The plants use the power of the Niagara River to generate energy. Aside from the snarky tour guide, we quite enjoyed the stroll through their facility and learning more about renewable energy.

Chris was also slightly jealous of their tools:

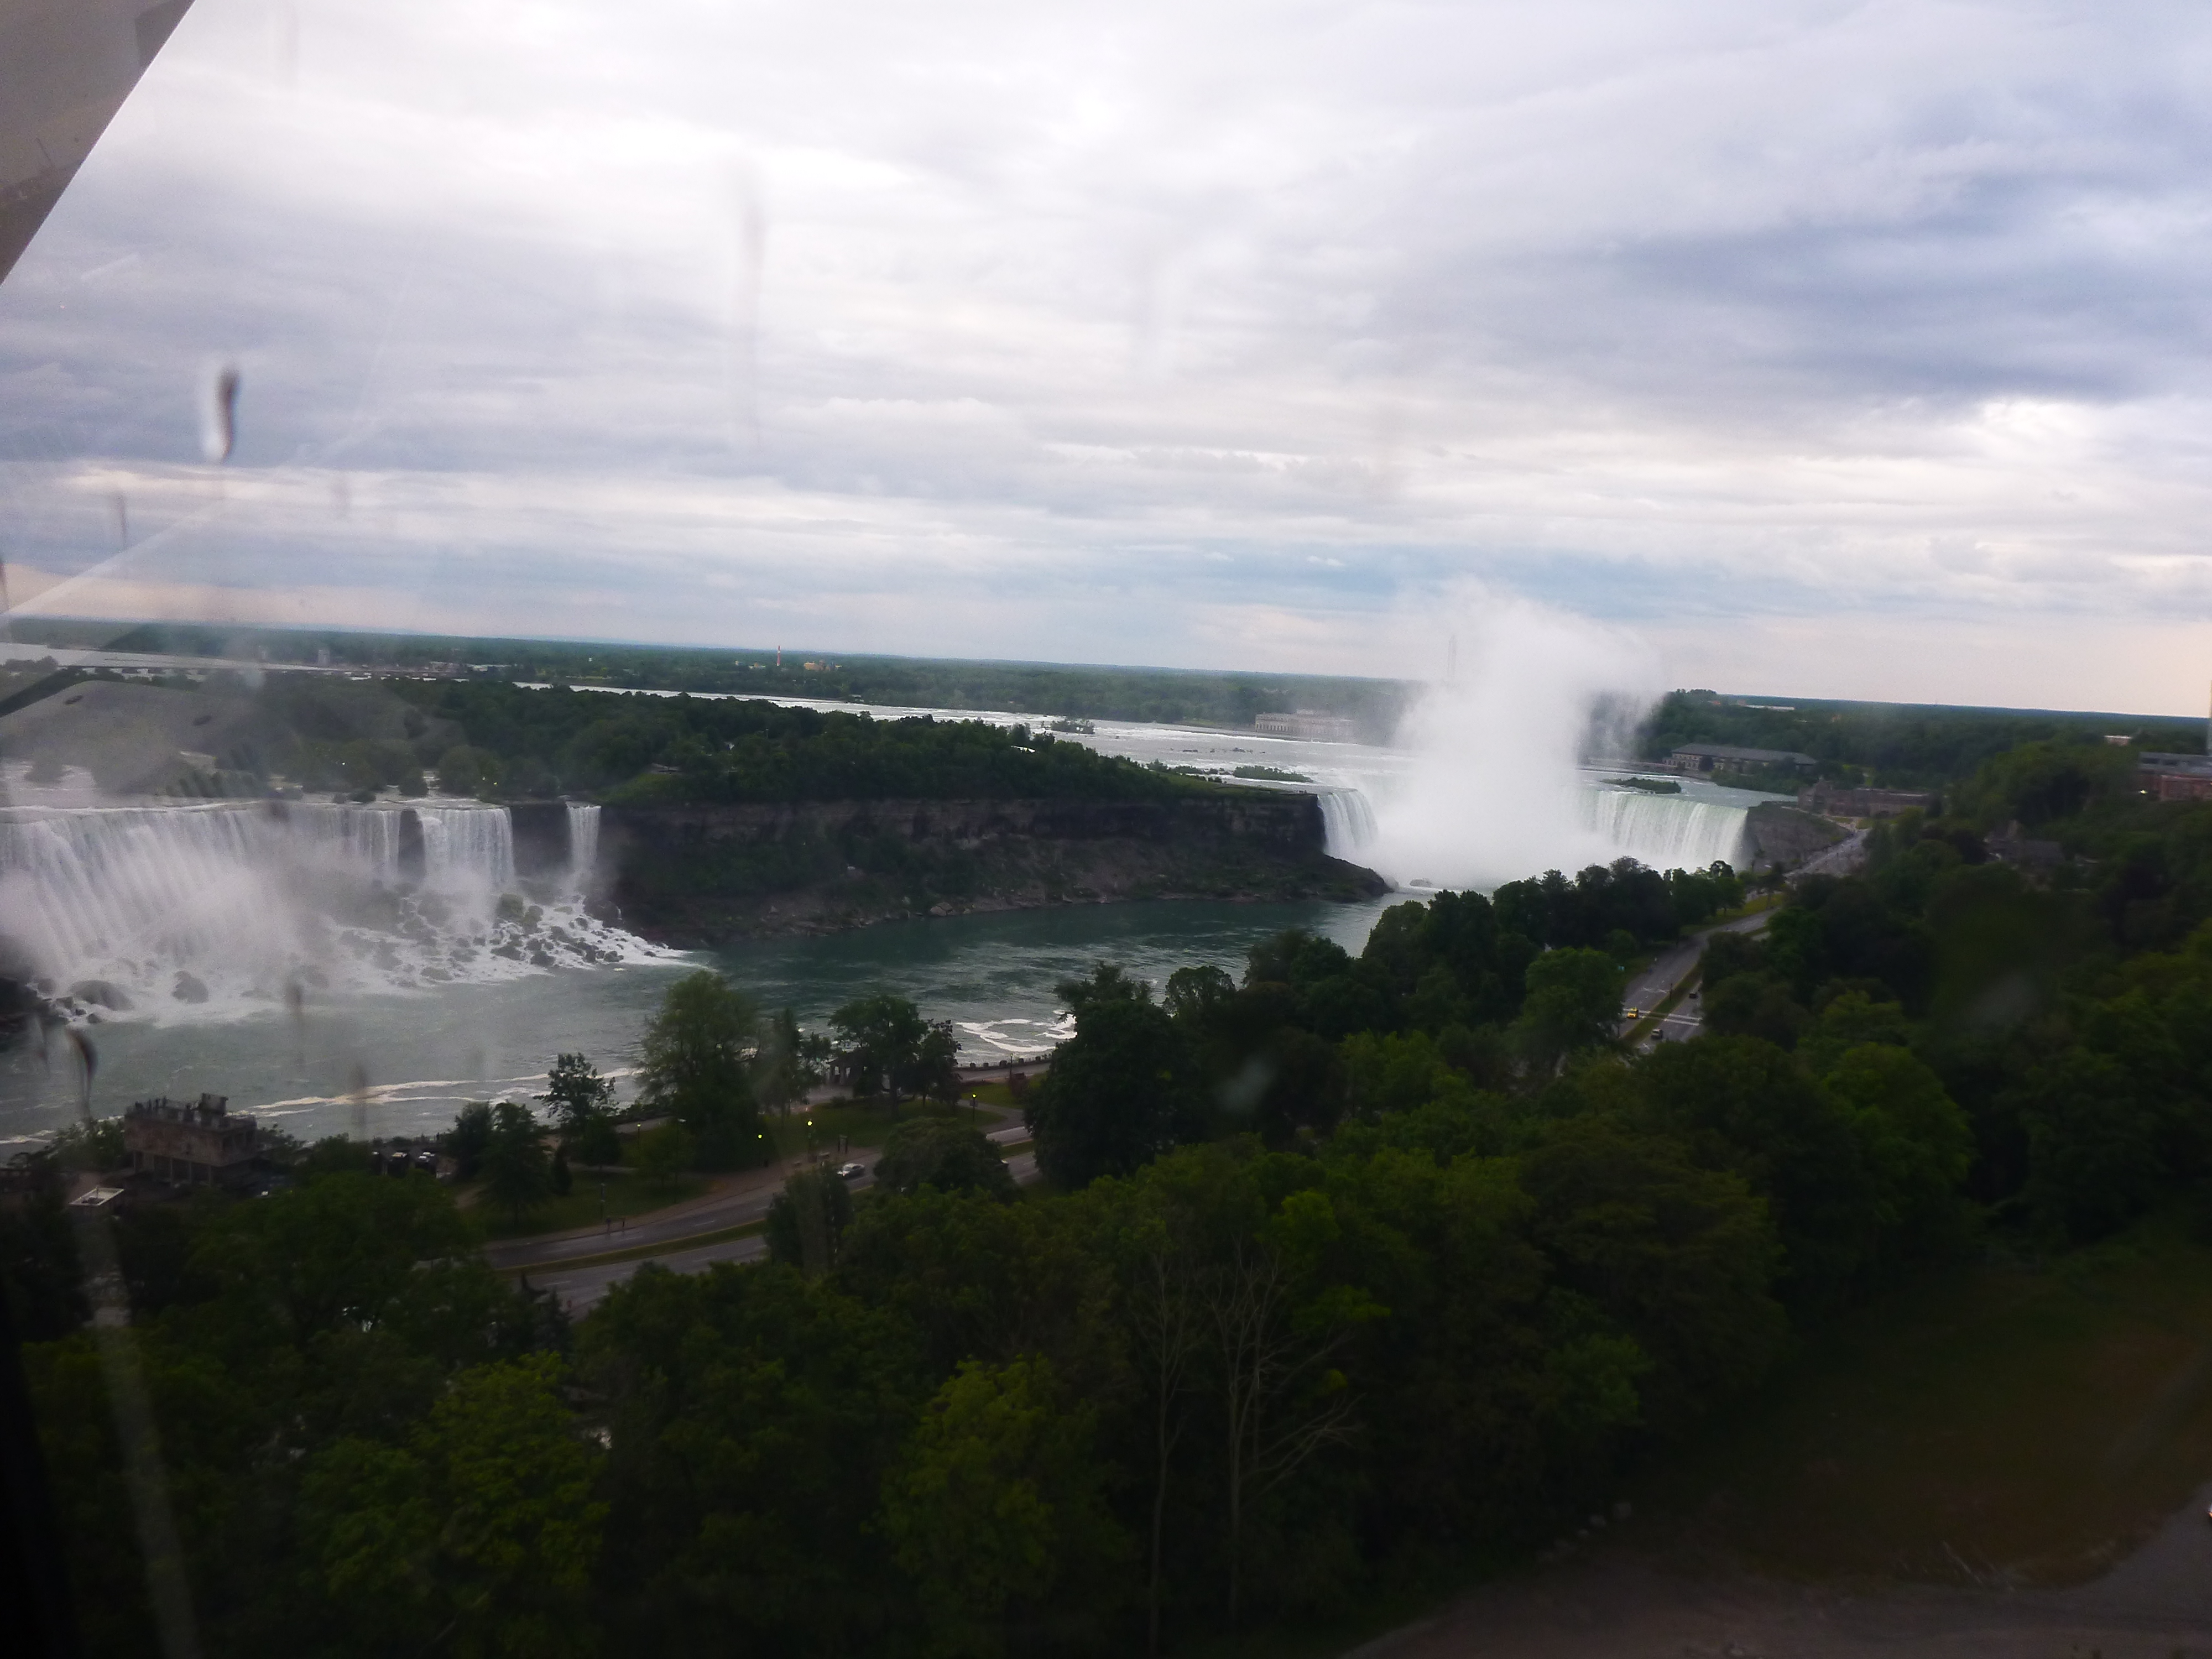
The end of our second day found us back on the Falls side of things. We rode up on their SkyWheel Ferris wheel. It gives spectacular views all over the Niagara Falls area, like this:

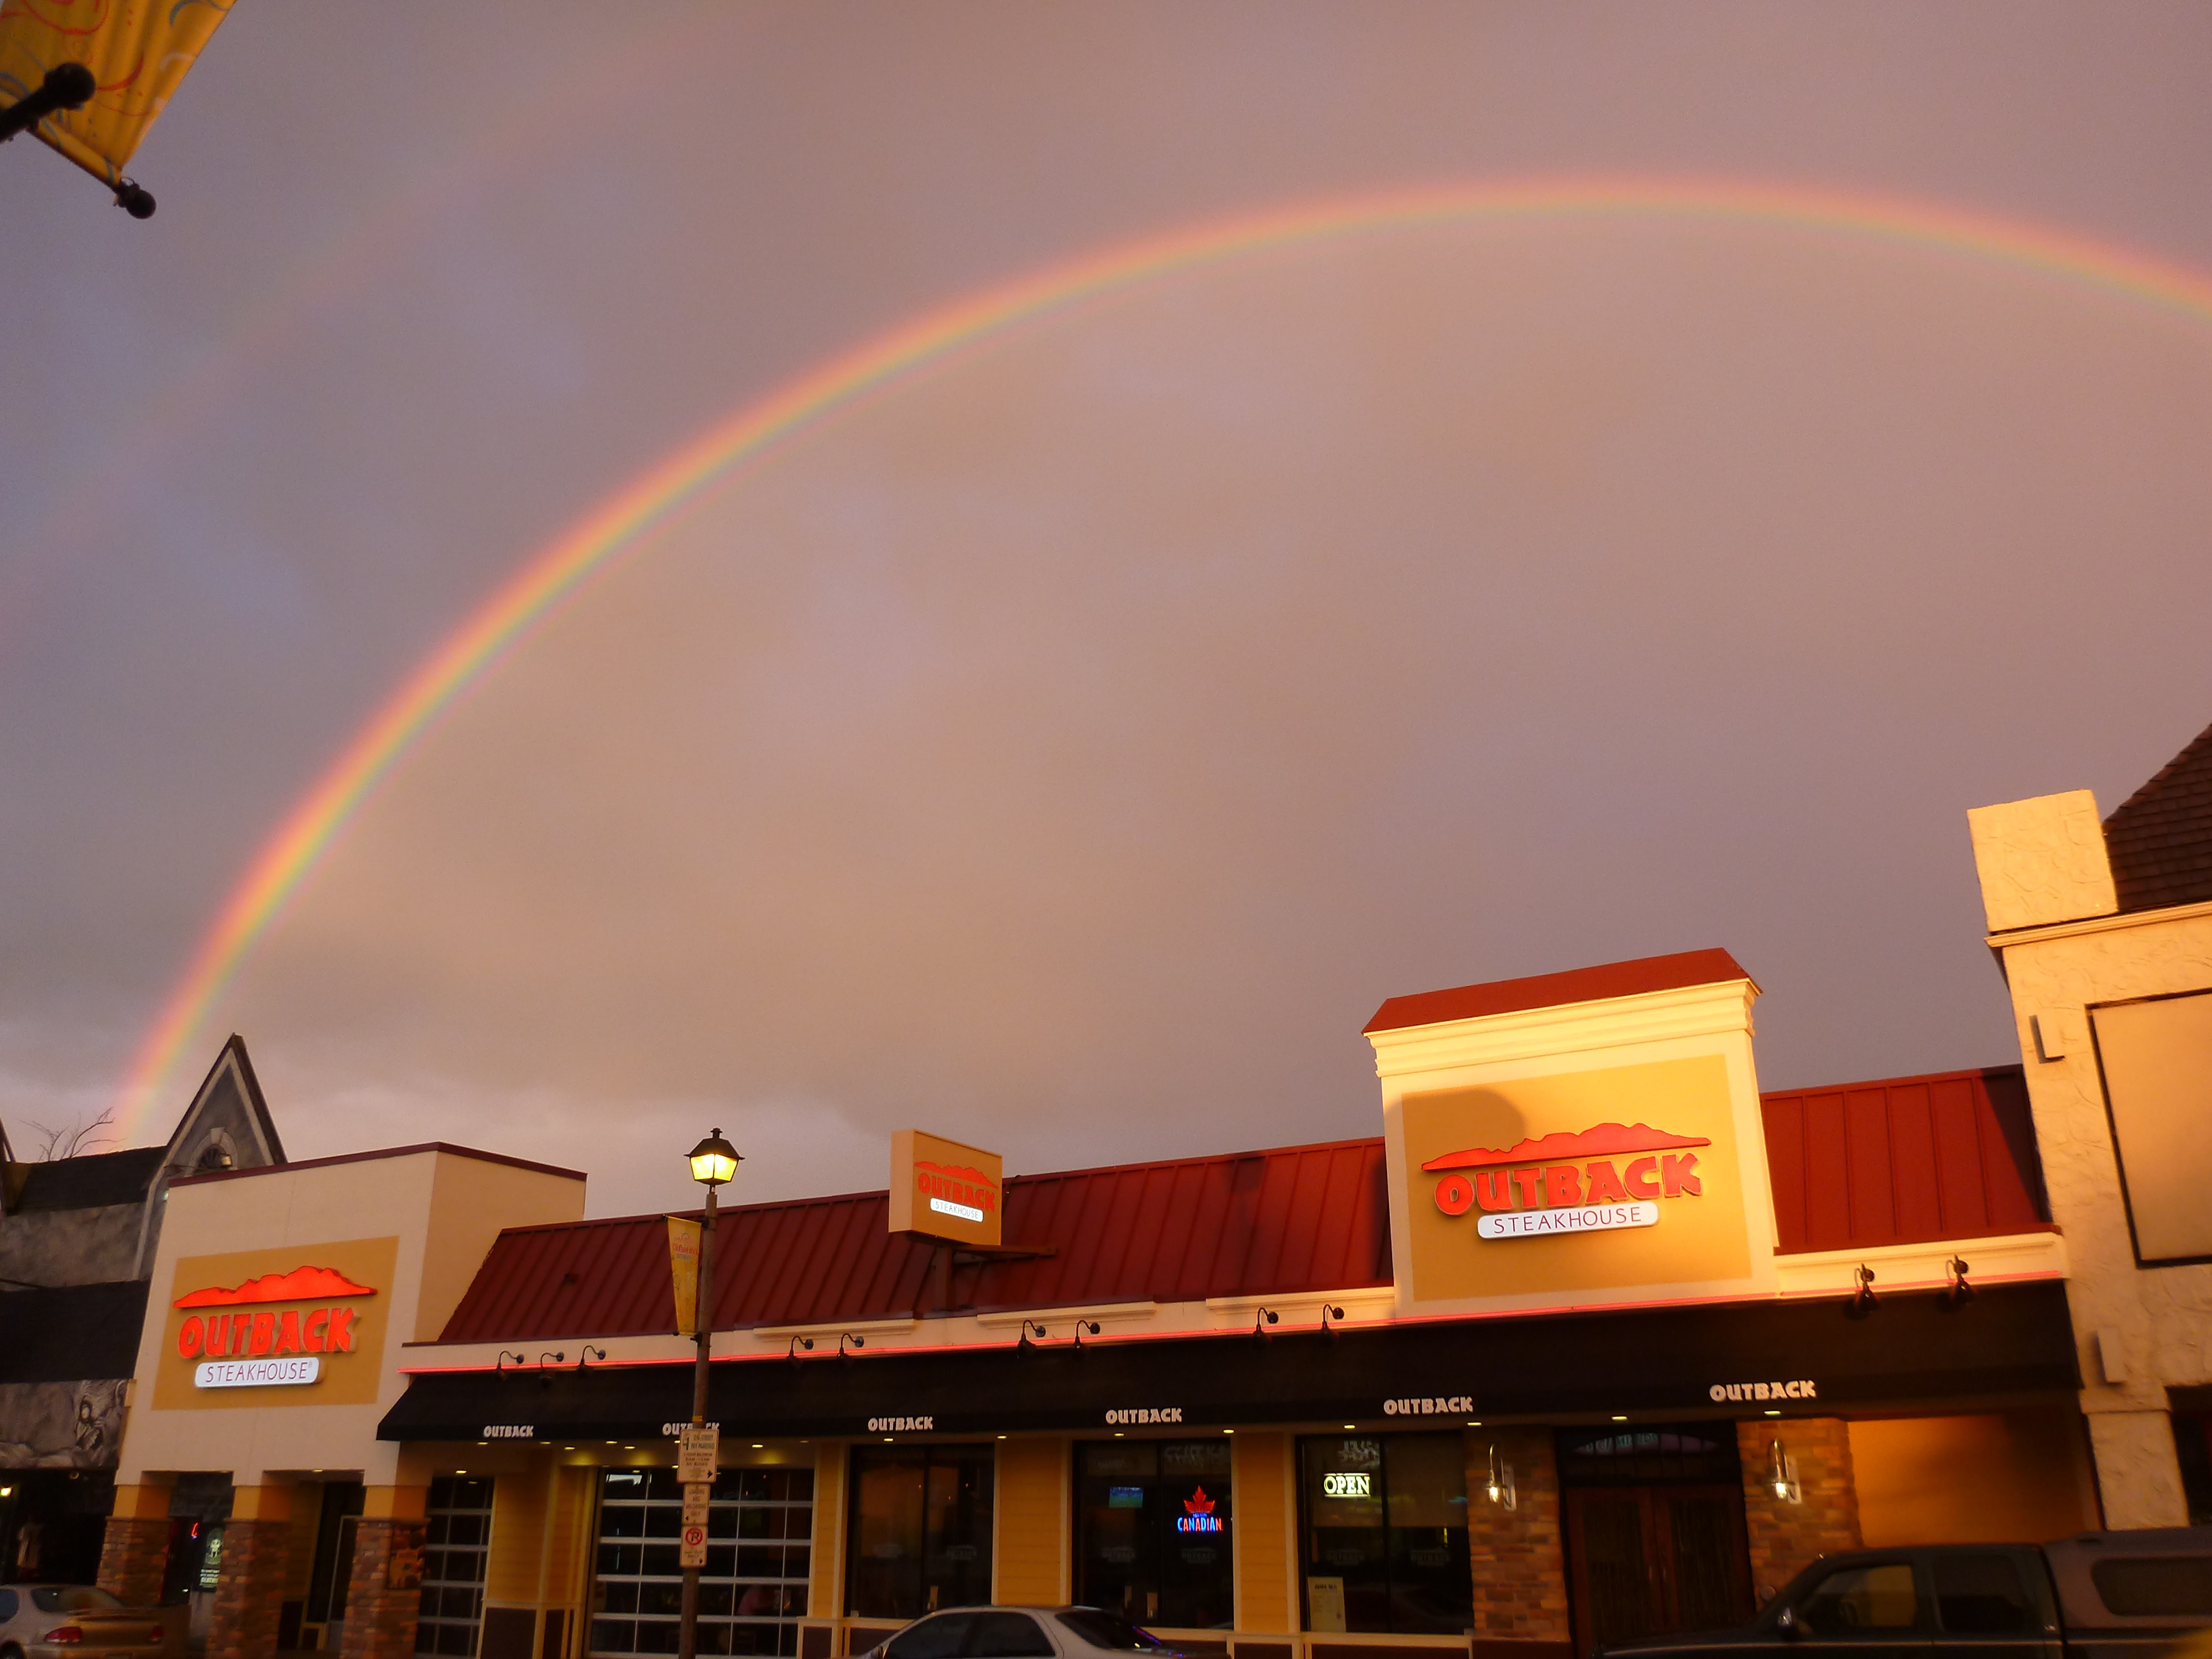
We saw a really bright rainbow while walking around the Clifton Hill Tourist area. We tried to get to the Falls before it ended, but just didn’t make it.

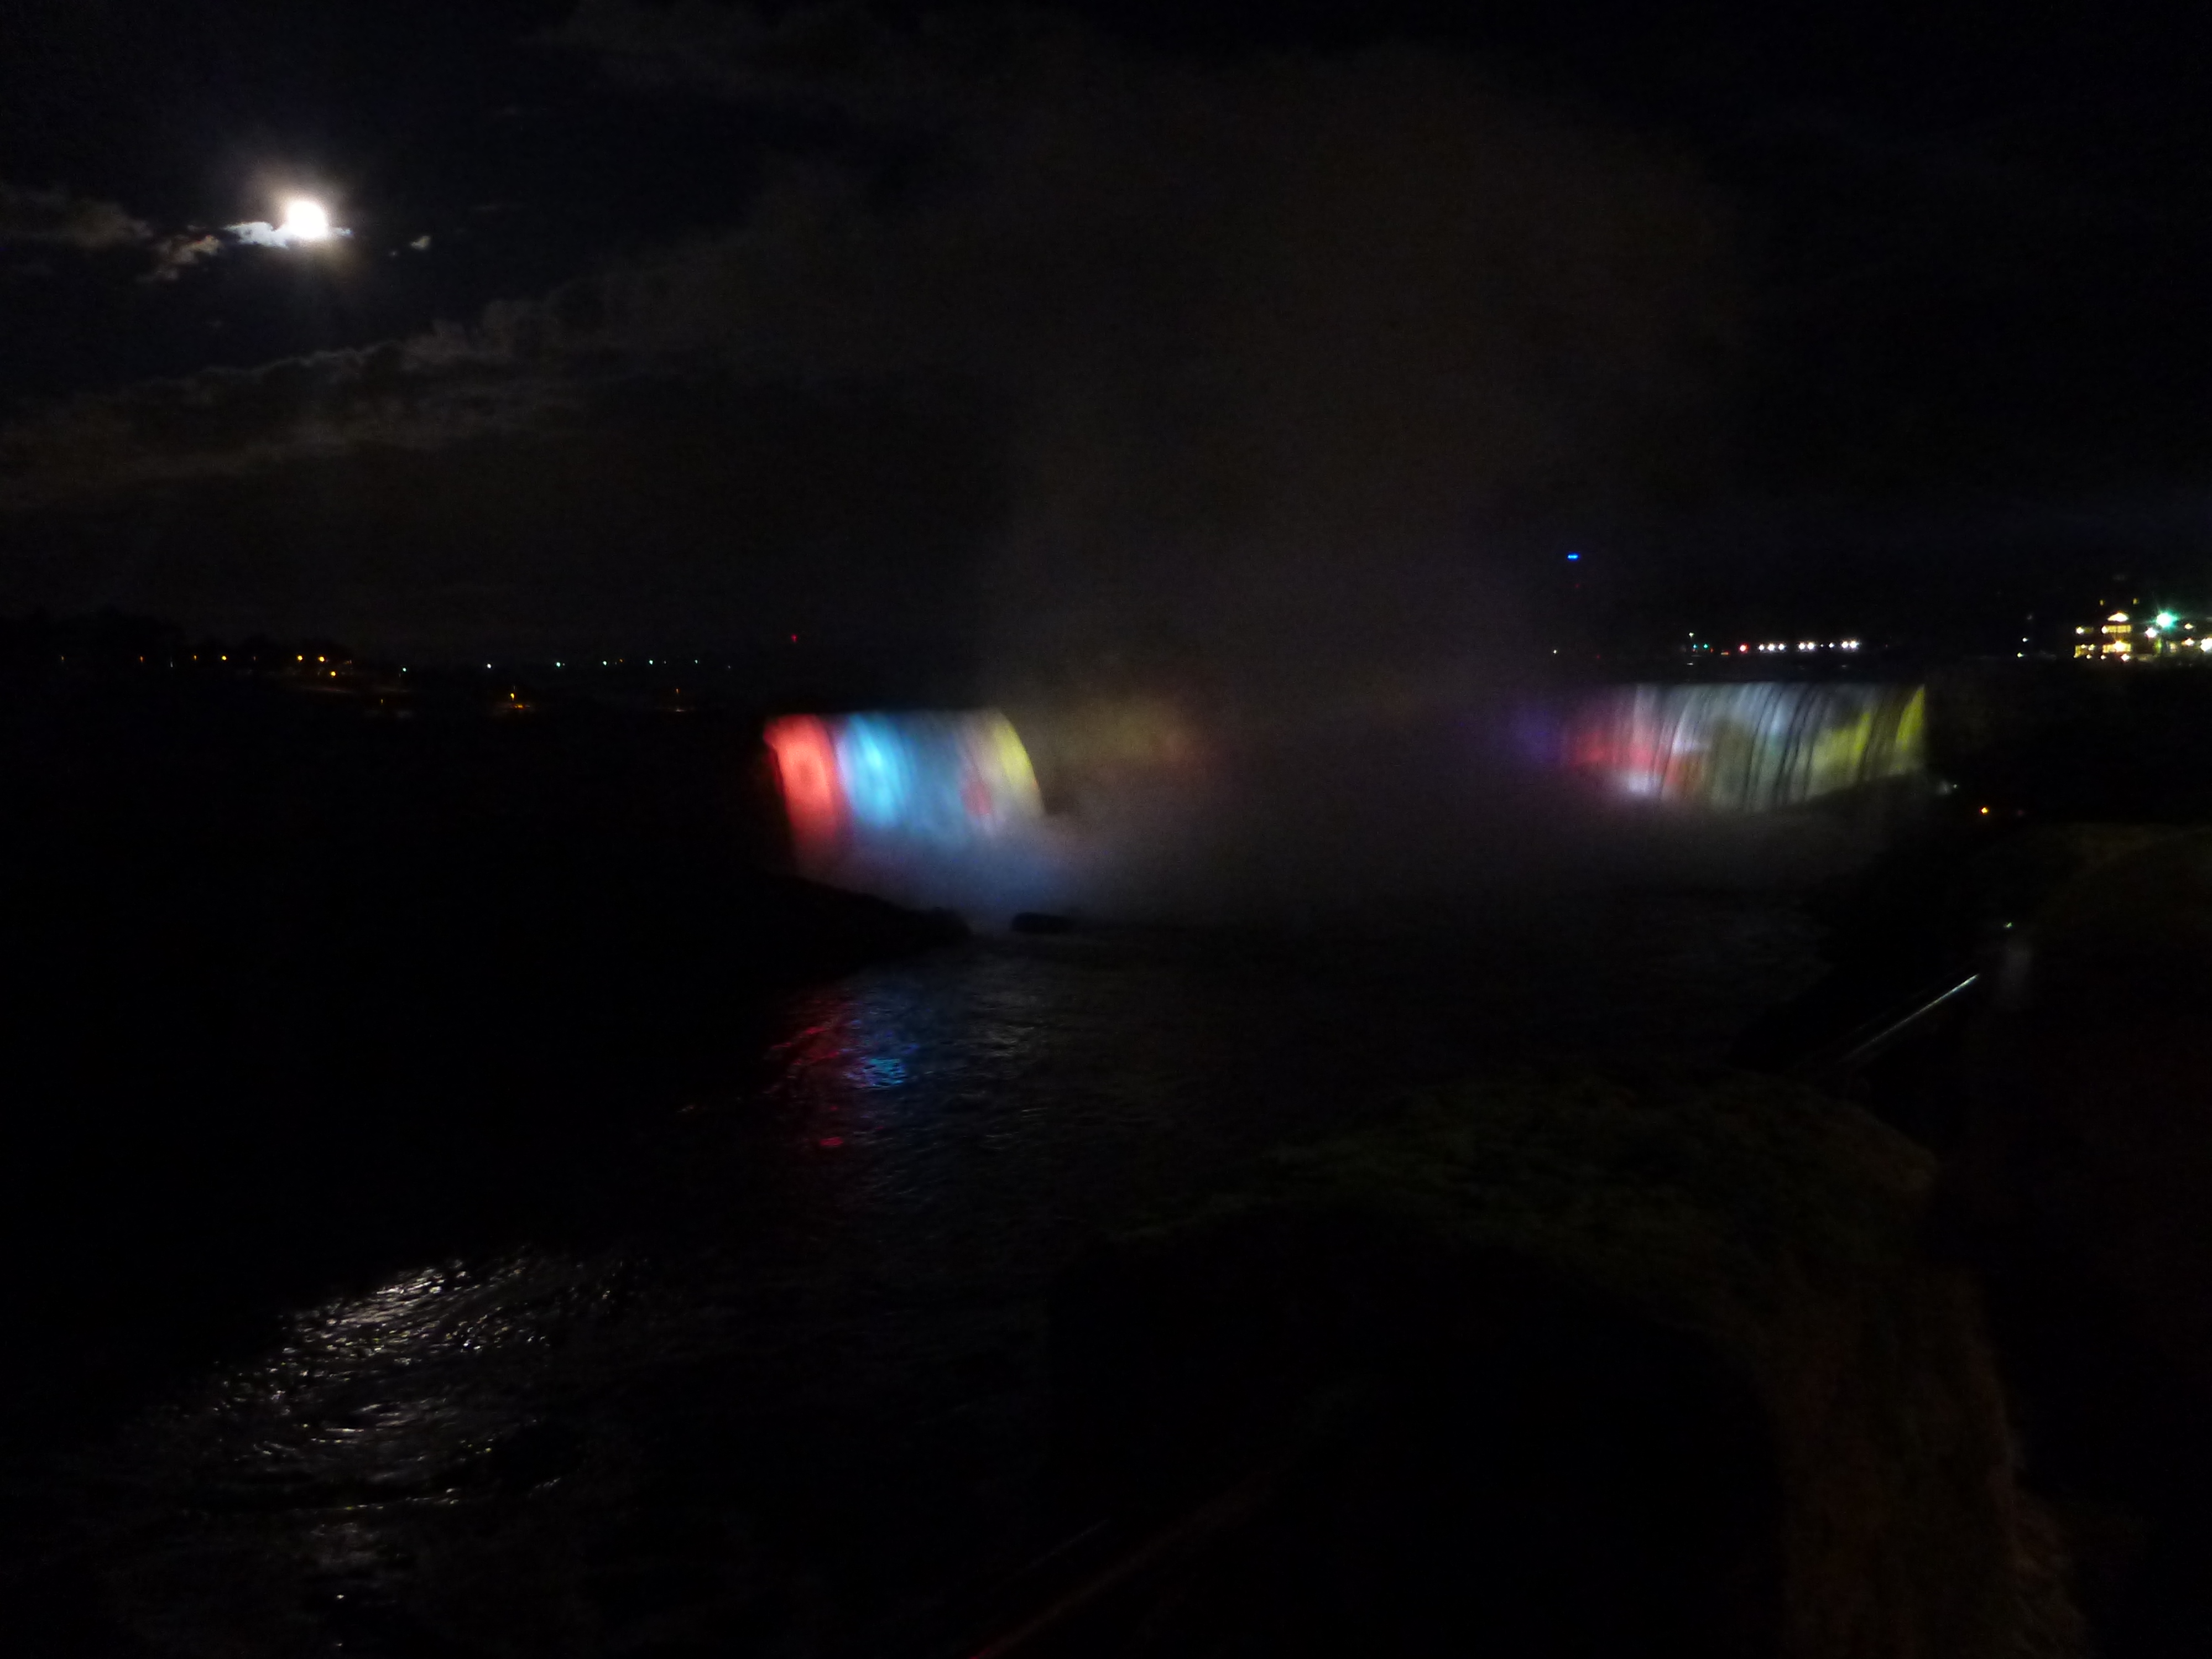
We did make it in time to rest our poor walkin’ feet before the lights on the water started. And, lucky us, it was Sunday, so there were fireworks too!


Here in Alabama, we pride ourselves on our Civil War Heritage. Way up in Canada, they’ve got the War of 1812. Since it is now 2012, it’s been 200 years since any of them have seen any real action. And they are working hard to make it a party to remember as various battle anniversary dates come up. We took a self guided tour through one such park commemorating various heroic deeds of their fine Canadian warriors. On our third day, we also tried to visit their reconstructed Fort George, but got there just after the last tickets were sold for the day. The sentry was kind enough to let us step in and peek.

The Whirlpool Jet Boat Tour was definitely the highlight of our trip. We weren’t sure it was something we’d get around to doing and the day we had the chance it was cold. We showed up at their Niagara-on-the-Lake location just in time for their next trip. We were a little apprehensive about the coldness, but we had brought a change of clothes just in case and we decided to do it anyway. Unlike other attractions where they give you a biodegradable poncho, on this one they give you a sweater, a fireman suit, a heavy poncho, and a life preserver. During parts of the ride, you are sitting up to your waist in water that seems to have no problem navigating its way through the poncho and fireman suit, but it does keep your torso somewhat dry. The ride was great. It starts out in the calm water near Lake Ontario and travels up river through some rapids and into the whirlpool. They take multiple trips through the rapids, each time the ride seemed to get crazier and crazier.

Once our awesome ride was over, and we dried off and warmed up, we decided to make sure we really saw the Great Lakes we were so close to. We’d caught peeks of Lake Ontario where the Niagara River empties into it, but here’s a shot where we are almost close enough to touch it:

And then we drove up River Road and found Lake Erie. It was about 25 minutes away, and looked something like this:

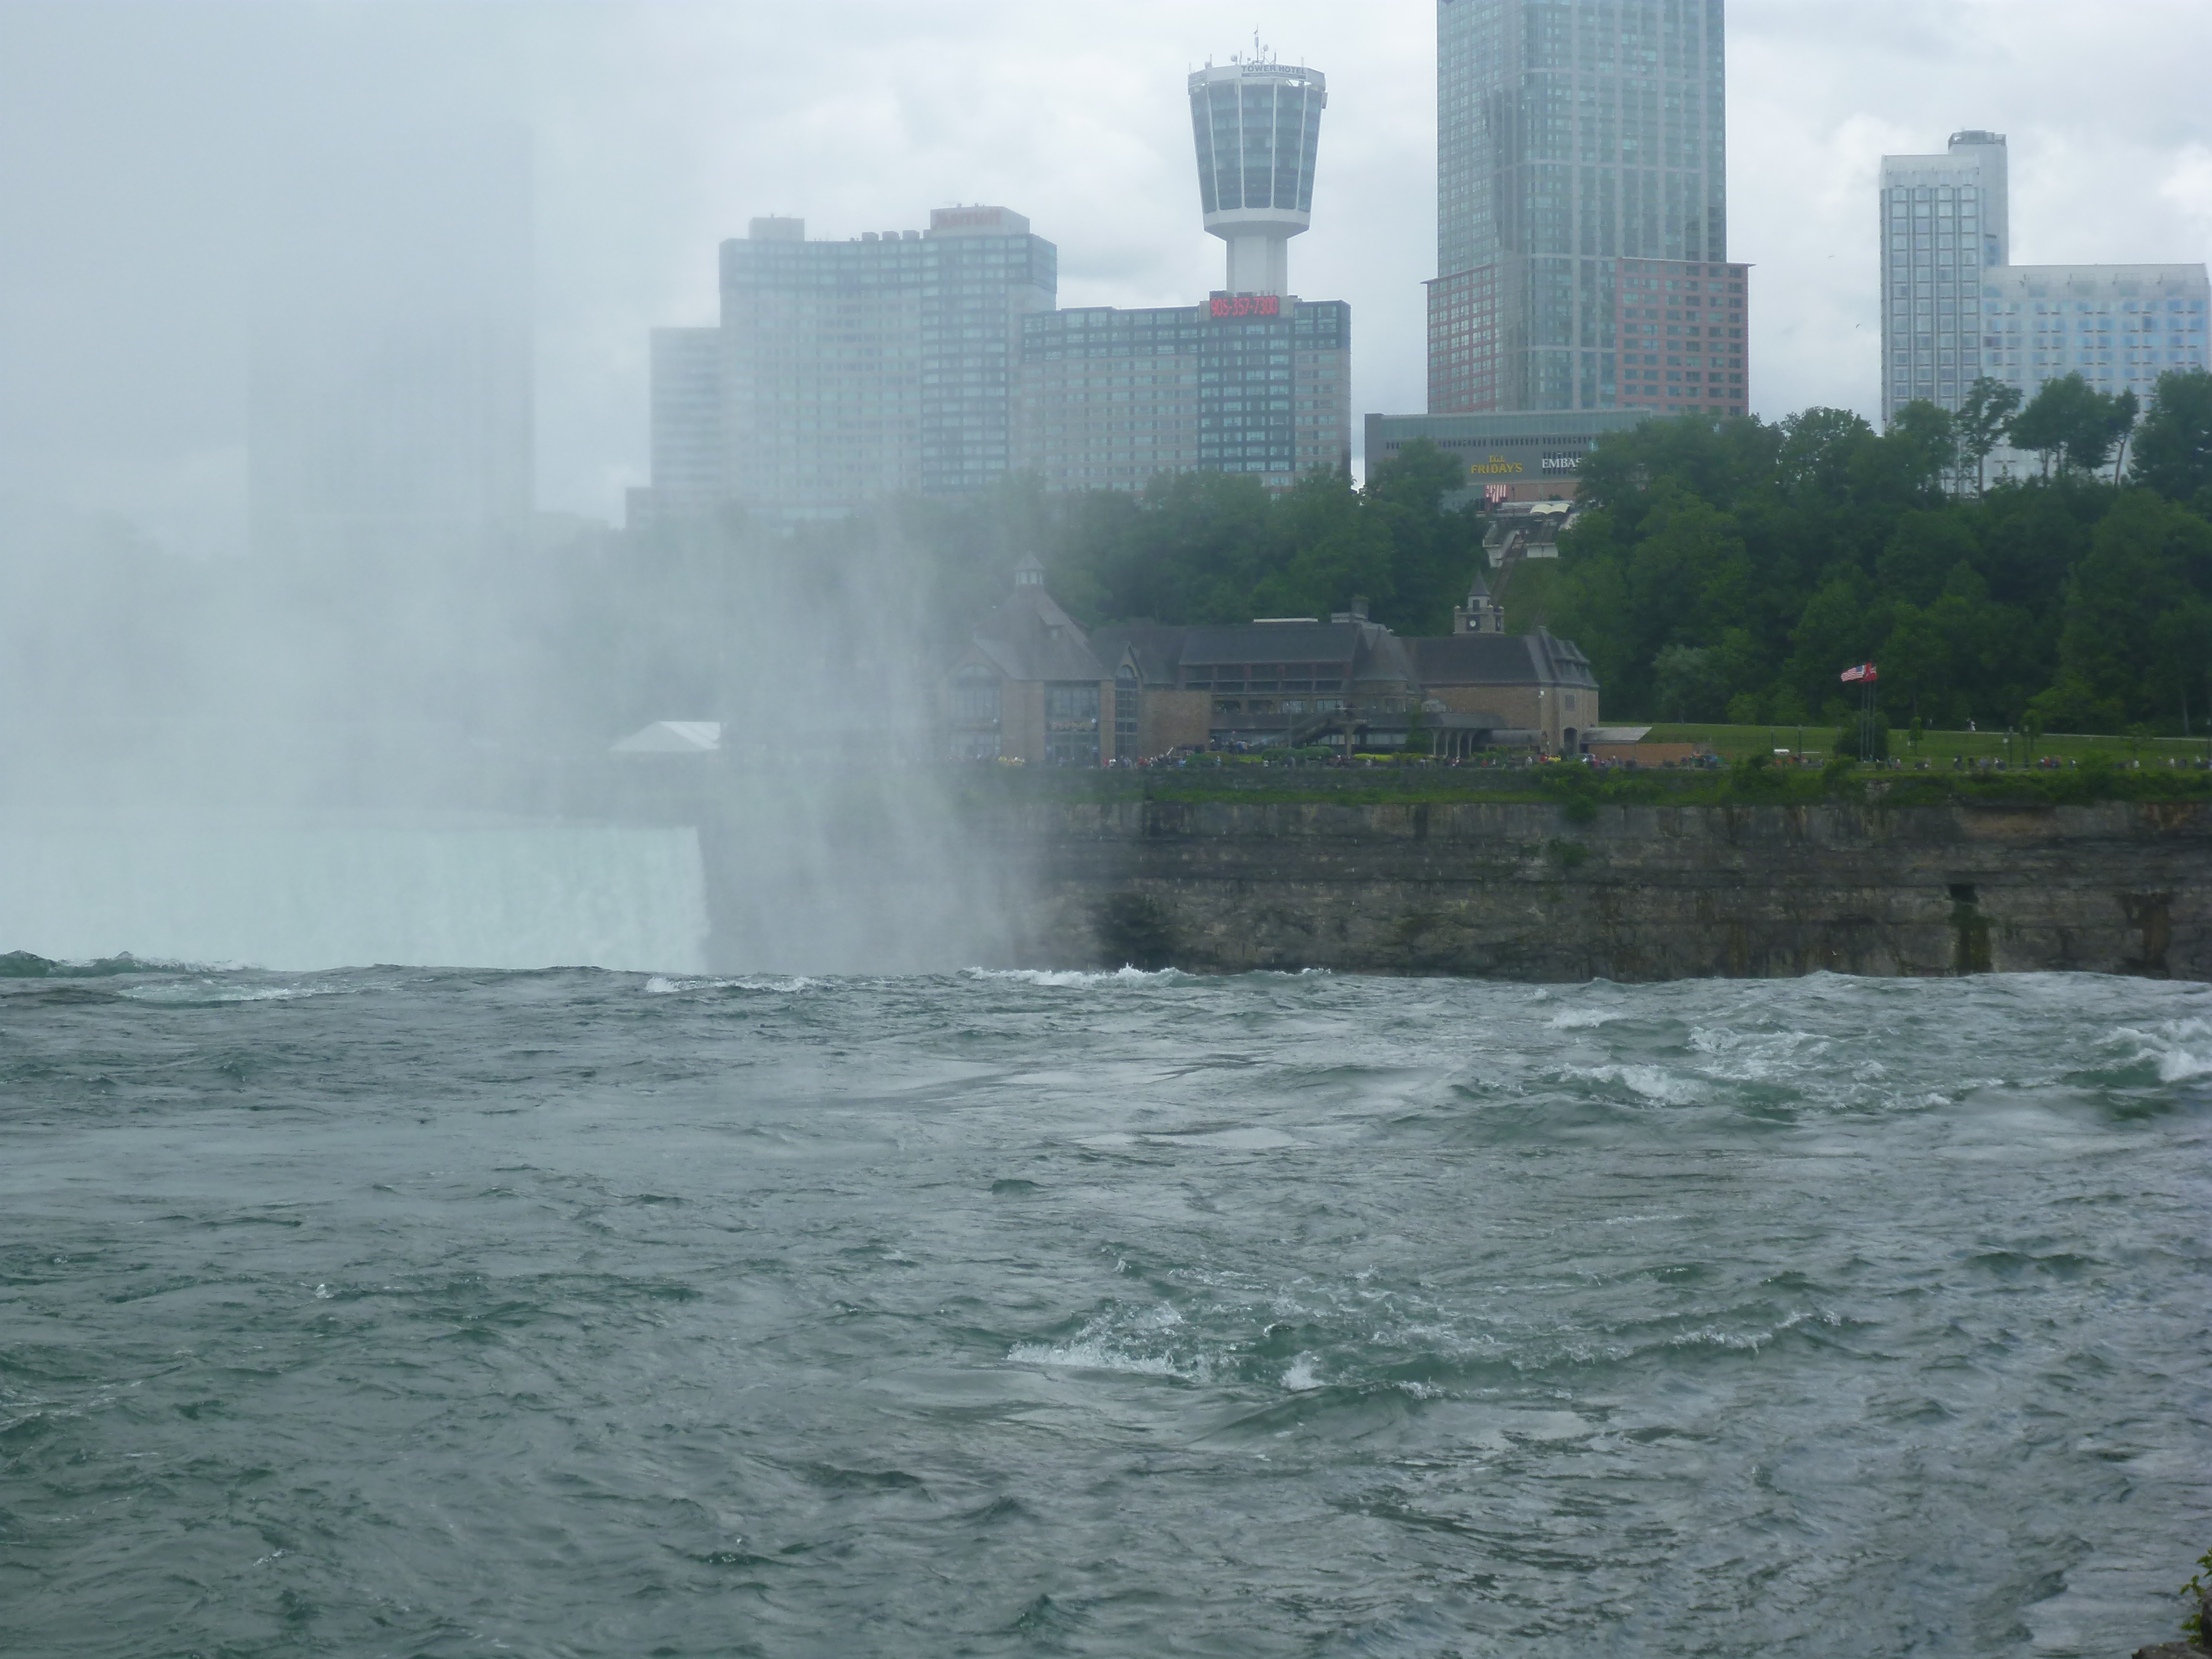
On the last day, we checked out some of the attractions on the American side. While the Canadian side provides breathtaking views of the Falls, the American side lets you get up close and personal with the water. Here is a shot of the Horseshoe Falls and the mist it creates:

And the American Falls have a little more character up close:

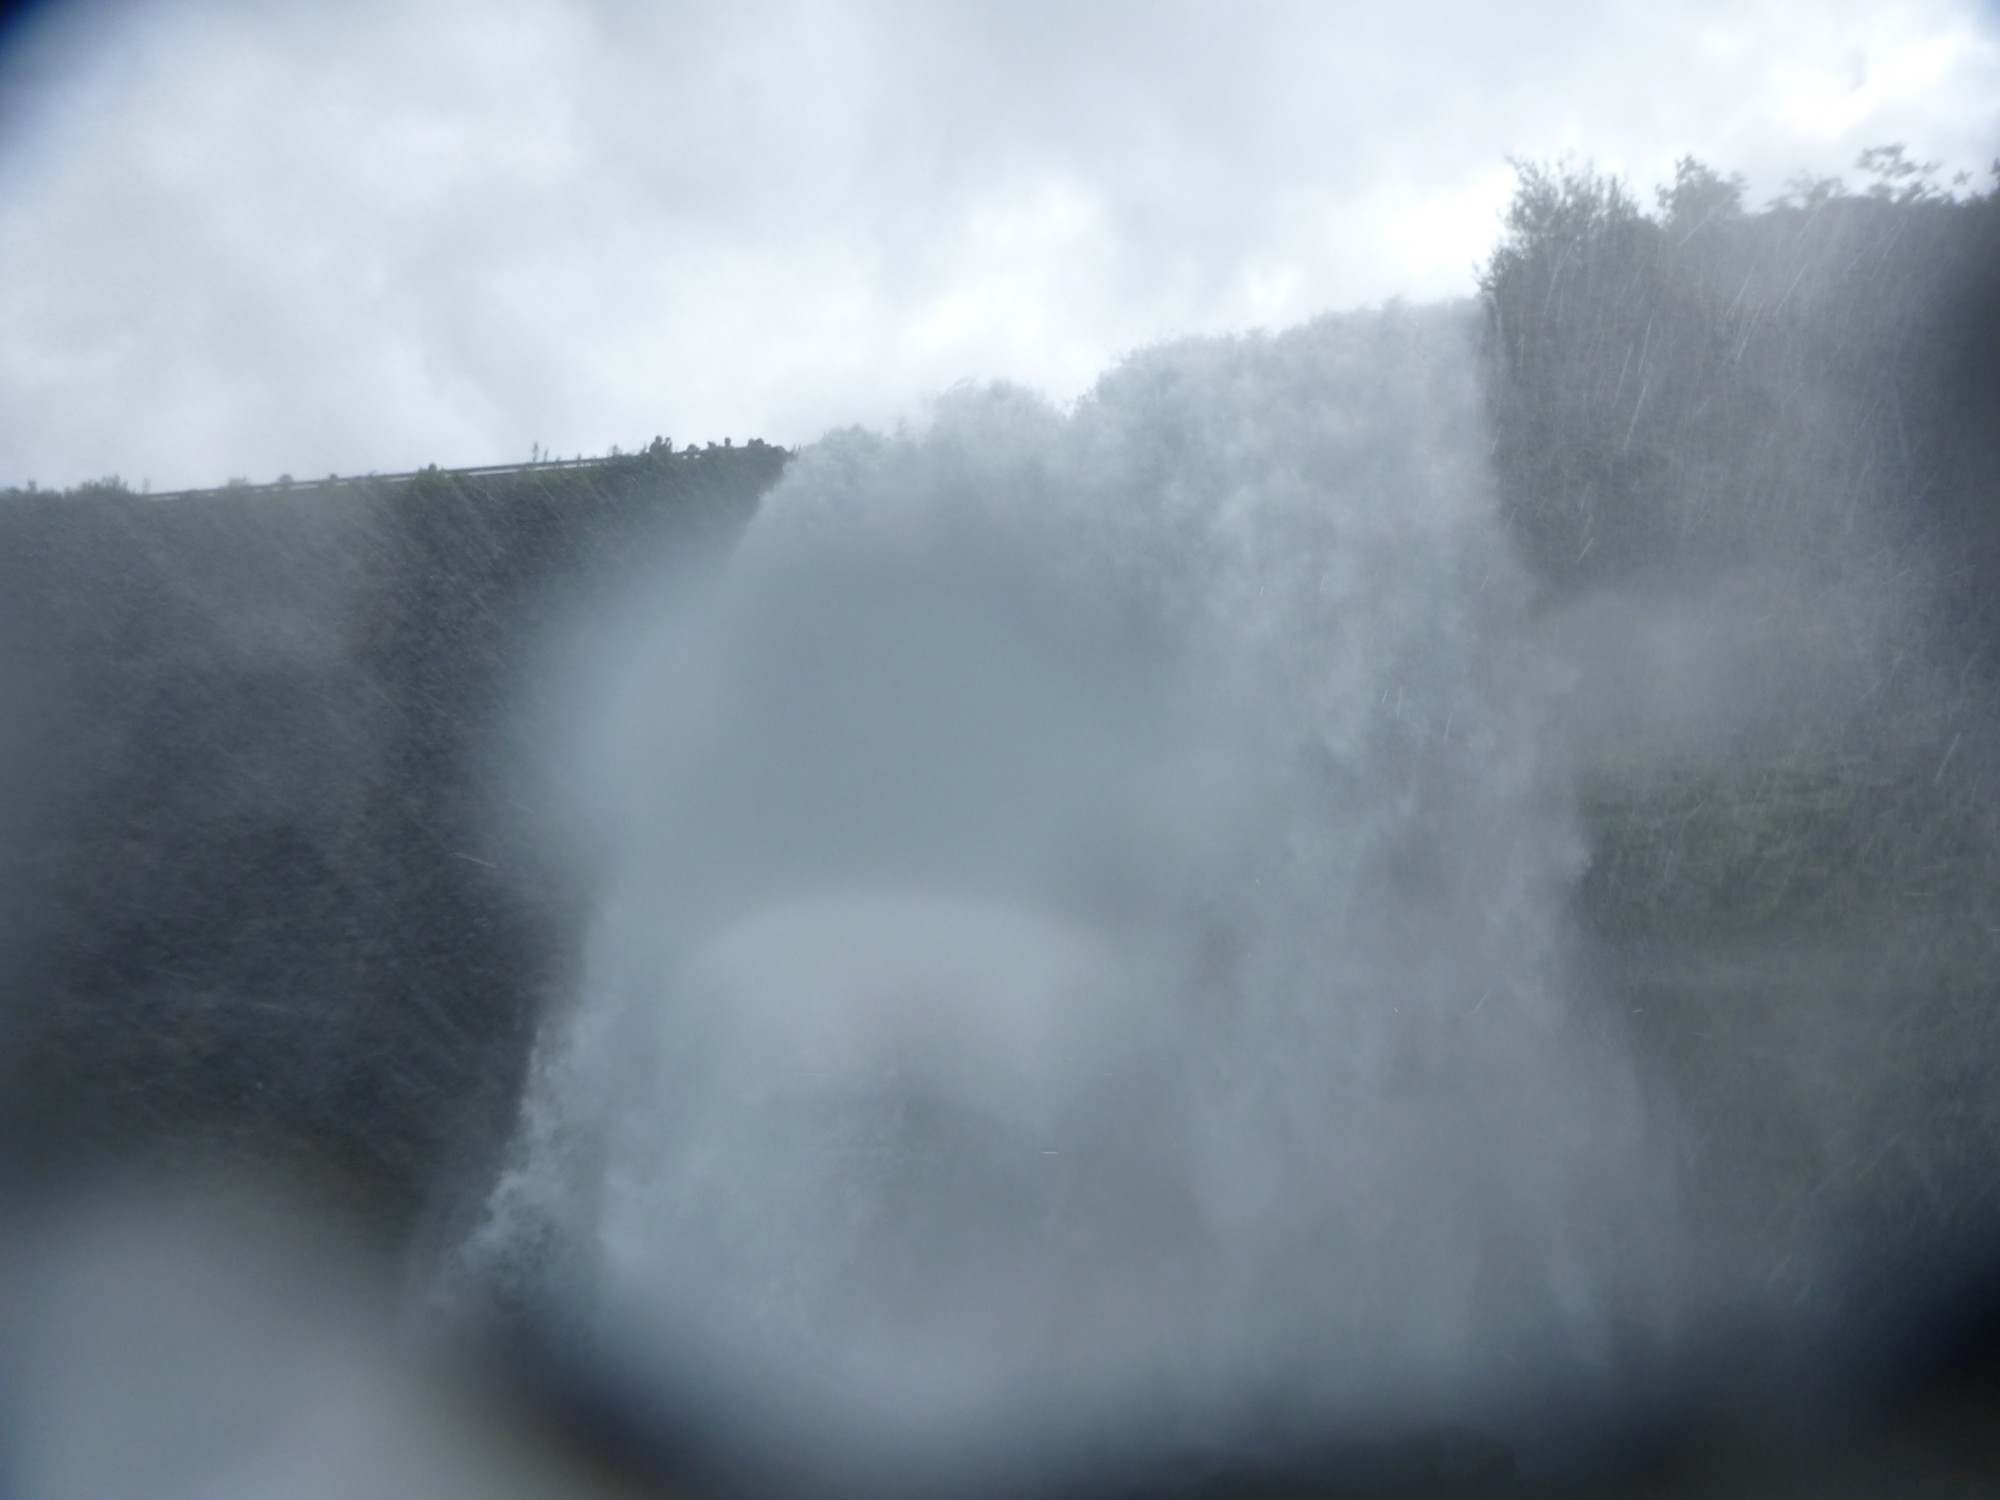
But the best on the American side was the Cave of the Winds tour. The Cave of the Winds was great. The cave it is named for no longer exists, but a series of stairs and wooden decking take you directly in front of Bridal Veil Falls where you can get blasted by hurricane force winds and water.

A friend had told me to be alert for Nikola Tesla near Cave of the Winds, so I took a picture with my fellow Electrical Engineer.

It was definitely a trip well worth taking. It got us some much deserved R&R/just us time. And we got to explore an area neither of us had experienced before. Just know for next time to go hungry and bring lots of towels: you will get fed and you will get wet!