Author Archives: chris - Page 10

Left Elevator and Hinge

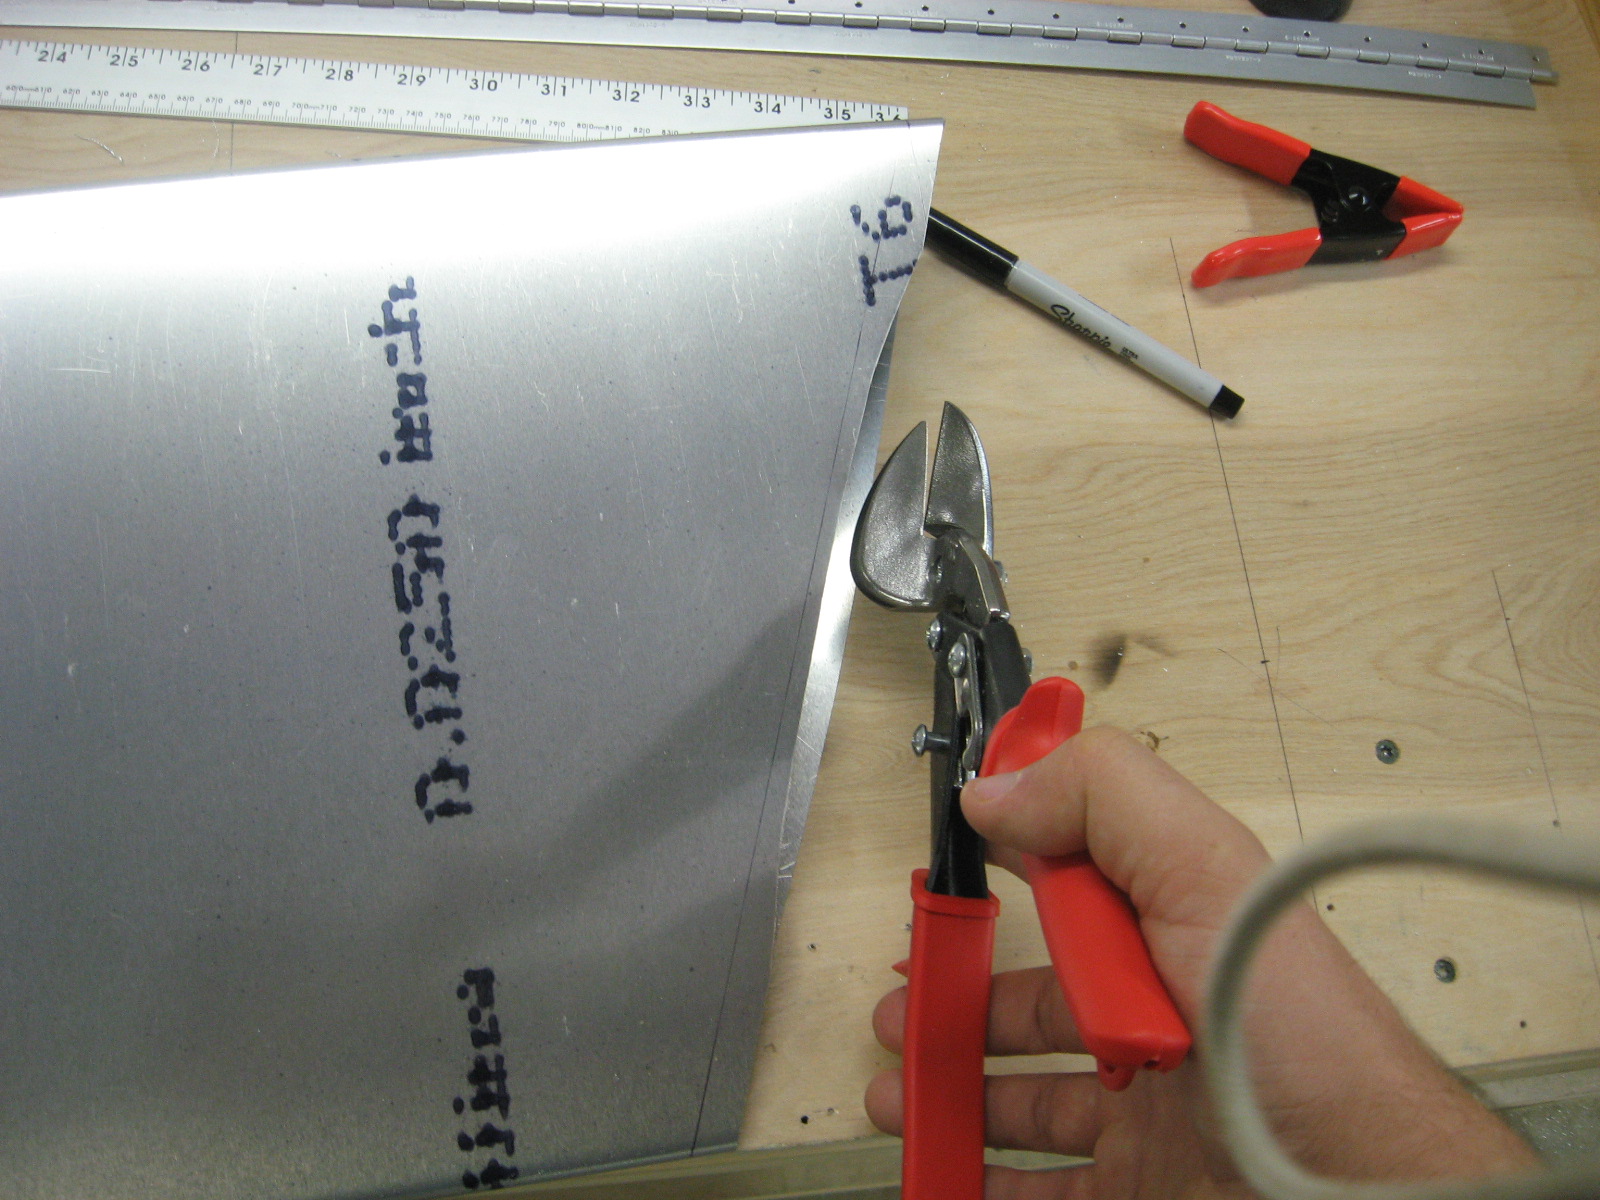
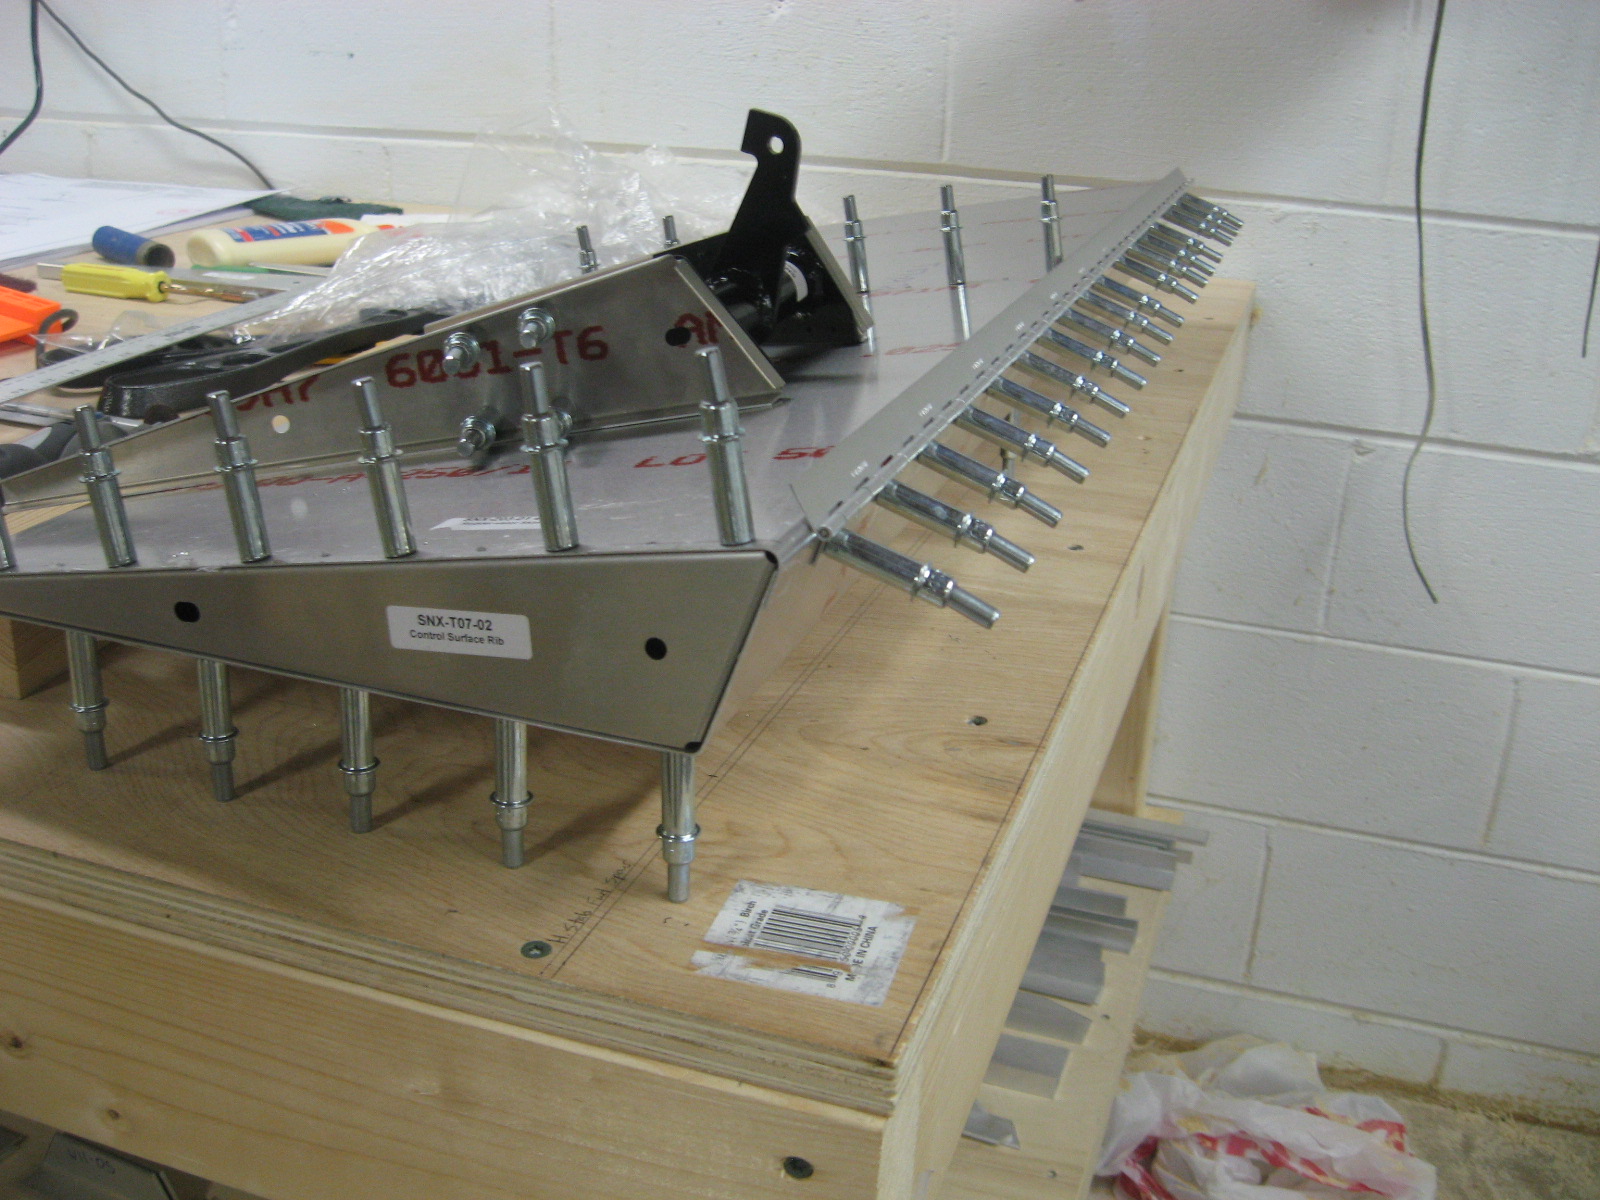
After figuring out a workable method on the right elevator I thought I’d show some pictures of my method on the left one.  First I cut reasonably close to the line with my bandsaw.  Then I trim up to the line with these offset Wiss snips.
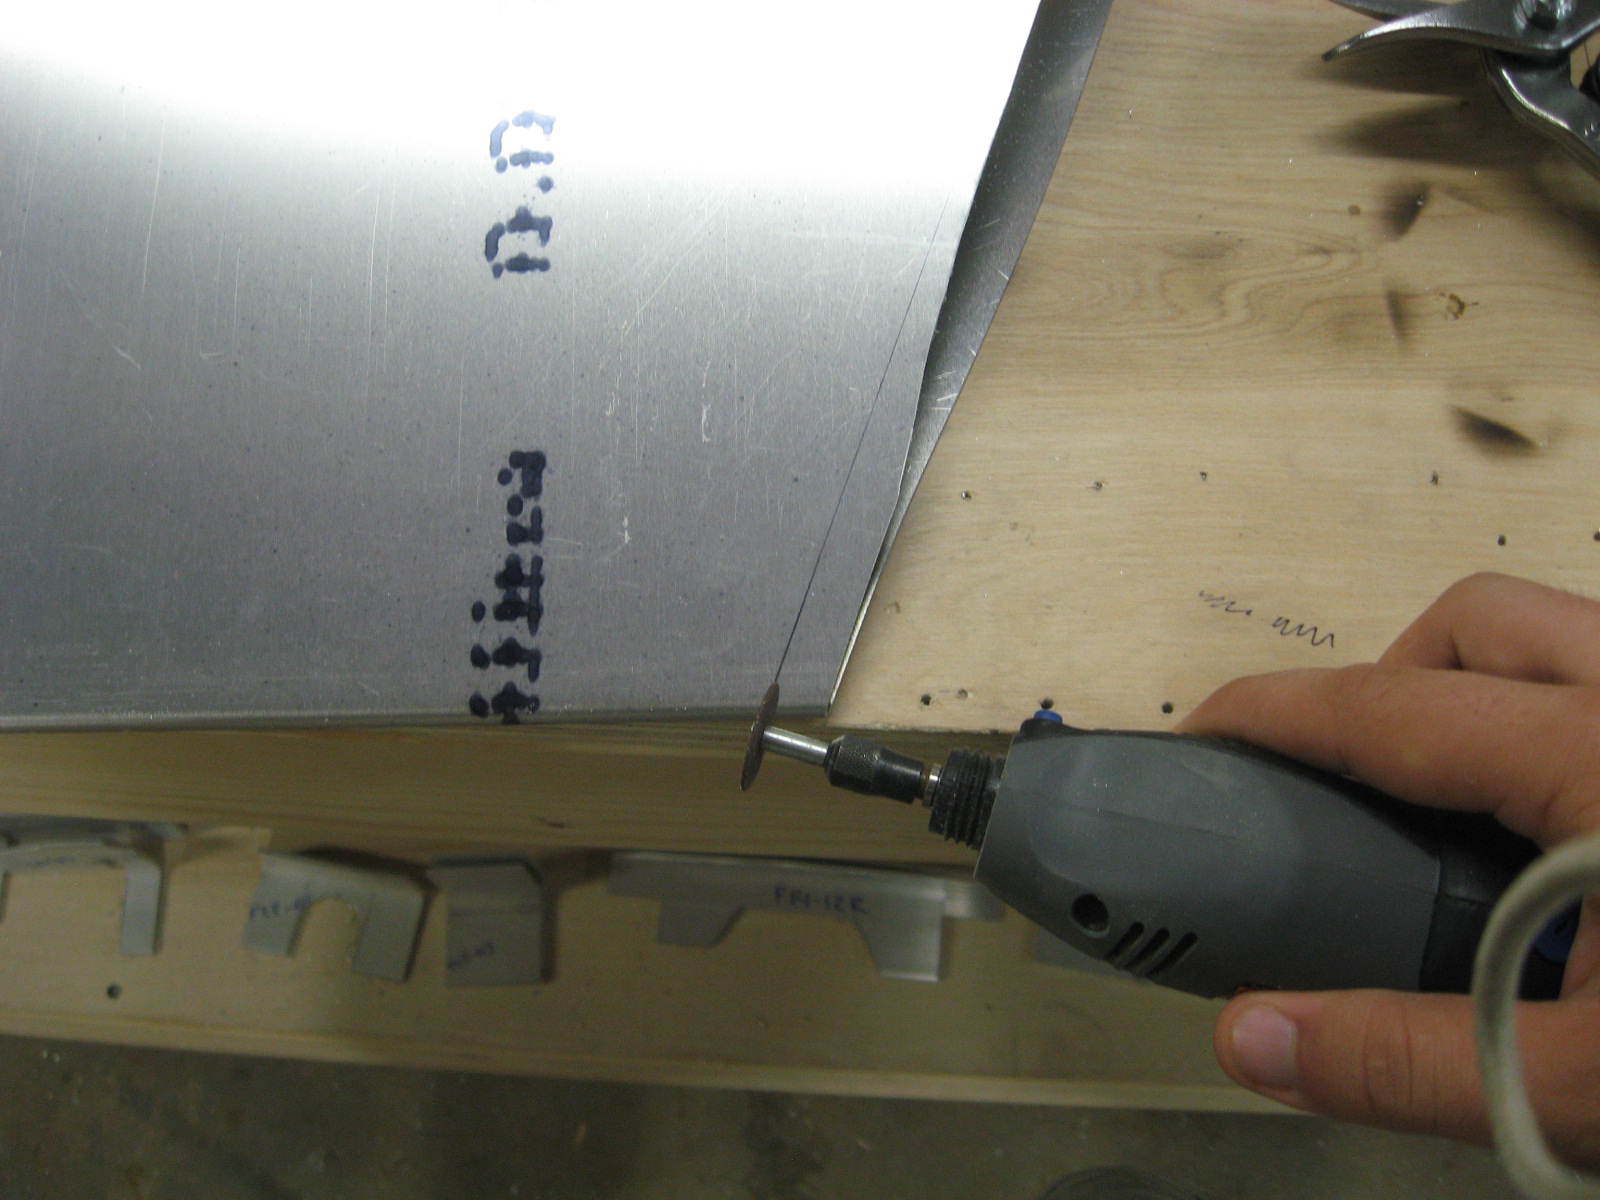
I cut the corners with my Dremel tool.
I do the holes for the ribs using my handy rivet spacing tool.  There is a warning specifically saying not to drill through those holes (use it as a layout tool instead), but I have totally disregarded the warning.  Hopefully whatever bad outcome I receive by disregarding the warning is offset by all the time I save.

I also attached the hinge to the right elevator.  This needs to be positioned such that it will line up with the rest of the horizontal stabilizer when it is riveted together.  My yard stick seemed to be just the right thickness to use as a spacer and get everything lined up.
Horizontal Stabilizer and Right Elevator

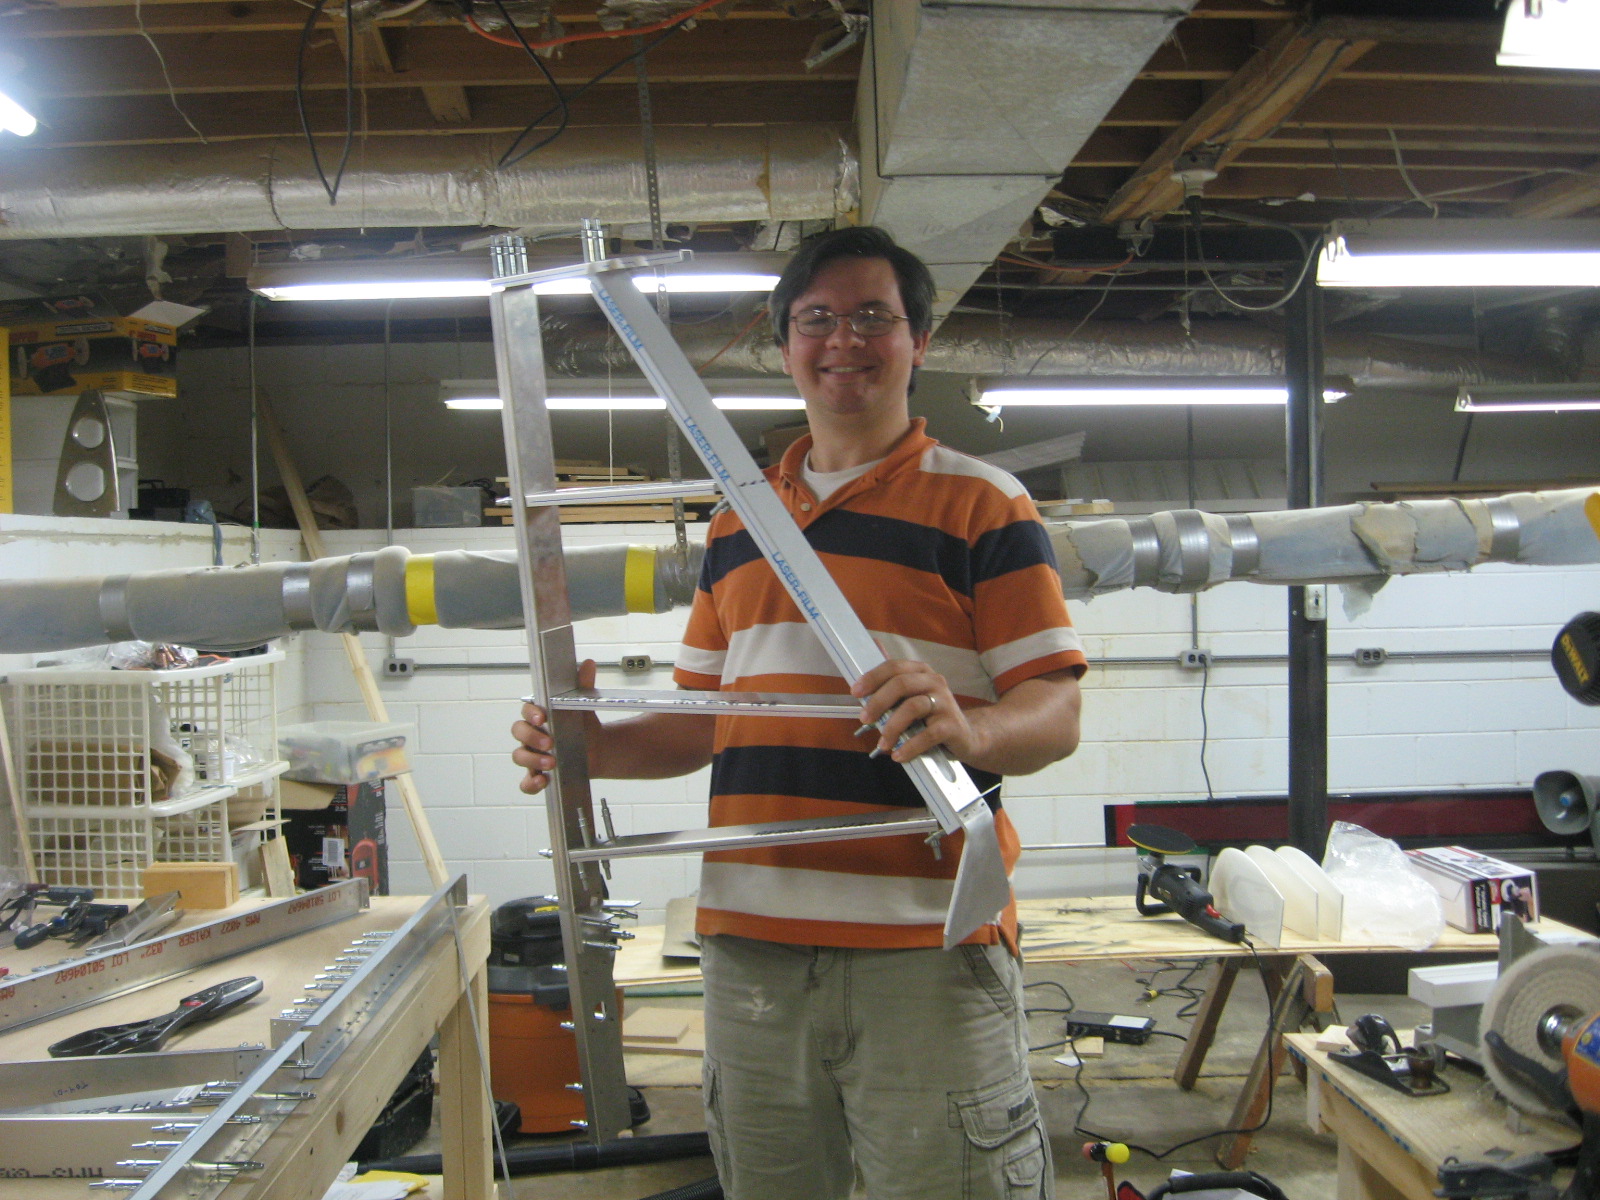
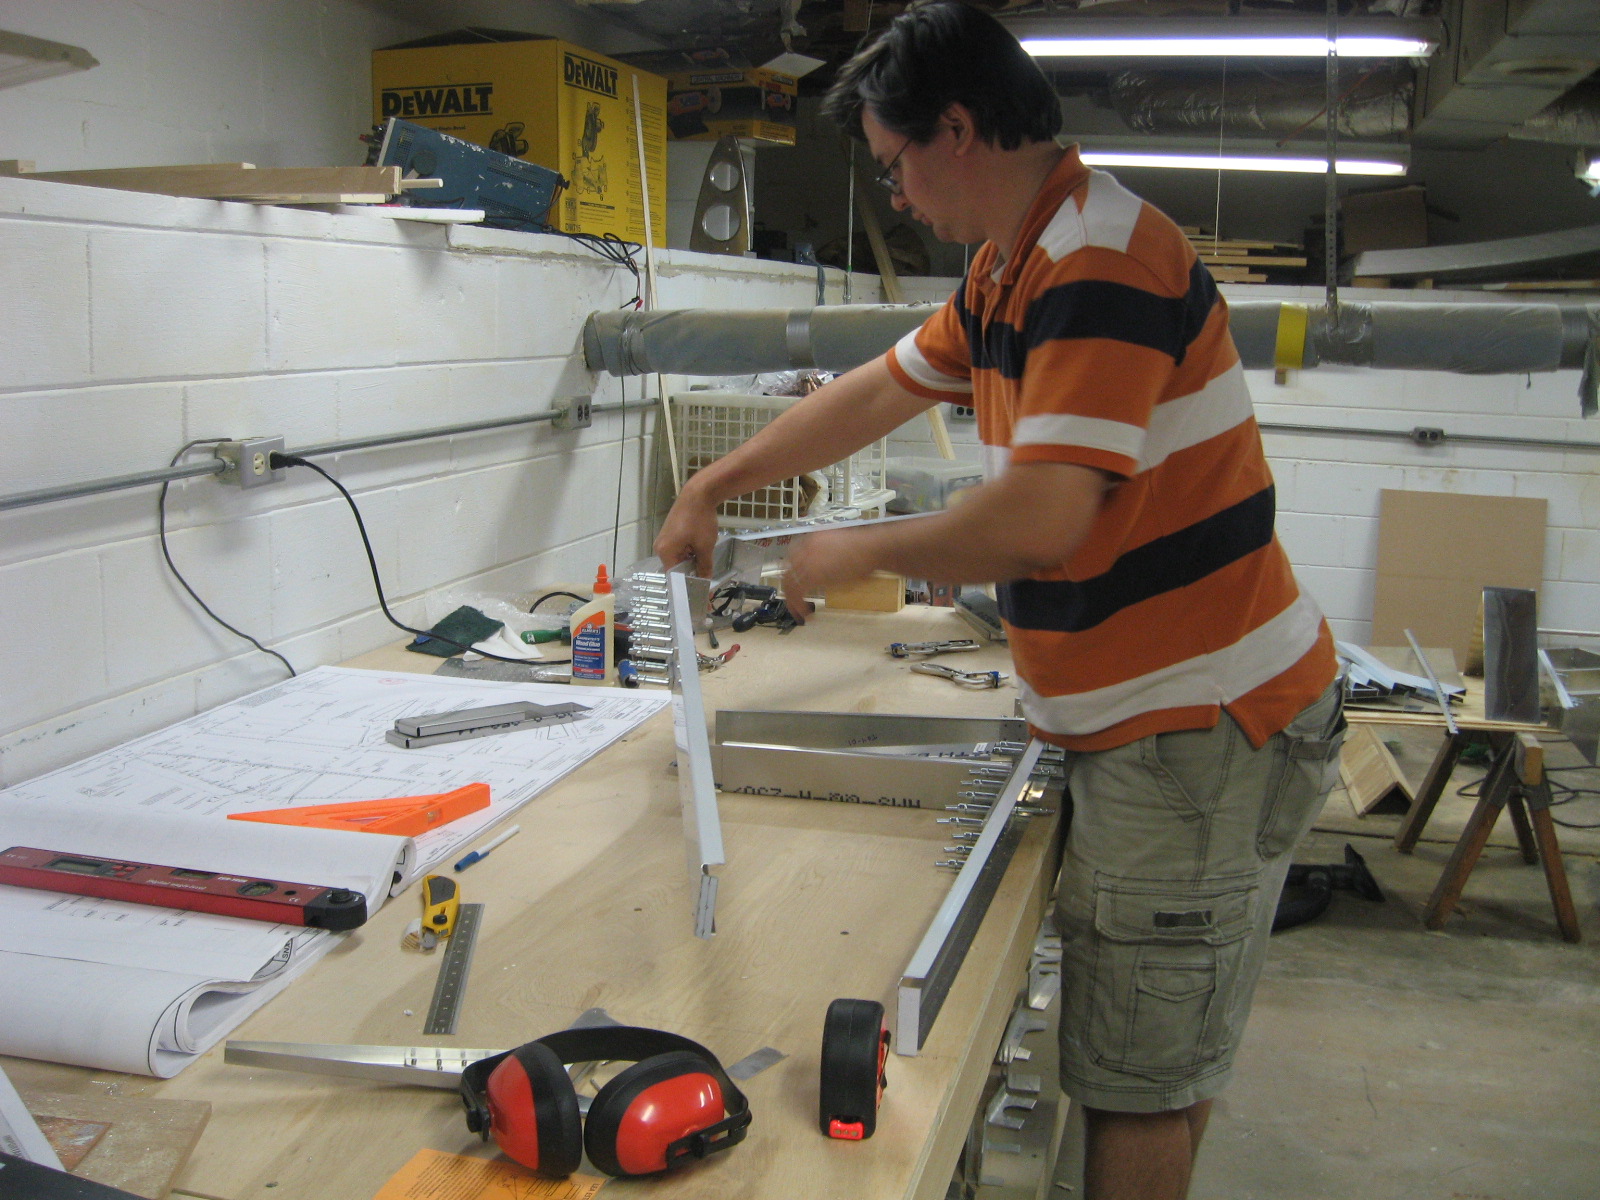
I hear it is important to have photos in the builder’s log of myself building the airplane, so Caroline volunteered to come down and take some pictures.  I drew an outline of the horizontal stabilizer on my workbench and here I am precisely positioning the forward spar.

While we are at it, here is the vertical stabilizer.

I am still trying to decide what to do about corrosion protection, so I have been too chicken to start riveting.  I decided to start working on the elevators–I have been worried about how to cut the control surfaces with the tight bends.  I ended up cutting within an inch or so of the line with the bandsaw since it is difficult to see how close to the line I am on the bottom side.  Then I used offset Wiss snips to cut close to the line.  The Andy snips seemed to big for this job except on some of the long cuts.  I used my Dremel tool with an abrasive disk to cut through the bends.  Then I used the  scotch brite wheel to shape right to the line.

I started drilling pilot holes in my first piano hinge.

Horizontal Stabilizer

I went about a month with no progress on the airplane.  It was mostly due to it being the last month of my master’s degree.  I decided to start working on the horizontal stabilizer while I decide on what type of corrosion protection to use before I finish the vertical stabilizer.

Here I have the forward and rear spars along with the ribs I mostly prepared about a month ago.  For some reason the ribs are my least favorite part, so I forced myself to make them all one evening rather than postpone them repeatedly.

Vertical Stabilizer Skeleton

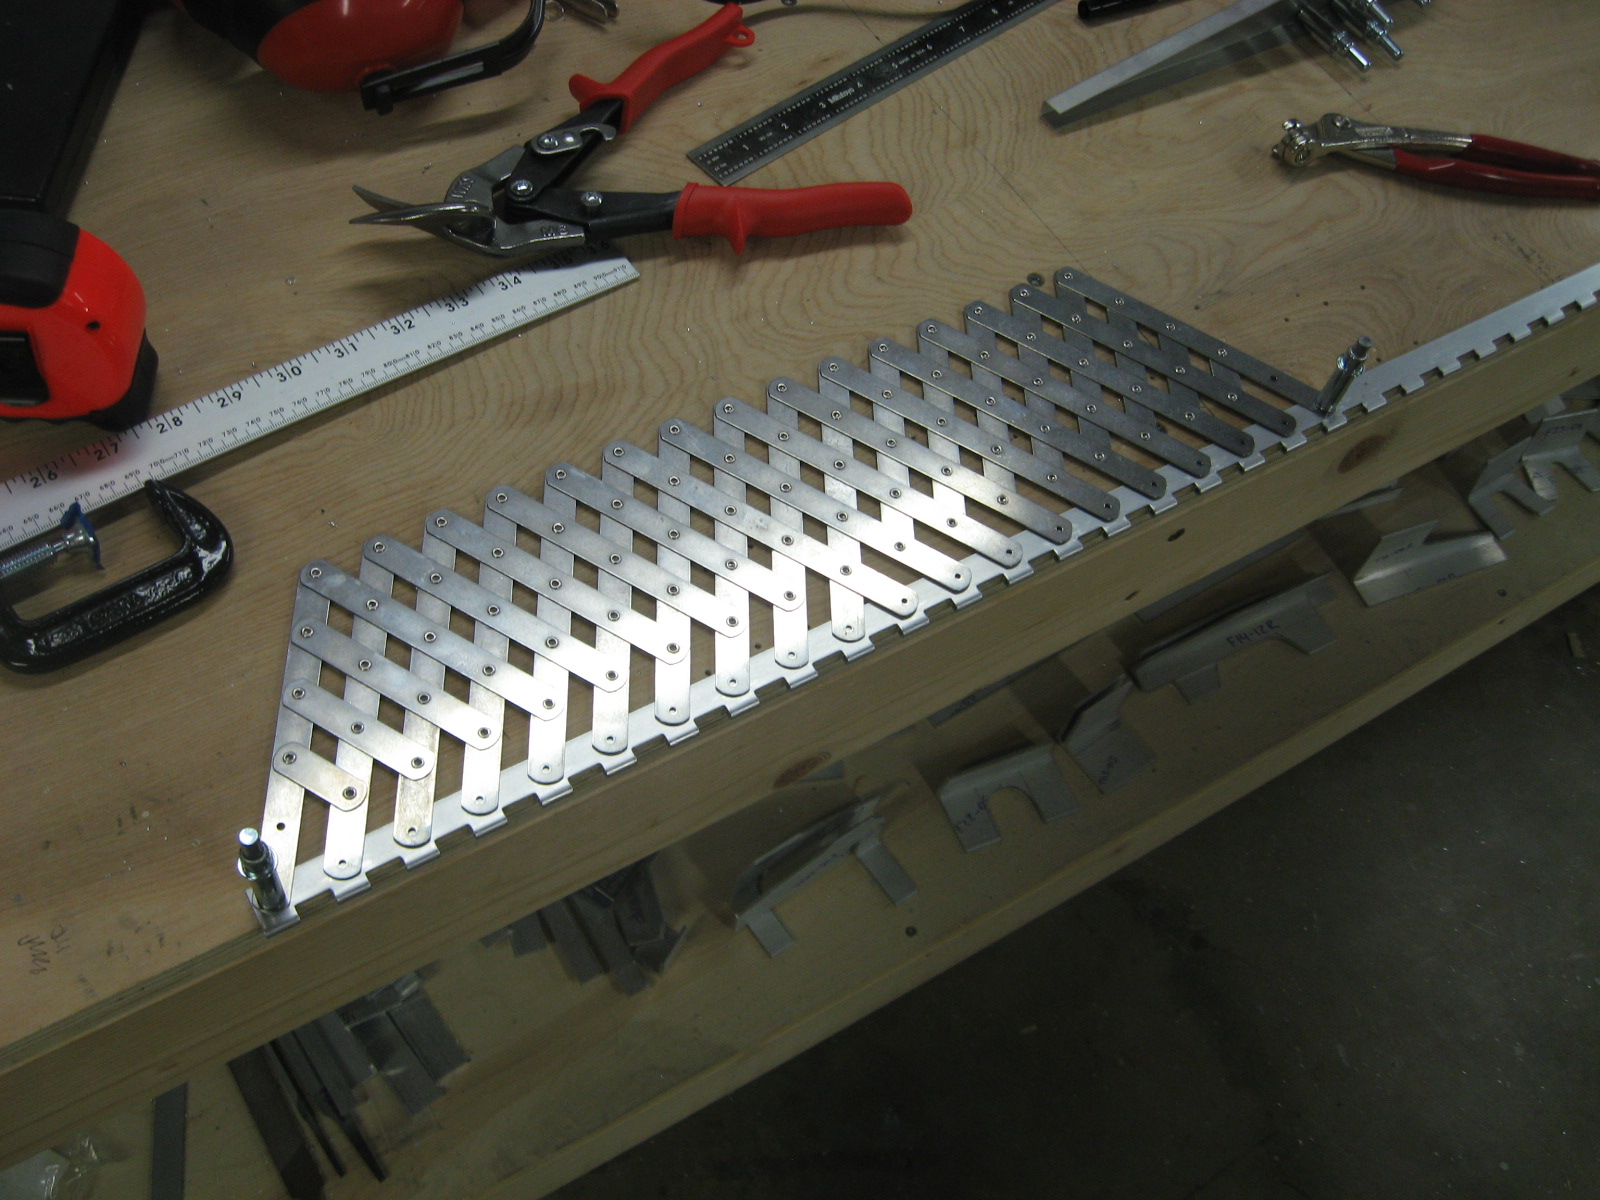
I made the three vertical stabilizer ribs and started attaching them to the spars.

I drew the correct dimensions on my workbench and am using clamps to get everything in position before drilling.

LED display modification

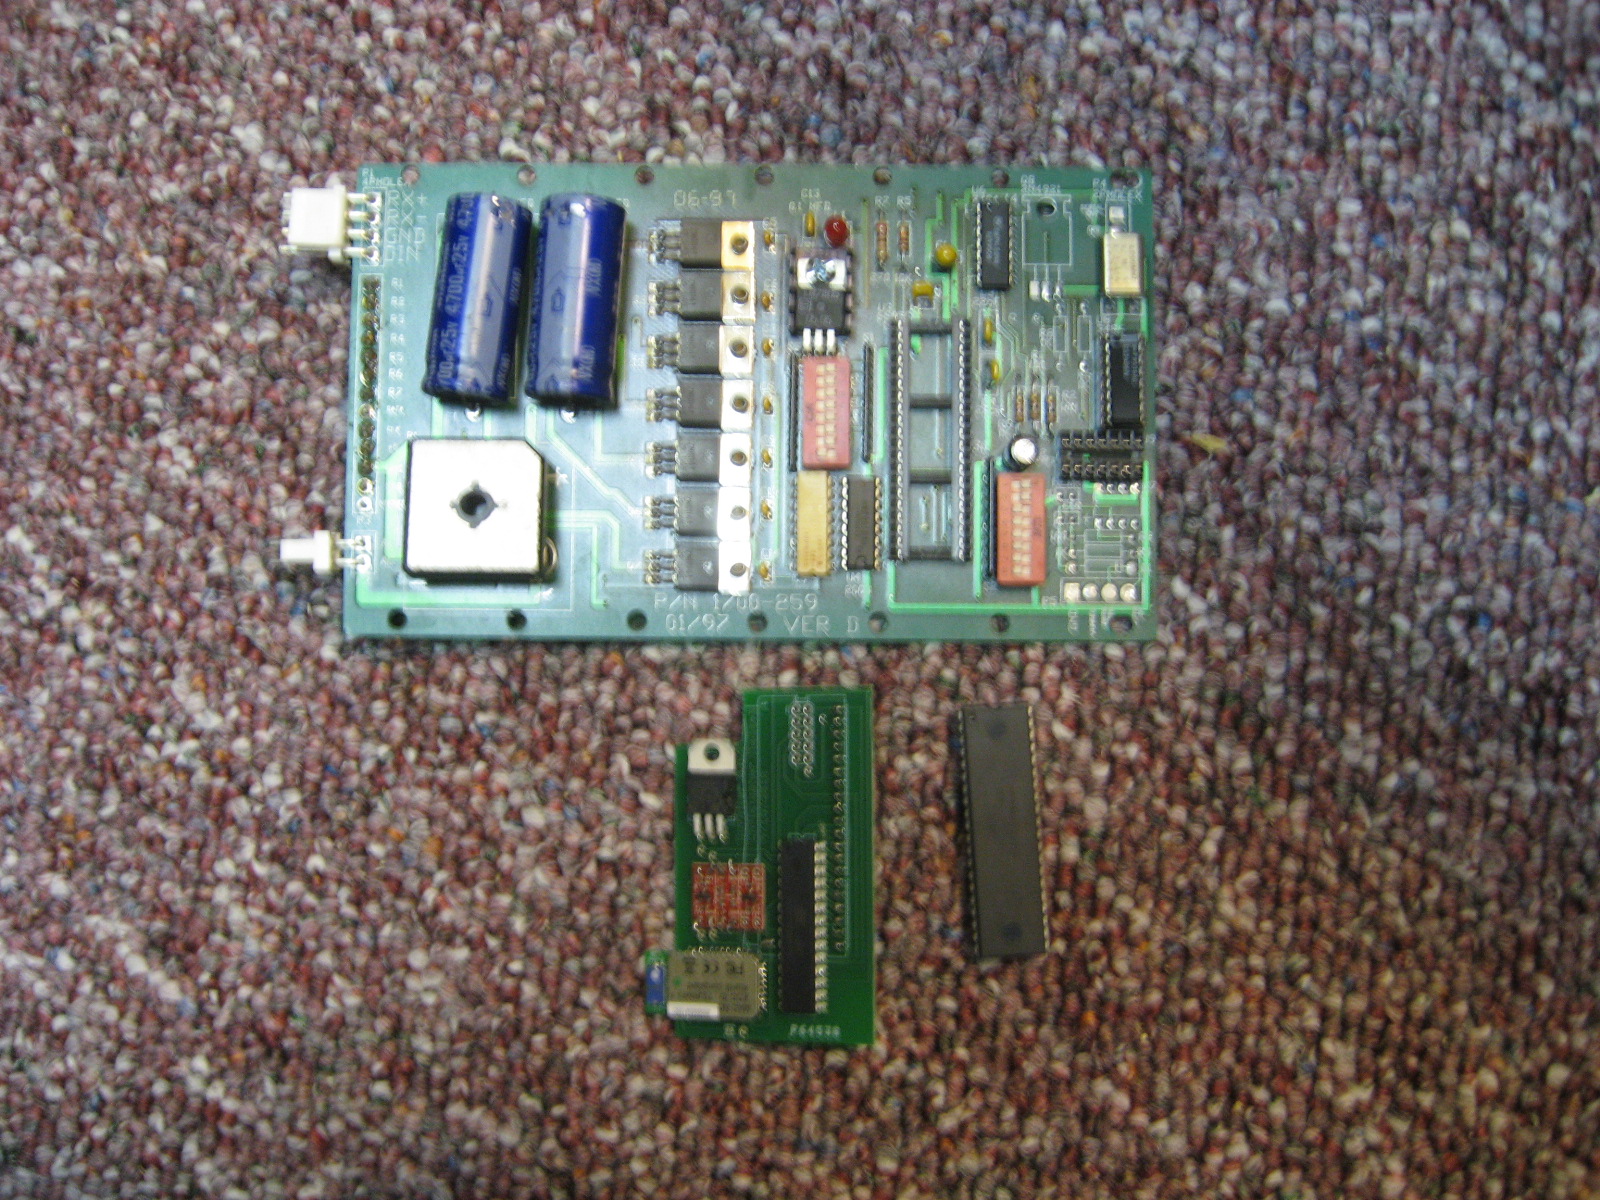
A friend of mine obtained a large number of static (non-scrolling) LED signs made by Electronic Displays Inc (EDI).  The signs communicate using RS232 or RS485 serial connections.  We decided to improve the signs by replacing the serial communication with Bluetooth so no data cables need to be routed to the sign.  We also decided to make the signs more interesting by giving them a large message memory and effects such as scrolling, blinking, bold font, etc.

These modifications are easy to add using a board I designed that plugs directly into the socket of the PIC microcontroller already in the sign, replacing it and adding these features.

Our board is on the bottom-left and the PIC microcontroller it replaces is to the right.

Vertical Stabilizer Spars

Started making vertical stabilizer spars.  Got to really use some clecos.  I worked really hard in an attempt to keep everything straight and centered.  Getting parts clecoed together while leaving room to attach more parts was a little bit of a juggling act, but it was enjoyable.

You may notice a maroon scotch-brite pad in the background.  I had been trying to find them locally and finally found them at Fastenal.

Here’s a shot showing more of the clecos.

Tail 3

Made some clips and bent a flange on a piece of channel.  My shipment of Nuvite arrived and I tried it out on the leading edge we made at the workshop.  I was very pleased, but I think I went through the different grades too fast in an attempt to try them all out, so there seem to be some scratches left.

Tail 2

Started working on the tail.  I was hesitant to cut the spar channel on my compound miter saw because I was unsure if it would vibrate too much or get caught and bent.  I held it firmly and cut really slow and it cut perfectly.  I even made the 5 degree cuts on the flanges with the bevel feature of the saw.

Cutting the circle was another matter entirely.  First I used my unibit, but this vibrated like crazy and didn’t seem precise at all.  Plus it seemed to be melting the aluminum more than cutting and the force I was applying to cut was deforming the metal.  Not having a hole saw or a fly cutter I decided to use a forstner bit as a last-ditch attempt.  I added cutting fluid and the forstner bit went through like butter.  Spade bits probably would have worked just as well except mine don’t have a nice tooth on the outside to cut the circle out.

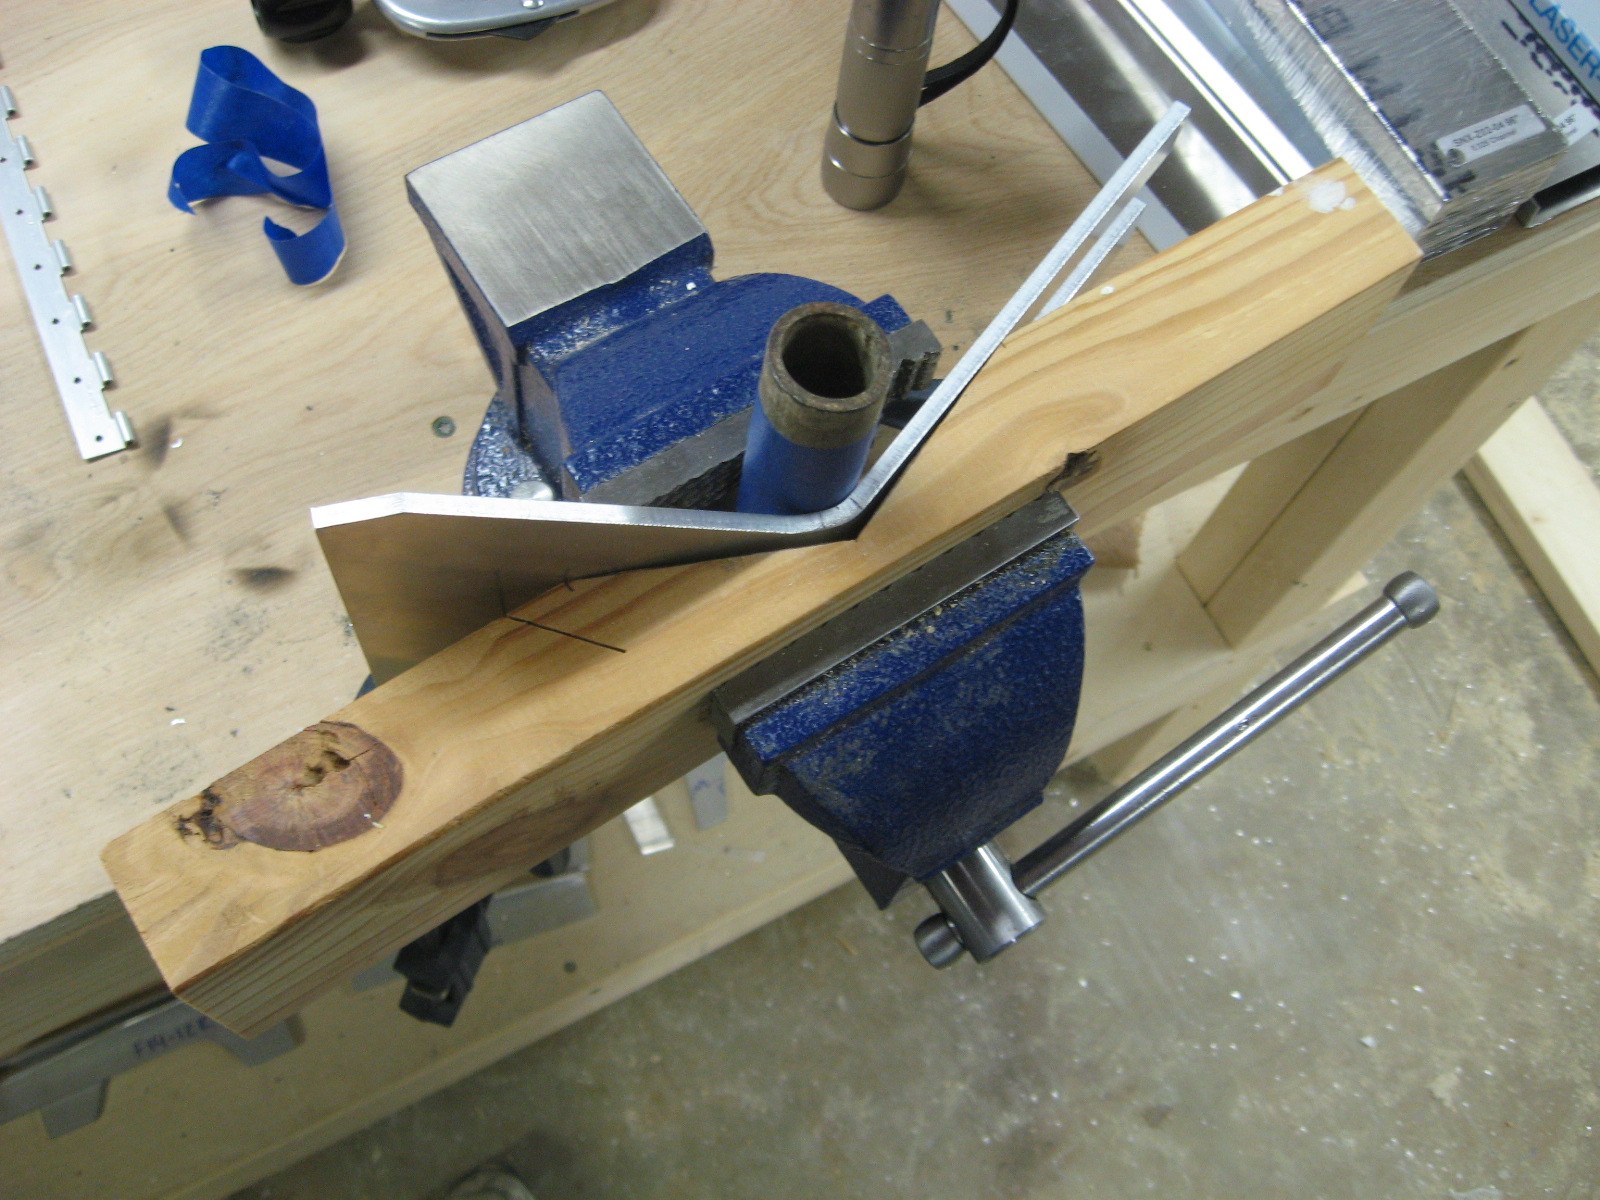
I have been dreading bending the forward spar fitting for a while.  I decided to try using my bench vise and a piece of thick-walled pipe I found in the basement with the correct diameter. I cut a “V” into a block of wood with my bandsaw.  Once I lined everything up, the bending was way easier than expected.

Aluminum Angle Bundle 17

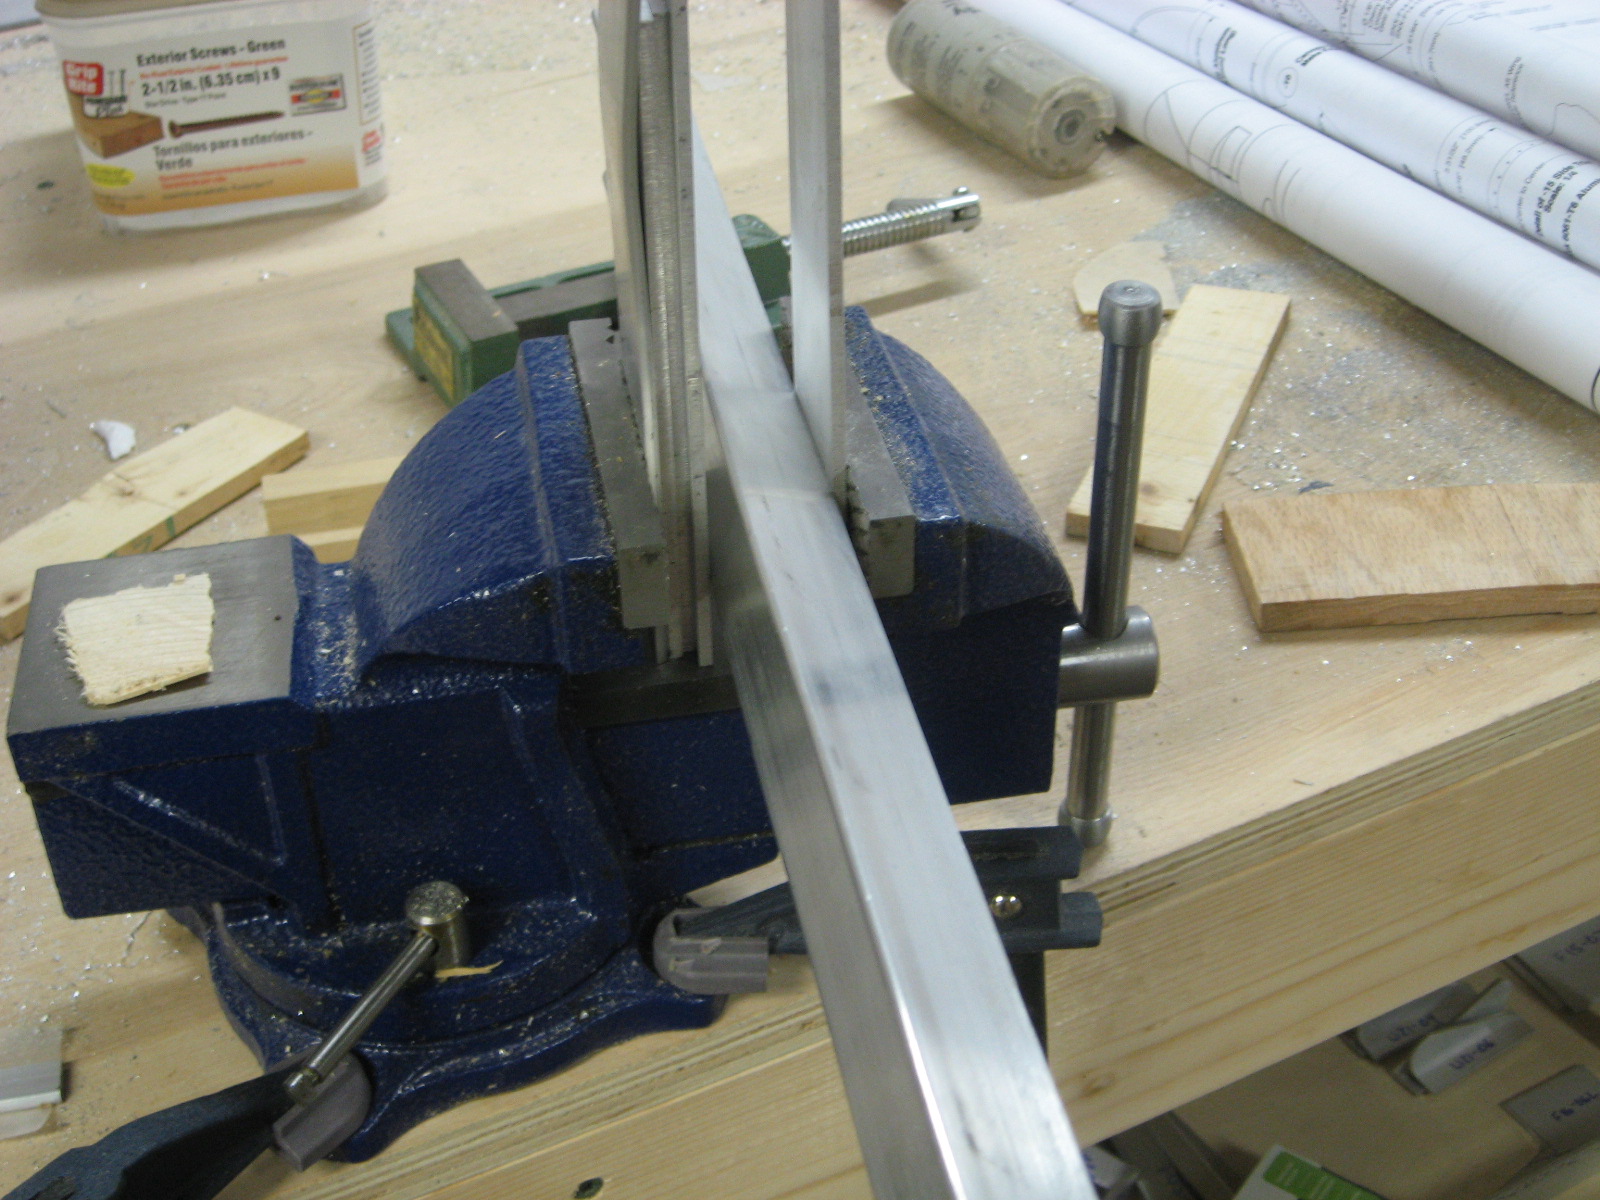
I have tried a few methods to open angle past 90 degrees.  The 4lb hammer method was very tedious for some of the longer pieces so I used the bench vise and WD-40 to squeeze the angle open.  This would have worked much better with a chunk of steel or something to squeeze against, but I could have wasted a bunch of time finding a suitable chunk.  Instead I stacked a bunch of pieces of scrap aluminum together–this was a pain, but now I’m done :-)  On the plus side, it was very easy to control the angle of the squeeze over the entire length of angle.

Aluminum Angle Bundle 16

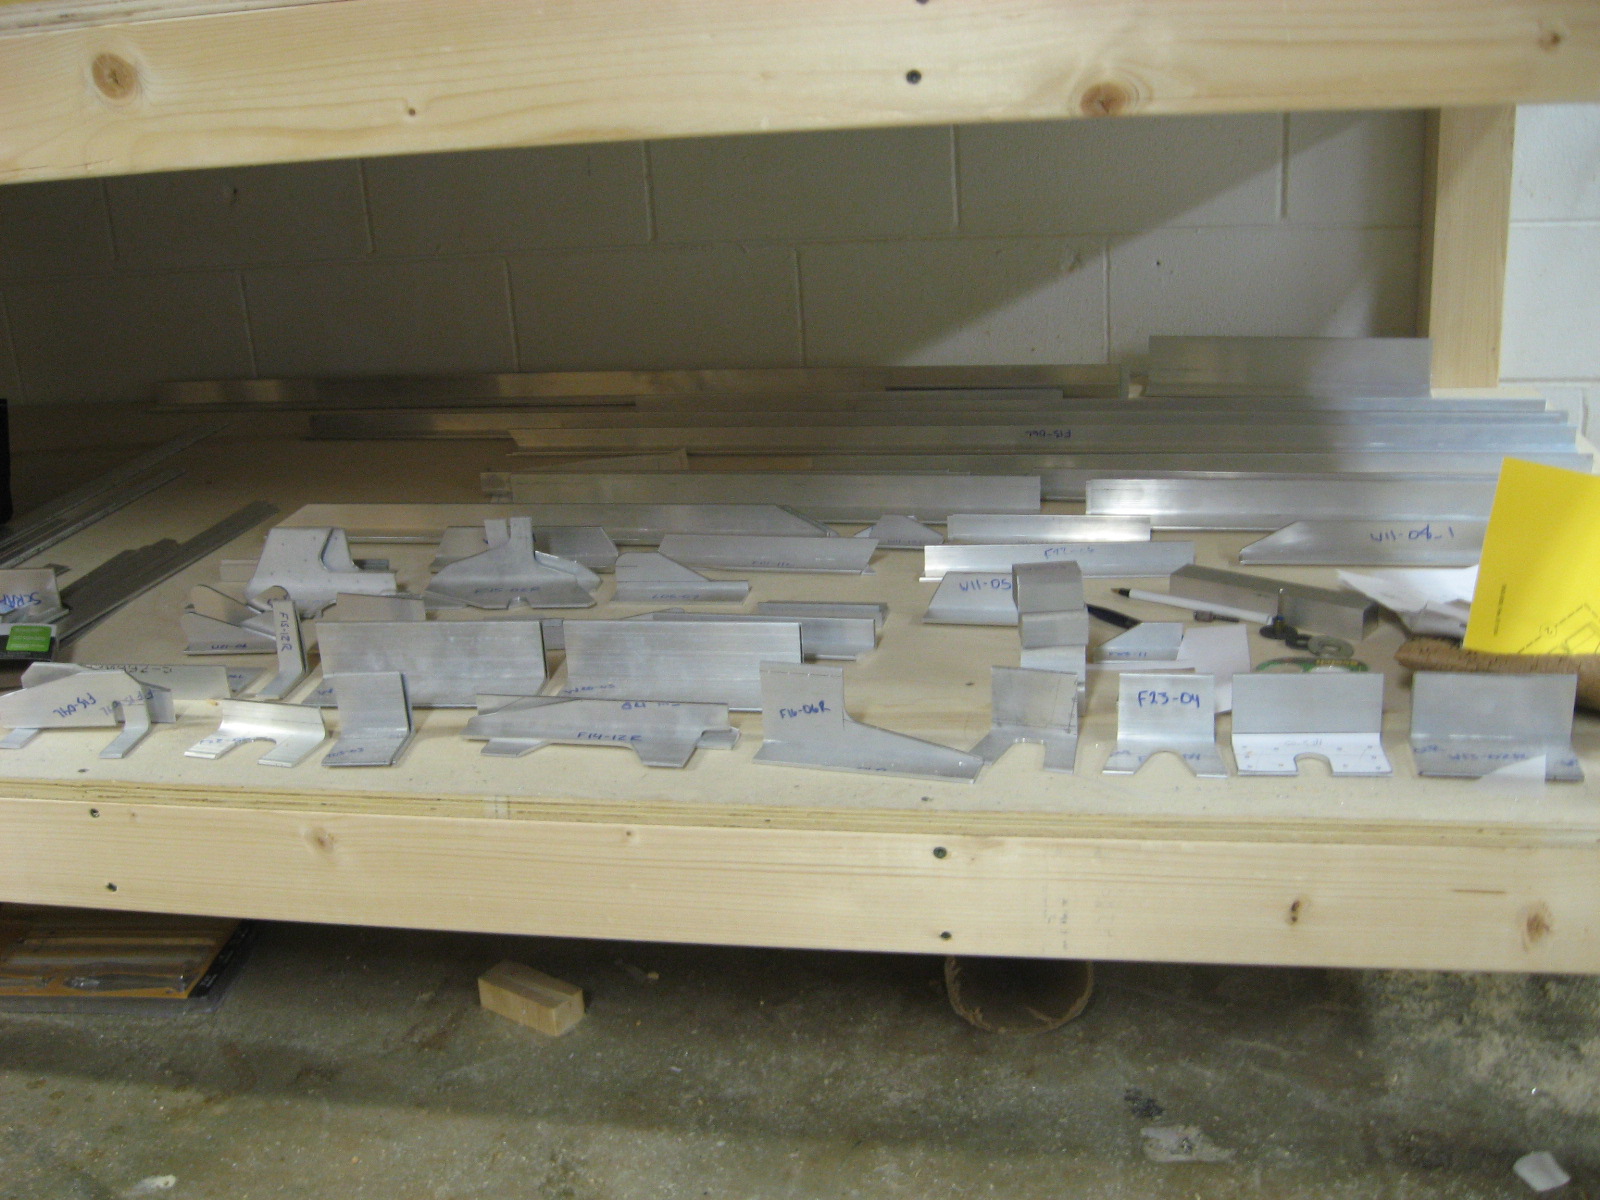
I’ve made some good progress.  I keep thinking I’m almost done cutting all the aluminum angle, but it keeps on coming.  Here are some of the parts I’ve made since my last post.

Here are all the parts I’ve made so far.