


Instrument panel
Posted by chris
on January 27, 2014
No comments

I am using the altitude encoder in the Stratomaster to provide an altitude reading to the transponder. Here the Stratomaster is displaying 23,500 feet and the transponder is reading the same. This means I managed to wire the transponder correctly.

Engine mounting
Posted by chris
on January 1, 2014
No comments
Used a medical lift from Craigslist to mount the engine. 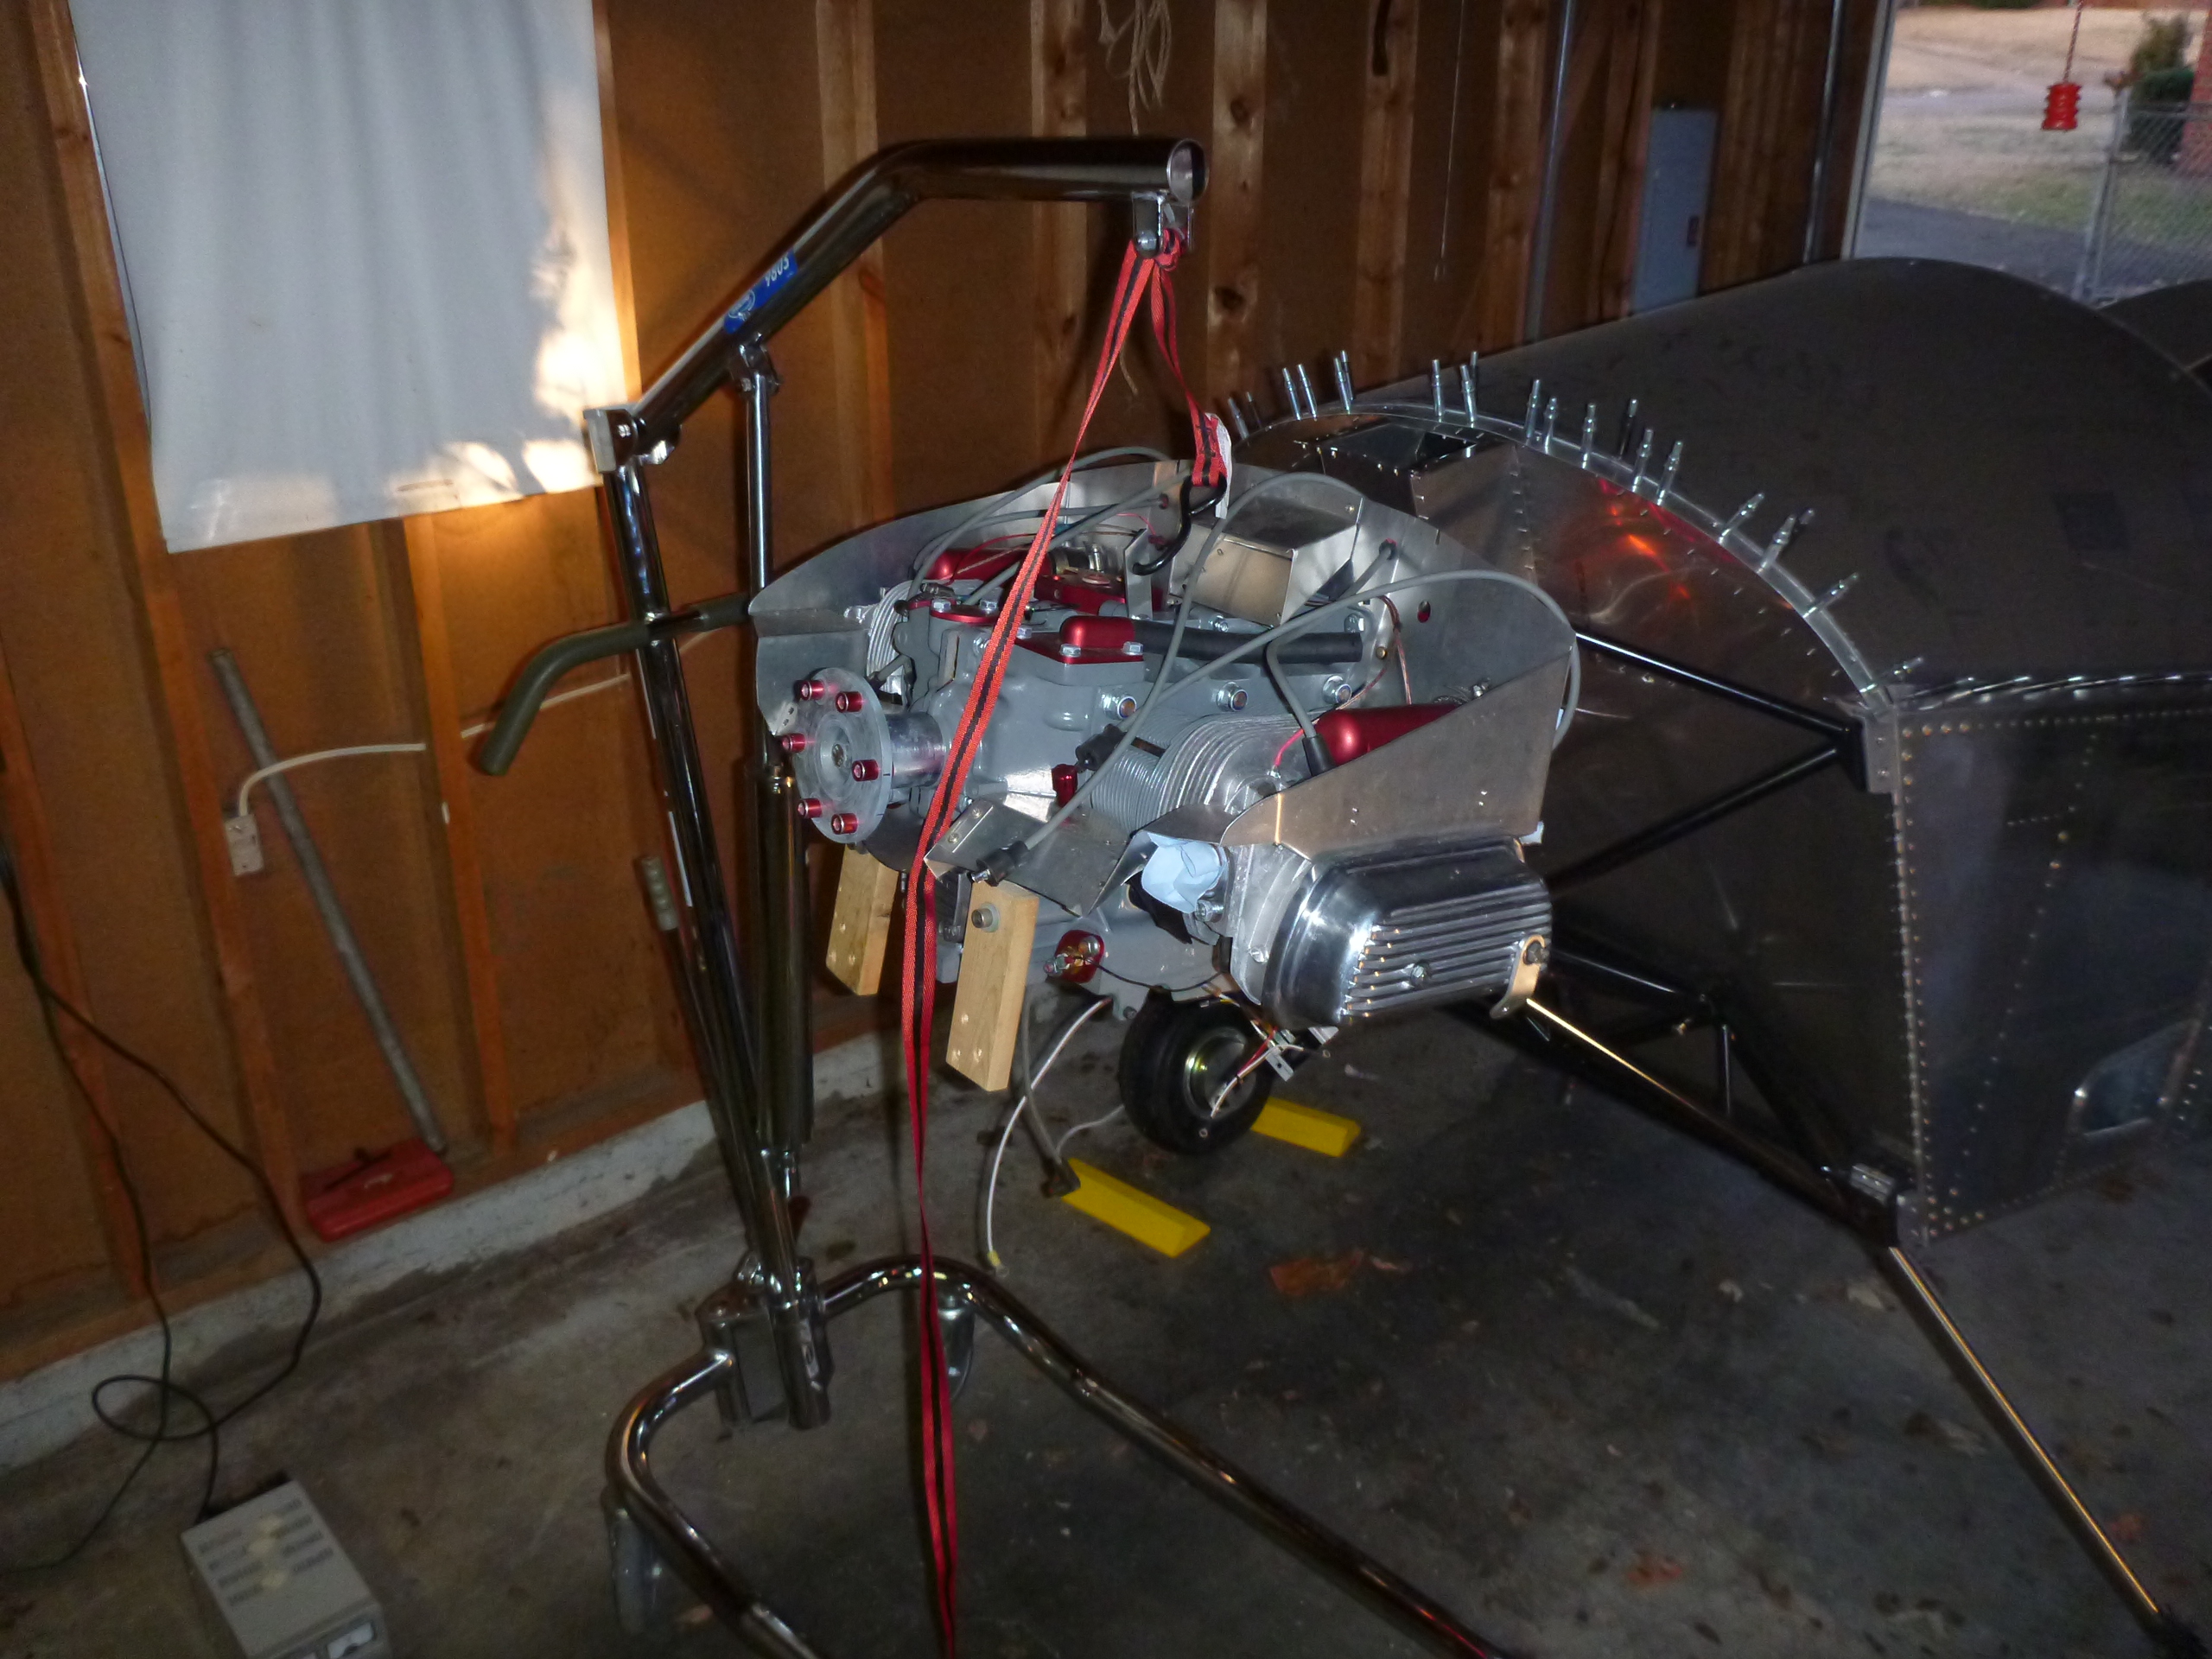
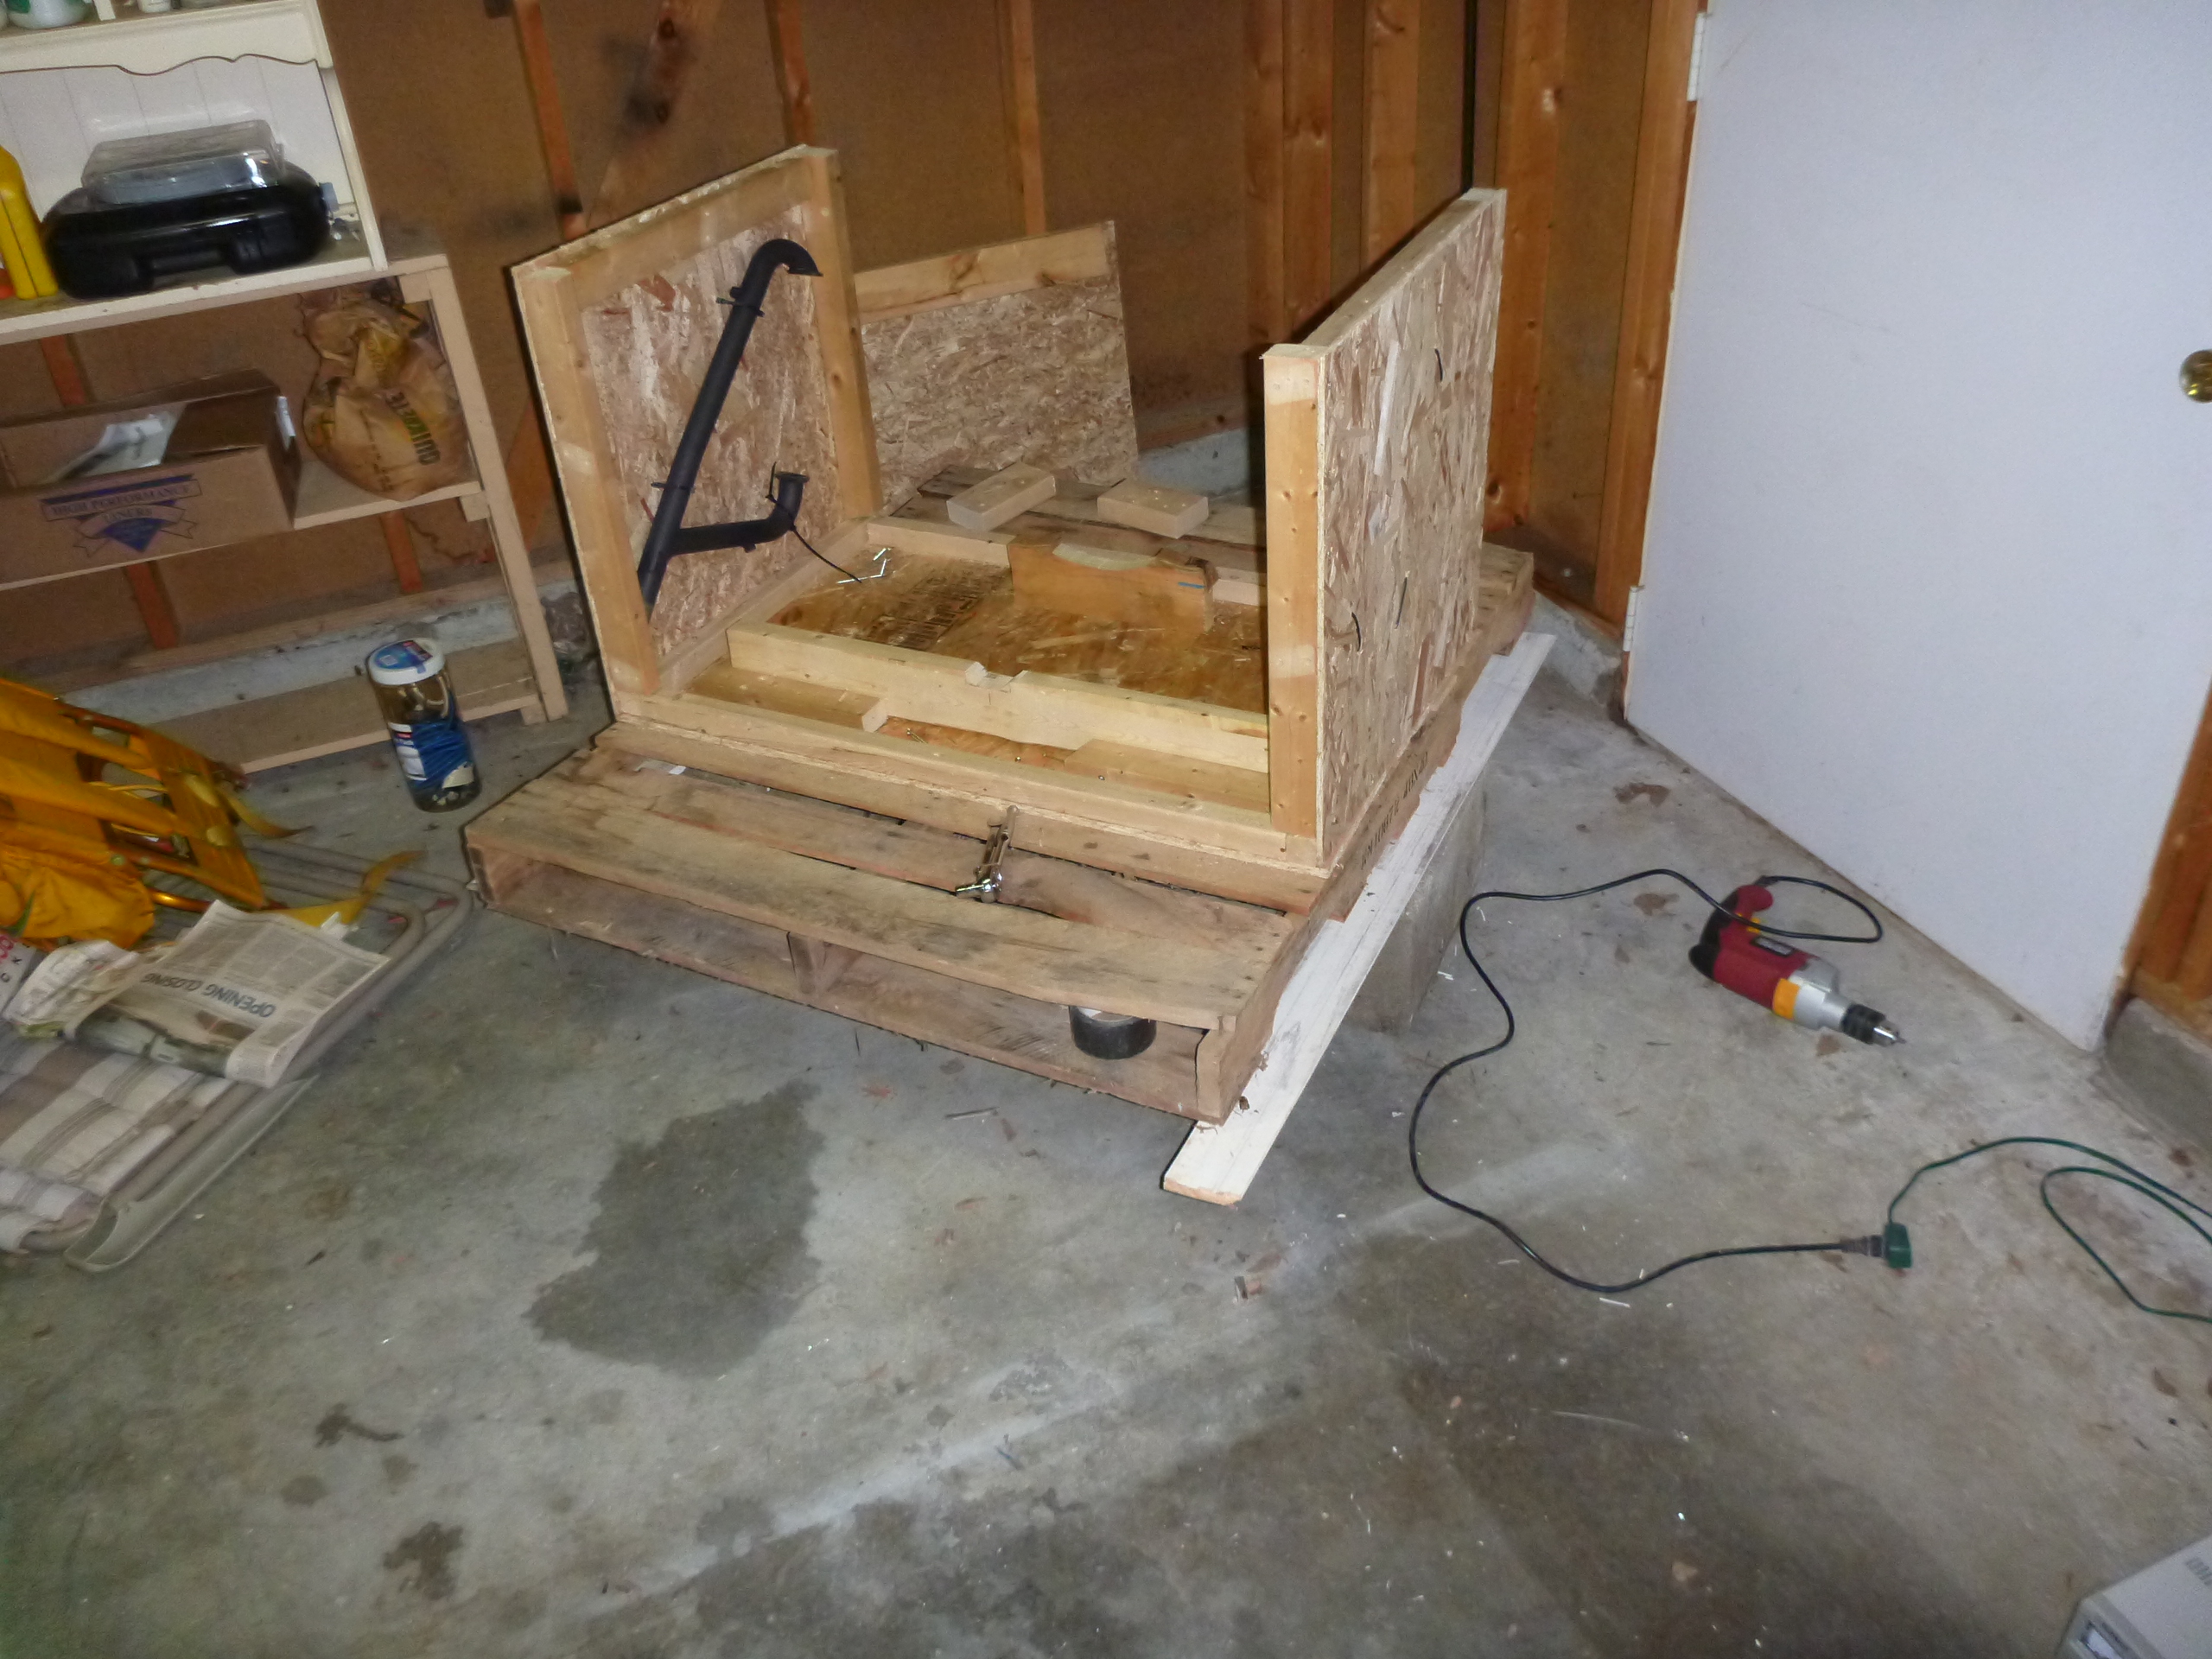
I had to lift the engine crate onto cinder blocks to get the legs of the hoist underneath. I was doing some serious head-scratching before I came up with this simple solution.
Tail installation and control stops
Posted by chris
on December 12, 2013
No comments
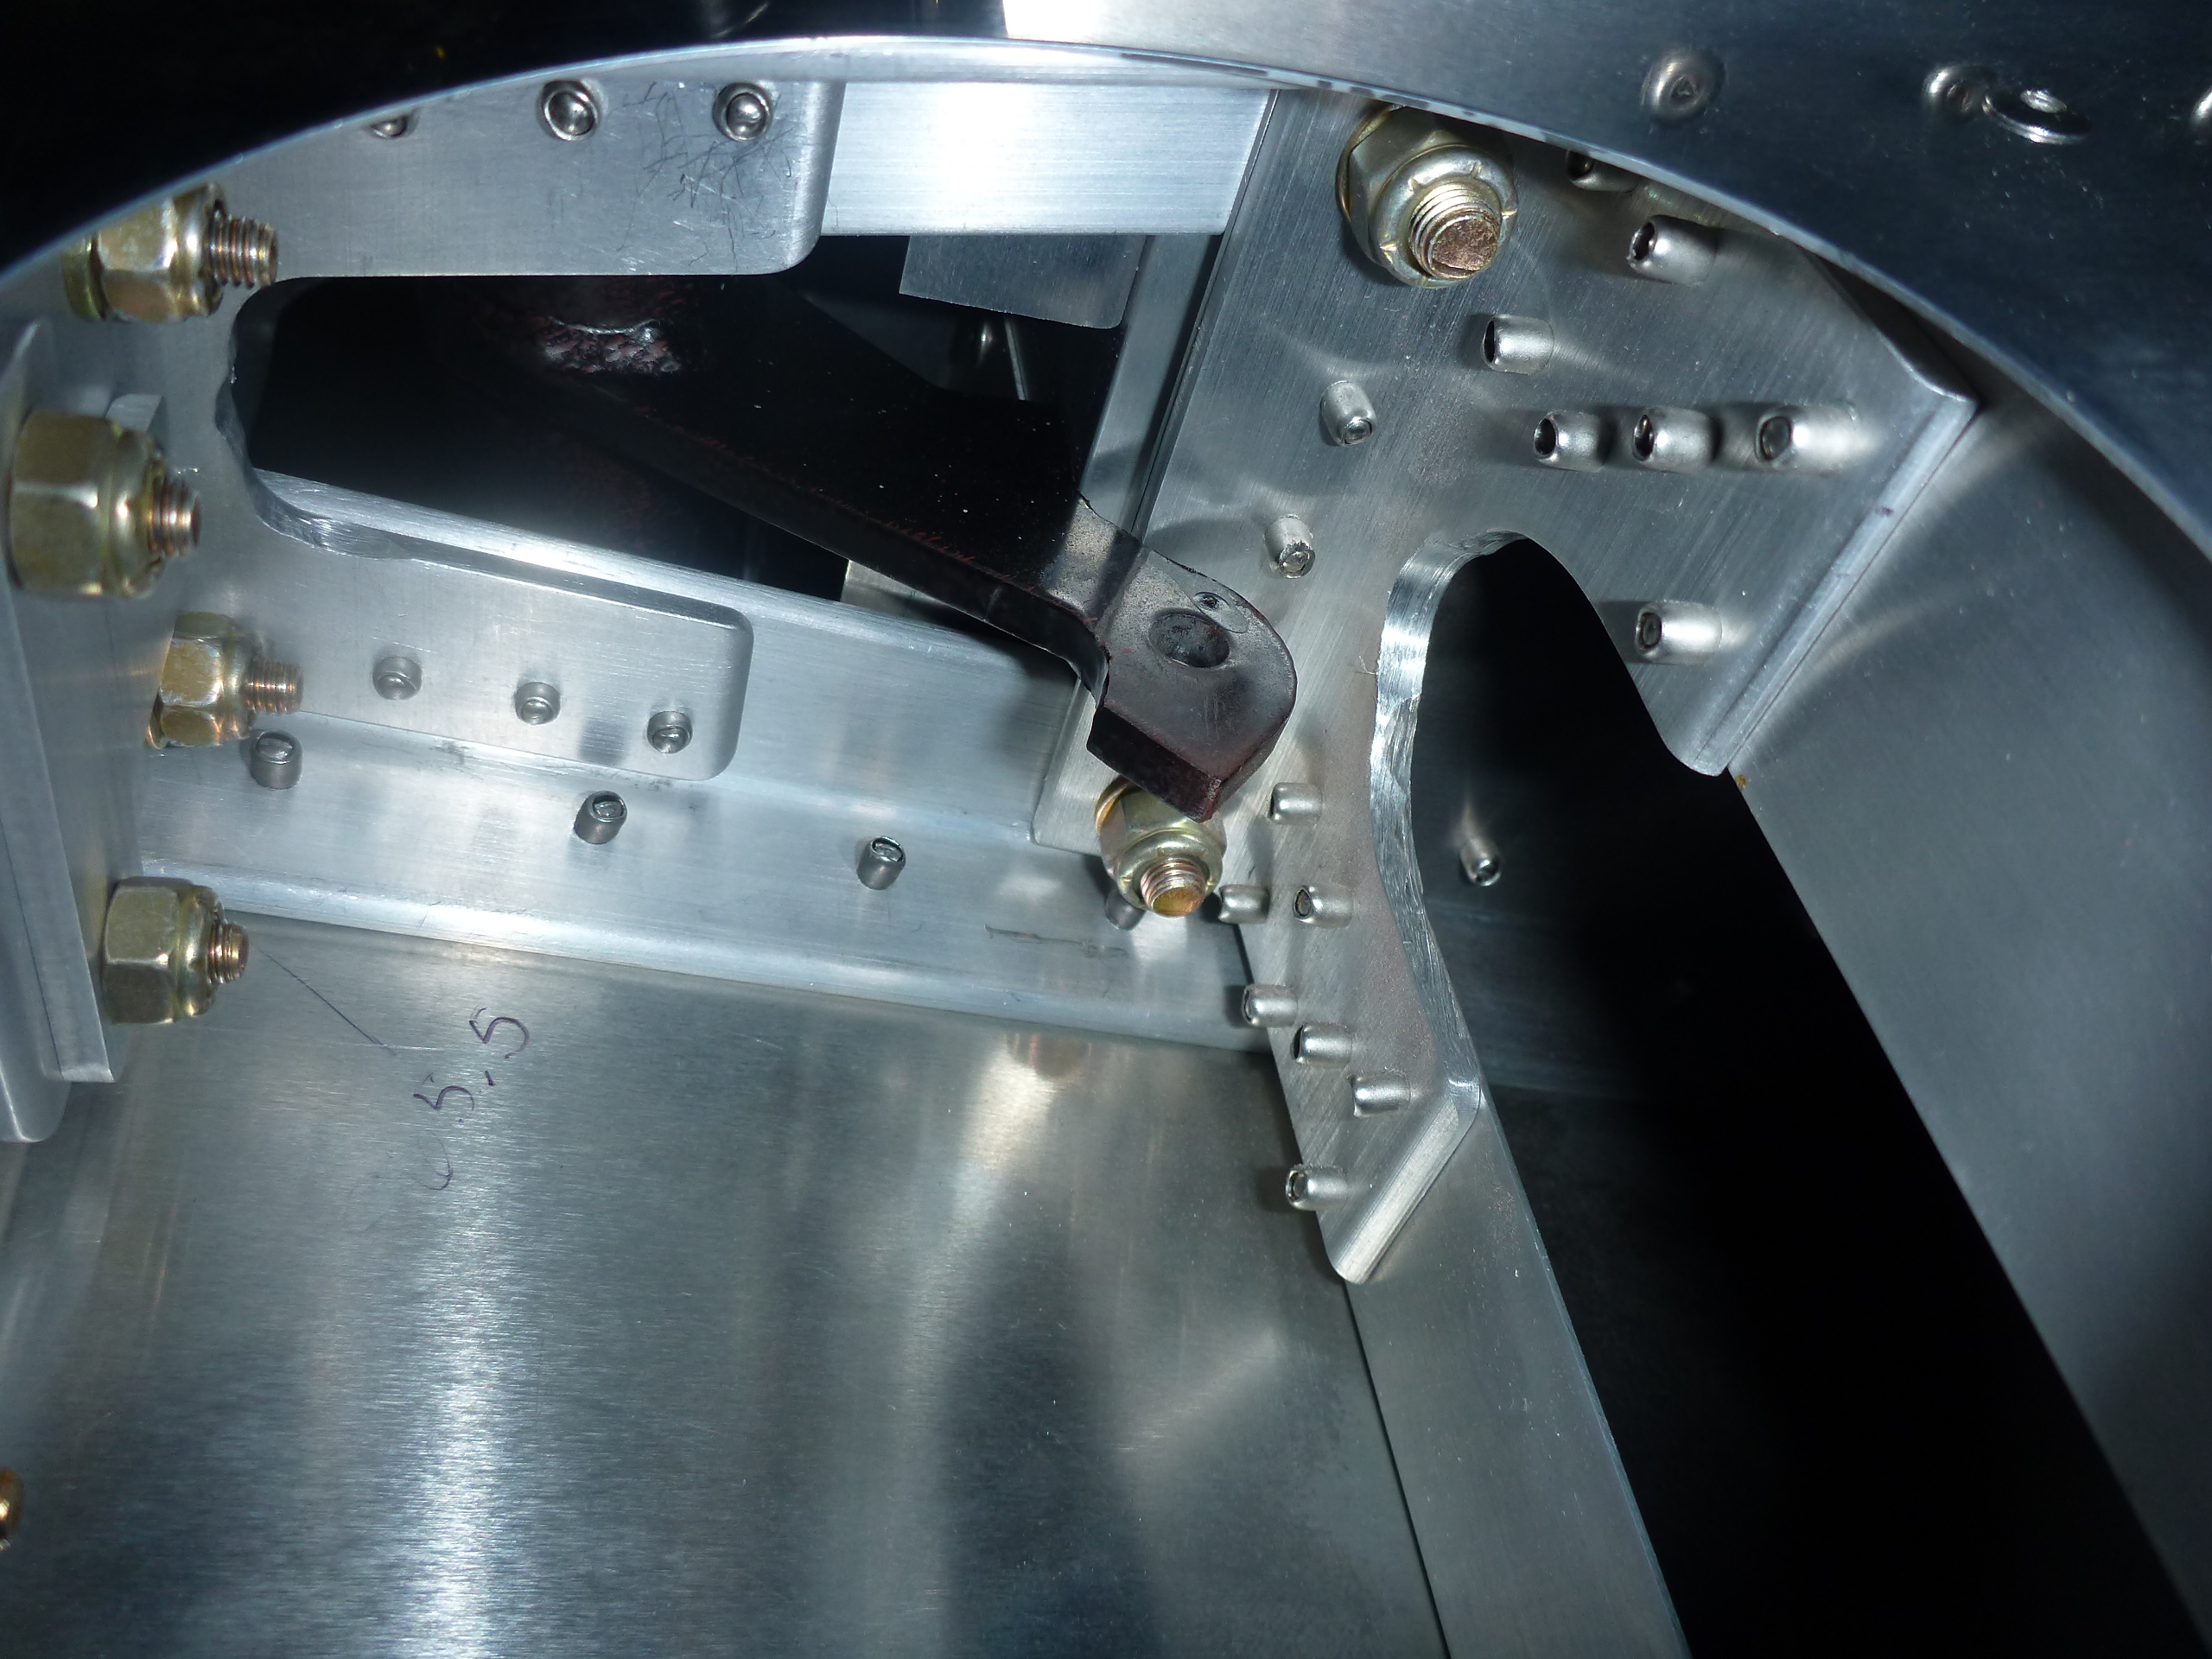
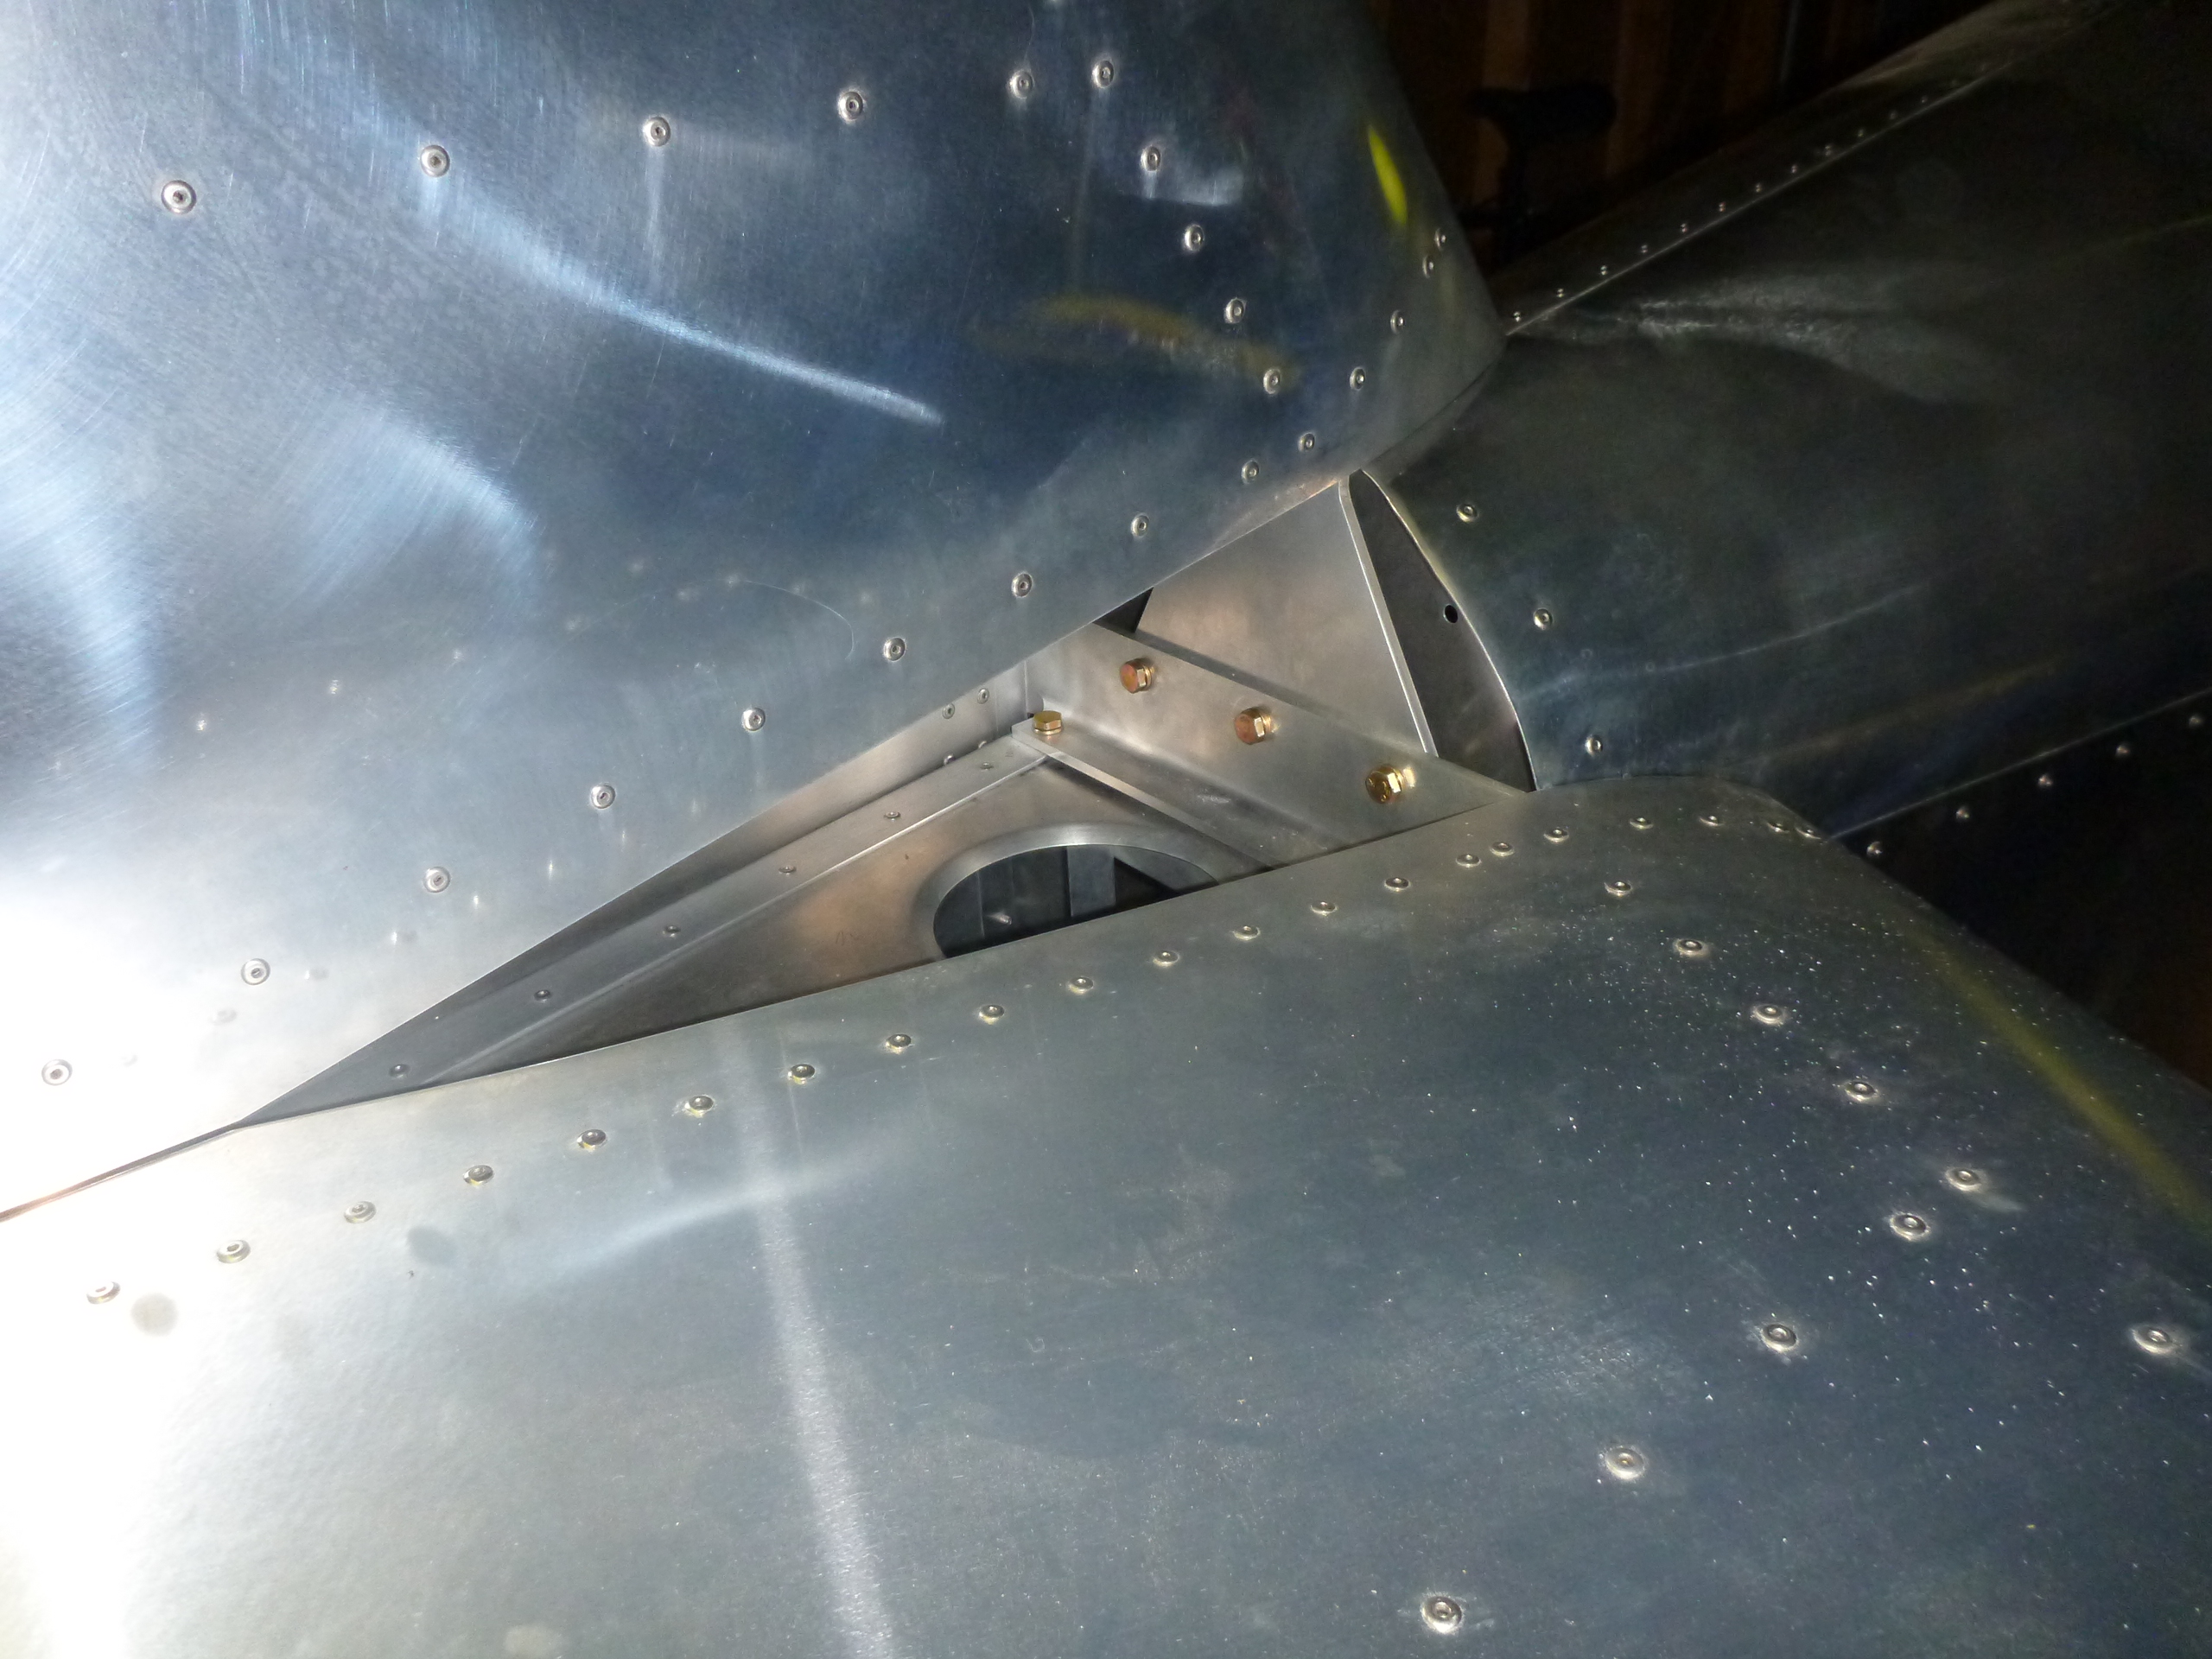
Ground a few spots on the elevator control horn to allow full up and down elevator motion. It was contacting in a few spots on fittings in the rear fuselage. Also had to grind a little on some aluminum angles to allow clearance for the pushrod. I decided to make a small deviation from plans and add an upside-down T-shaped piece of aluminum as a solid stop. Otherwise I was going to end up with really tight clearances all over the place.

Below, I have the elevator at full down travel with the horn hitting the other stop. It’s hard to see the stop in this picture, but it is just above the reflection on the black powdercoated elevator horn. I was pretty anxious about this stage of the project, so I kept putting it off fearing I positioned the tail so horribly I would never be able to get full control deflection. It was certainly a tight fit, but I’m extremely happy with how it turned out.
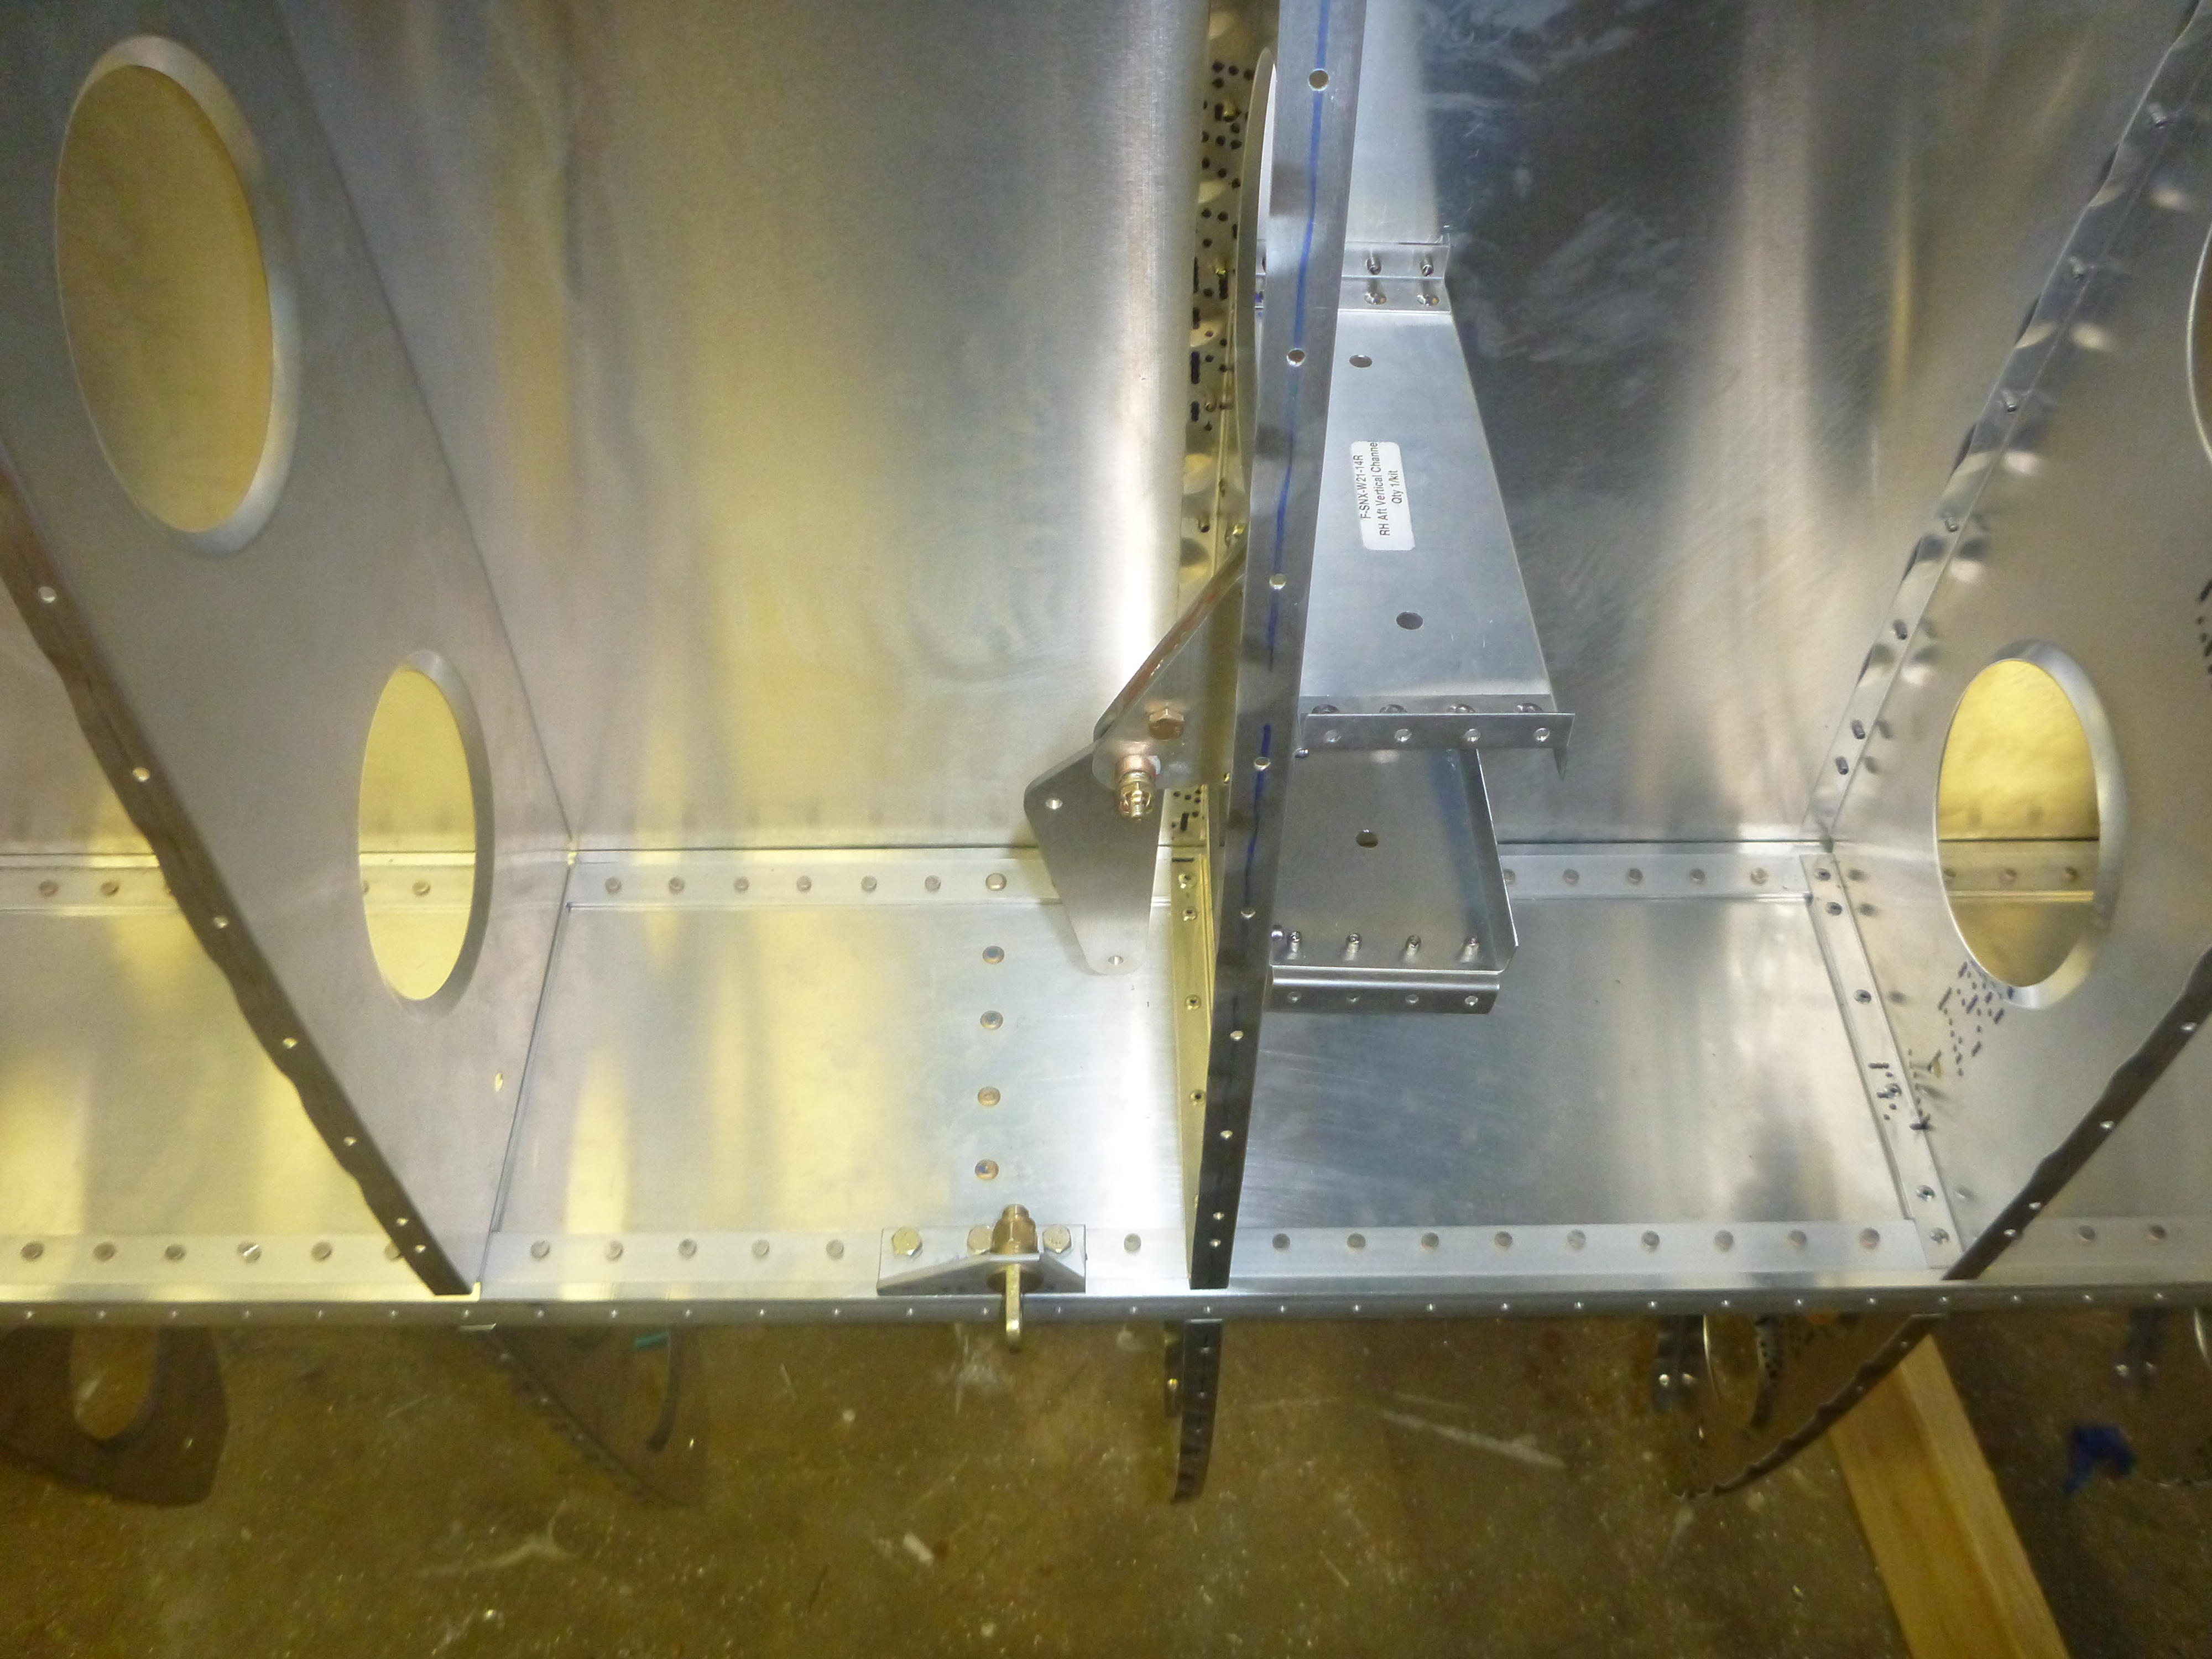
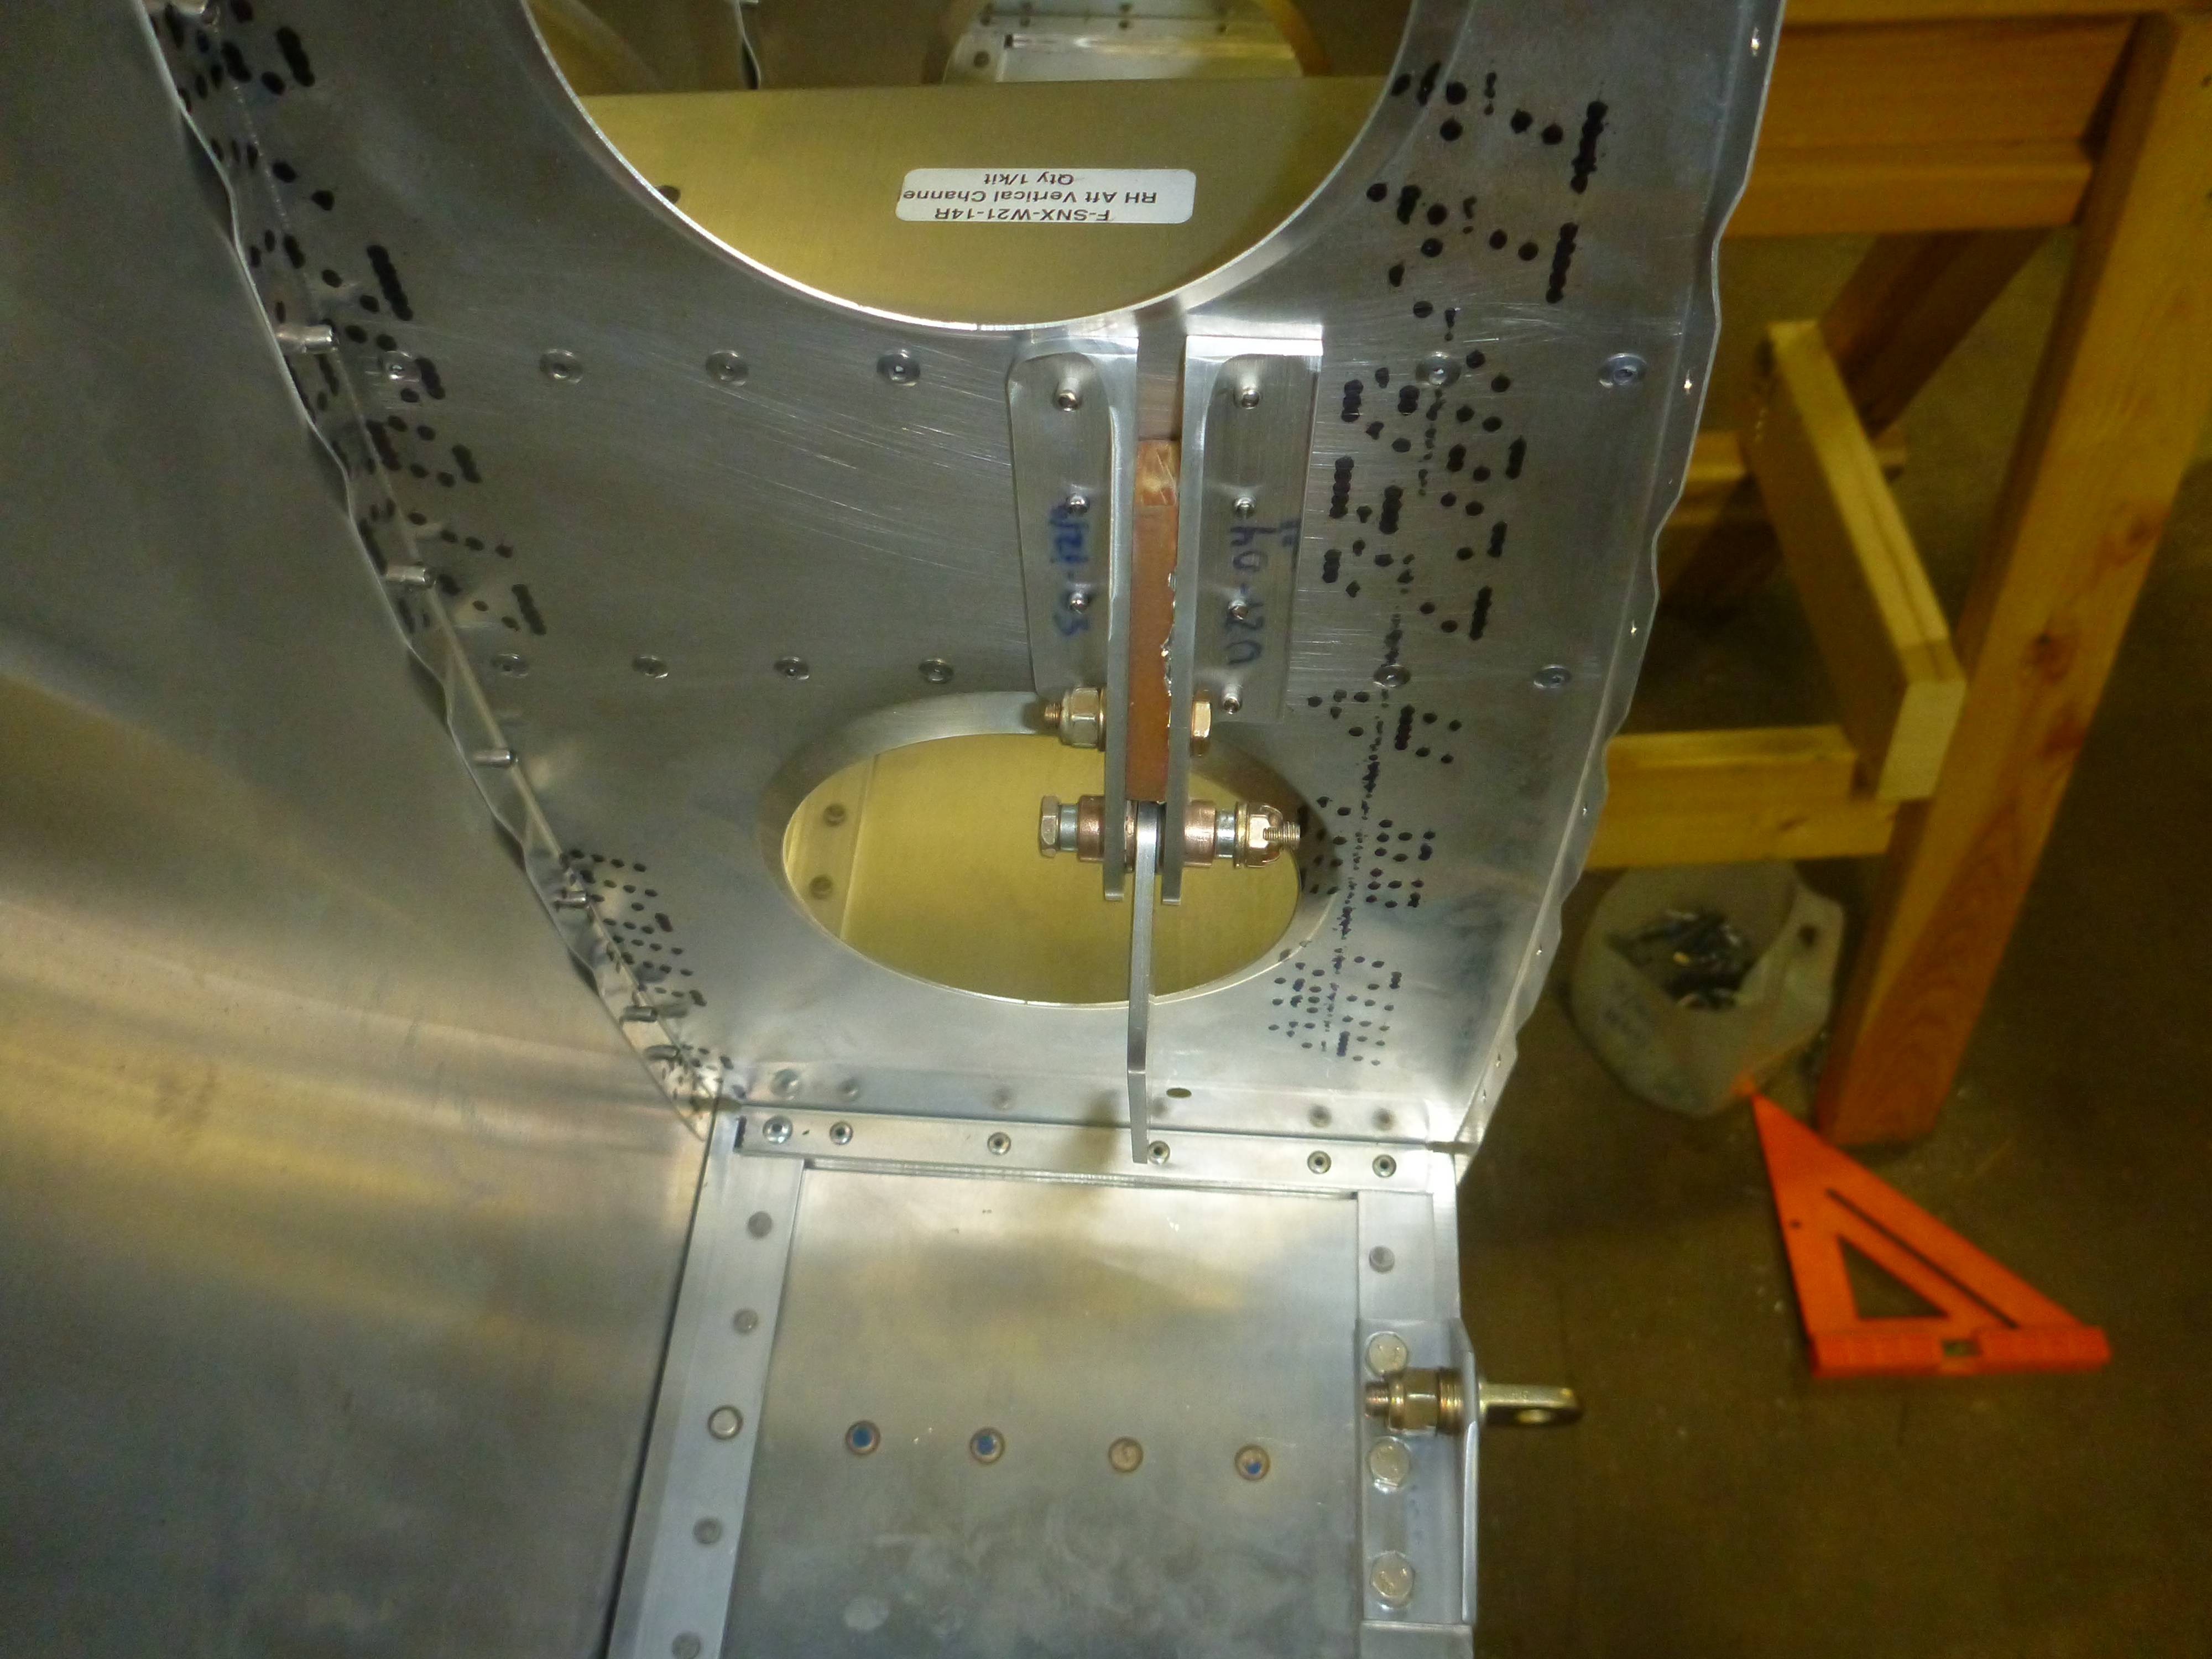
I ended up using AN3-5 bolts instead of AN3-6 when attaching the rear spar of the vertical stabilizer. The AN3-6 were so long they required 3 washers apiece which seemed like overkill.
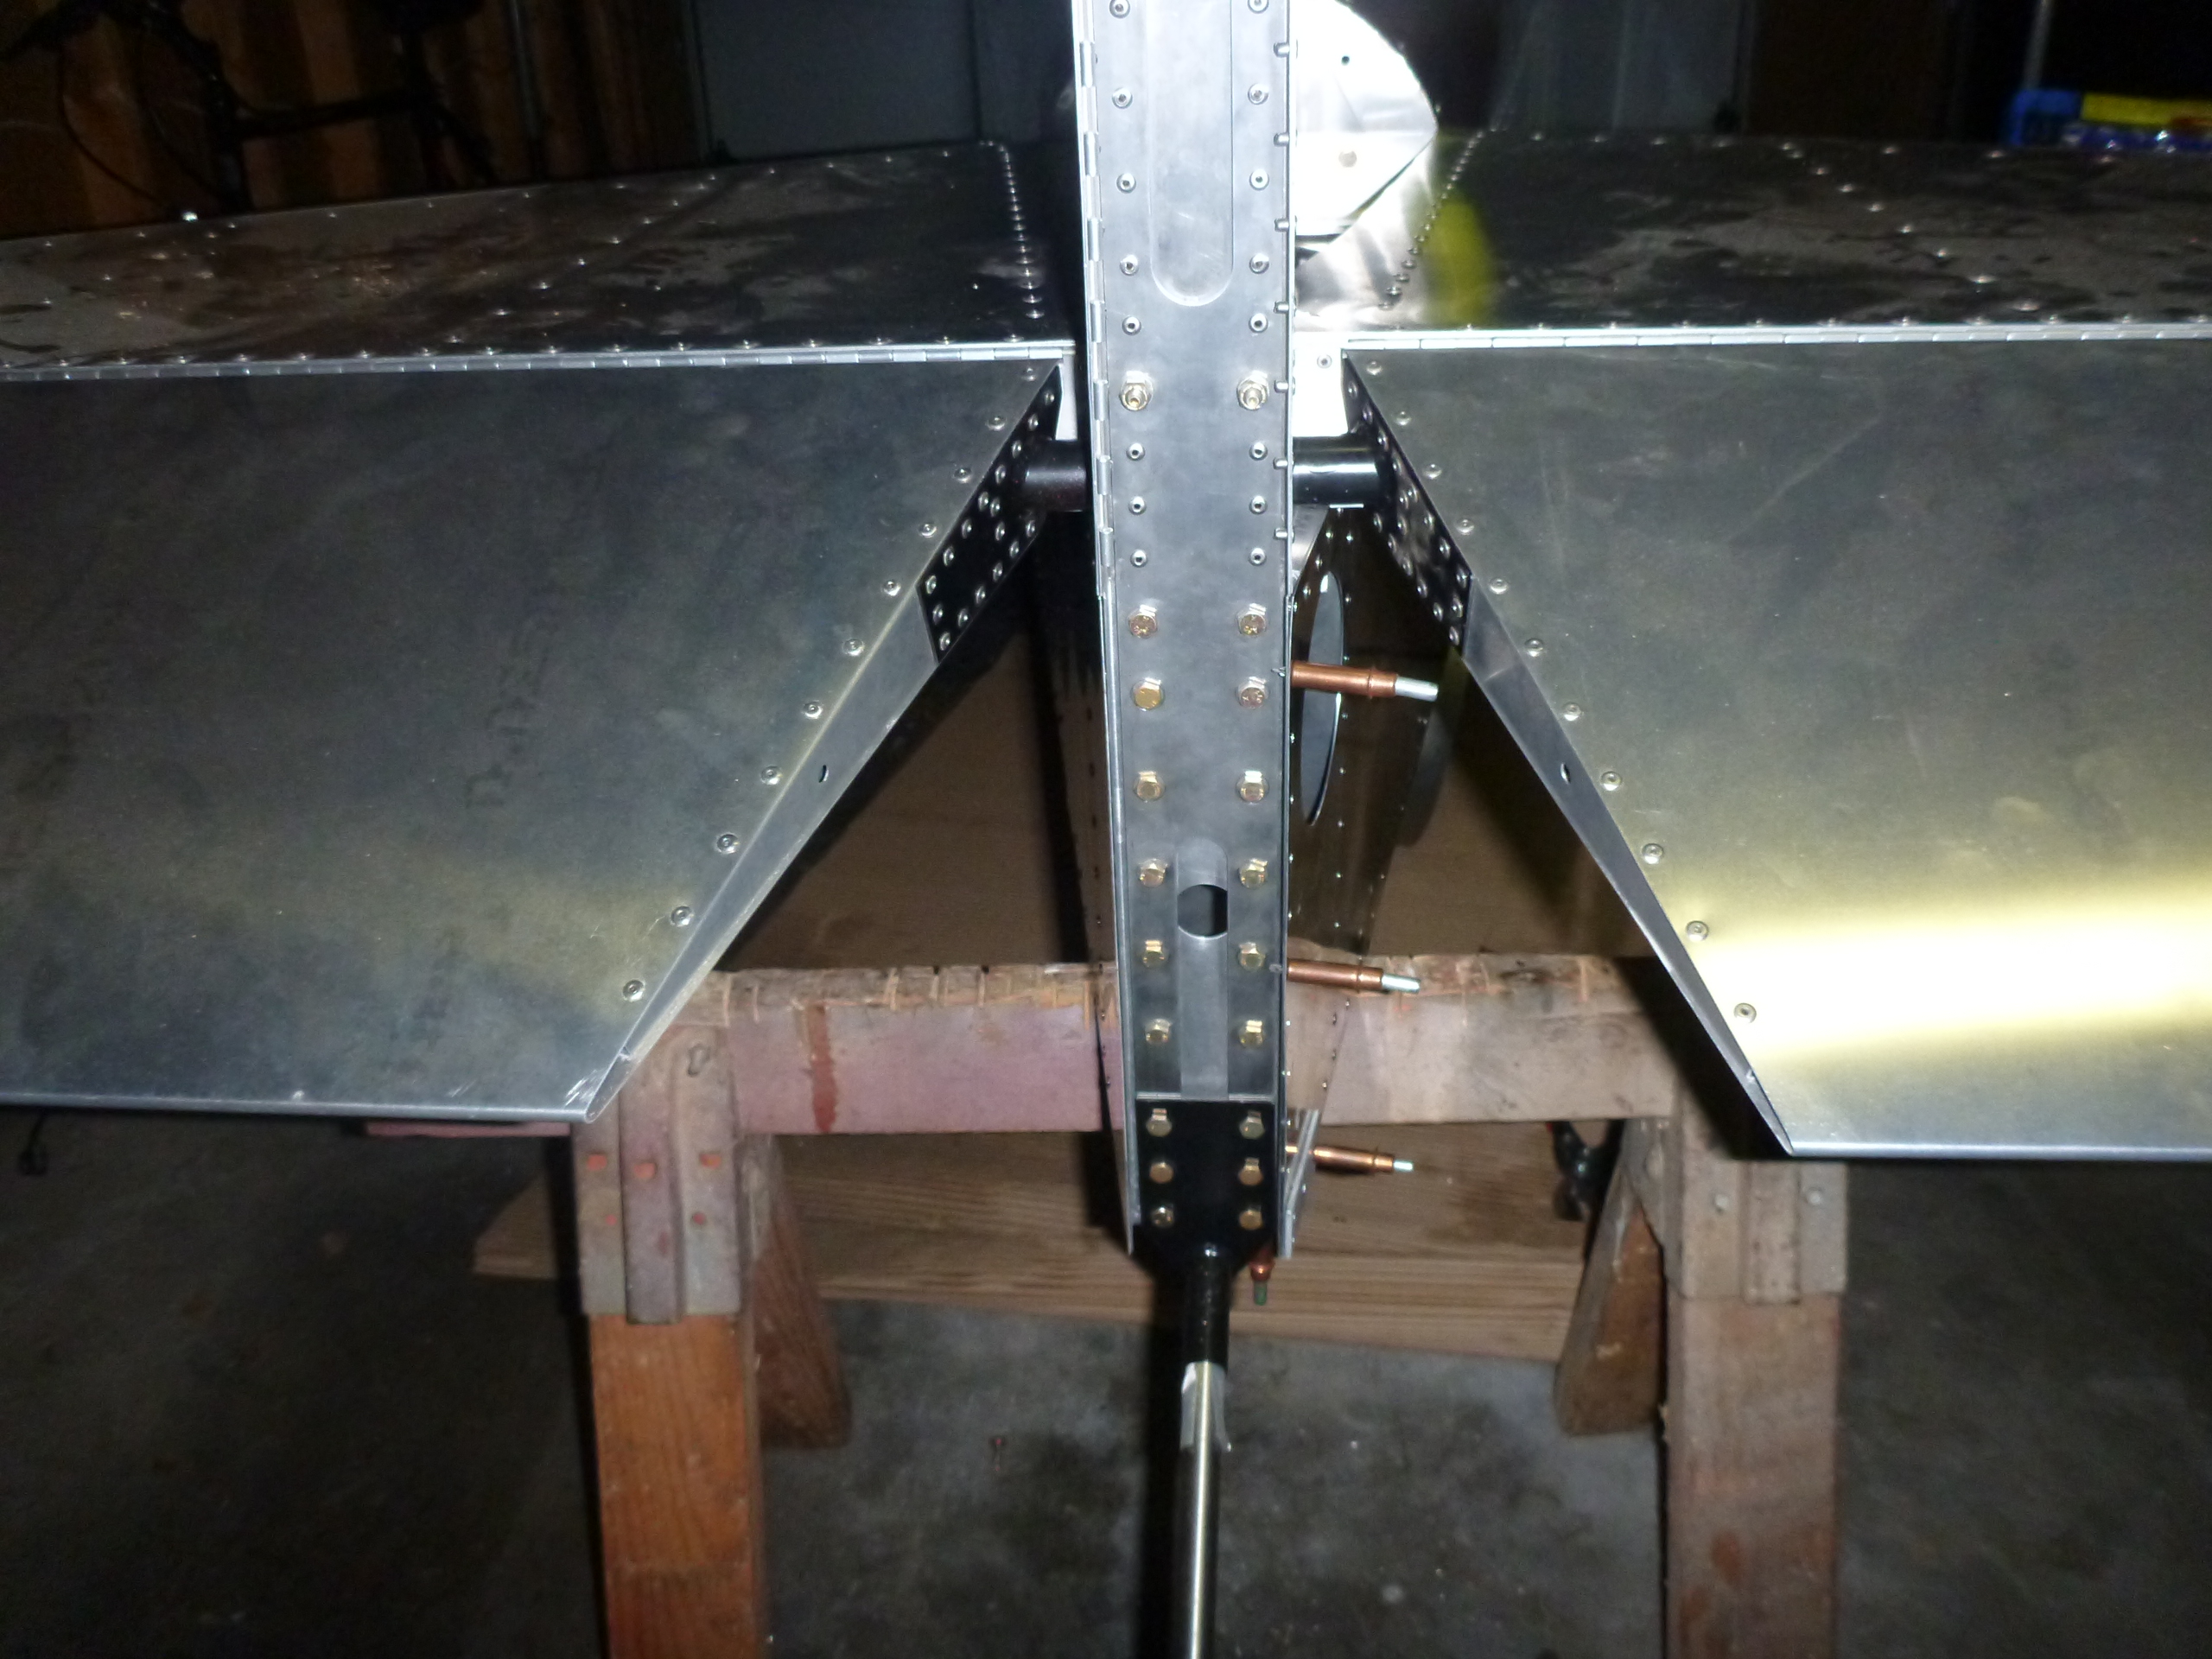
These three bolts connecting the stabilizers together required nutplates since access to the nut side is almost impossible. I’m extremely happy with the tight and solid connection.


Right wing skins
Posted by chris
on November 4, 2013
No comments
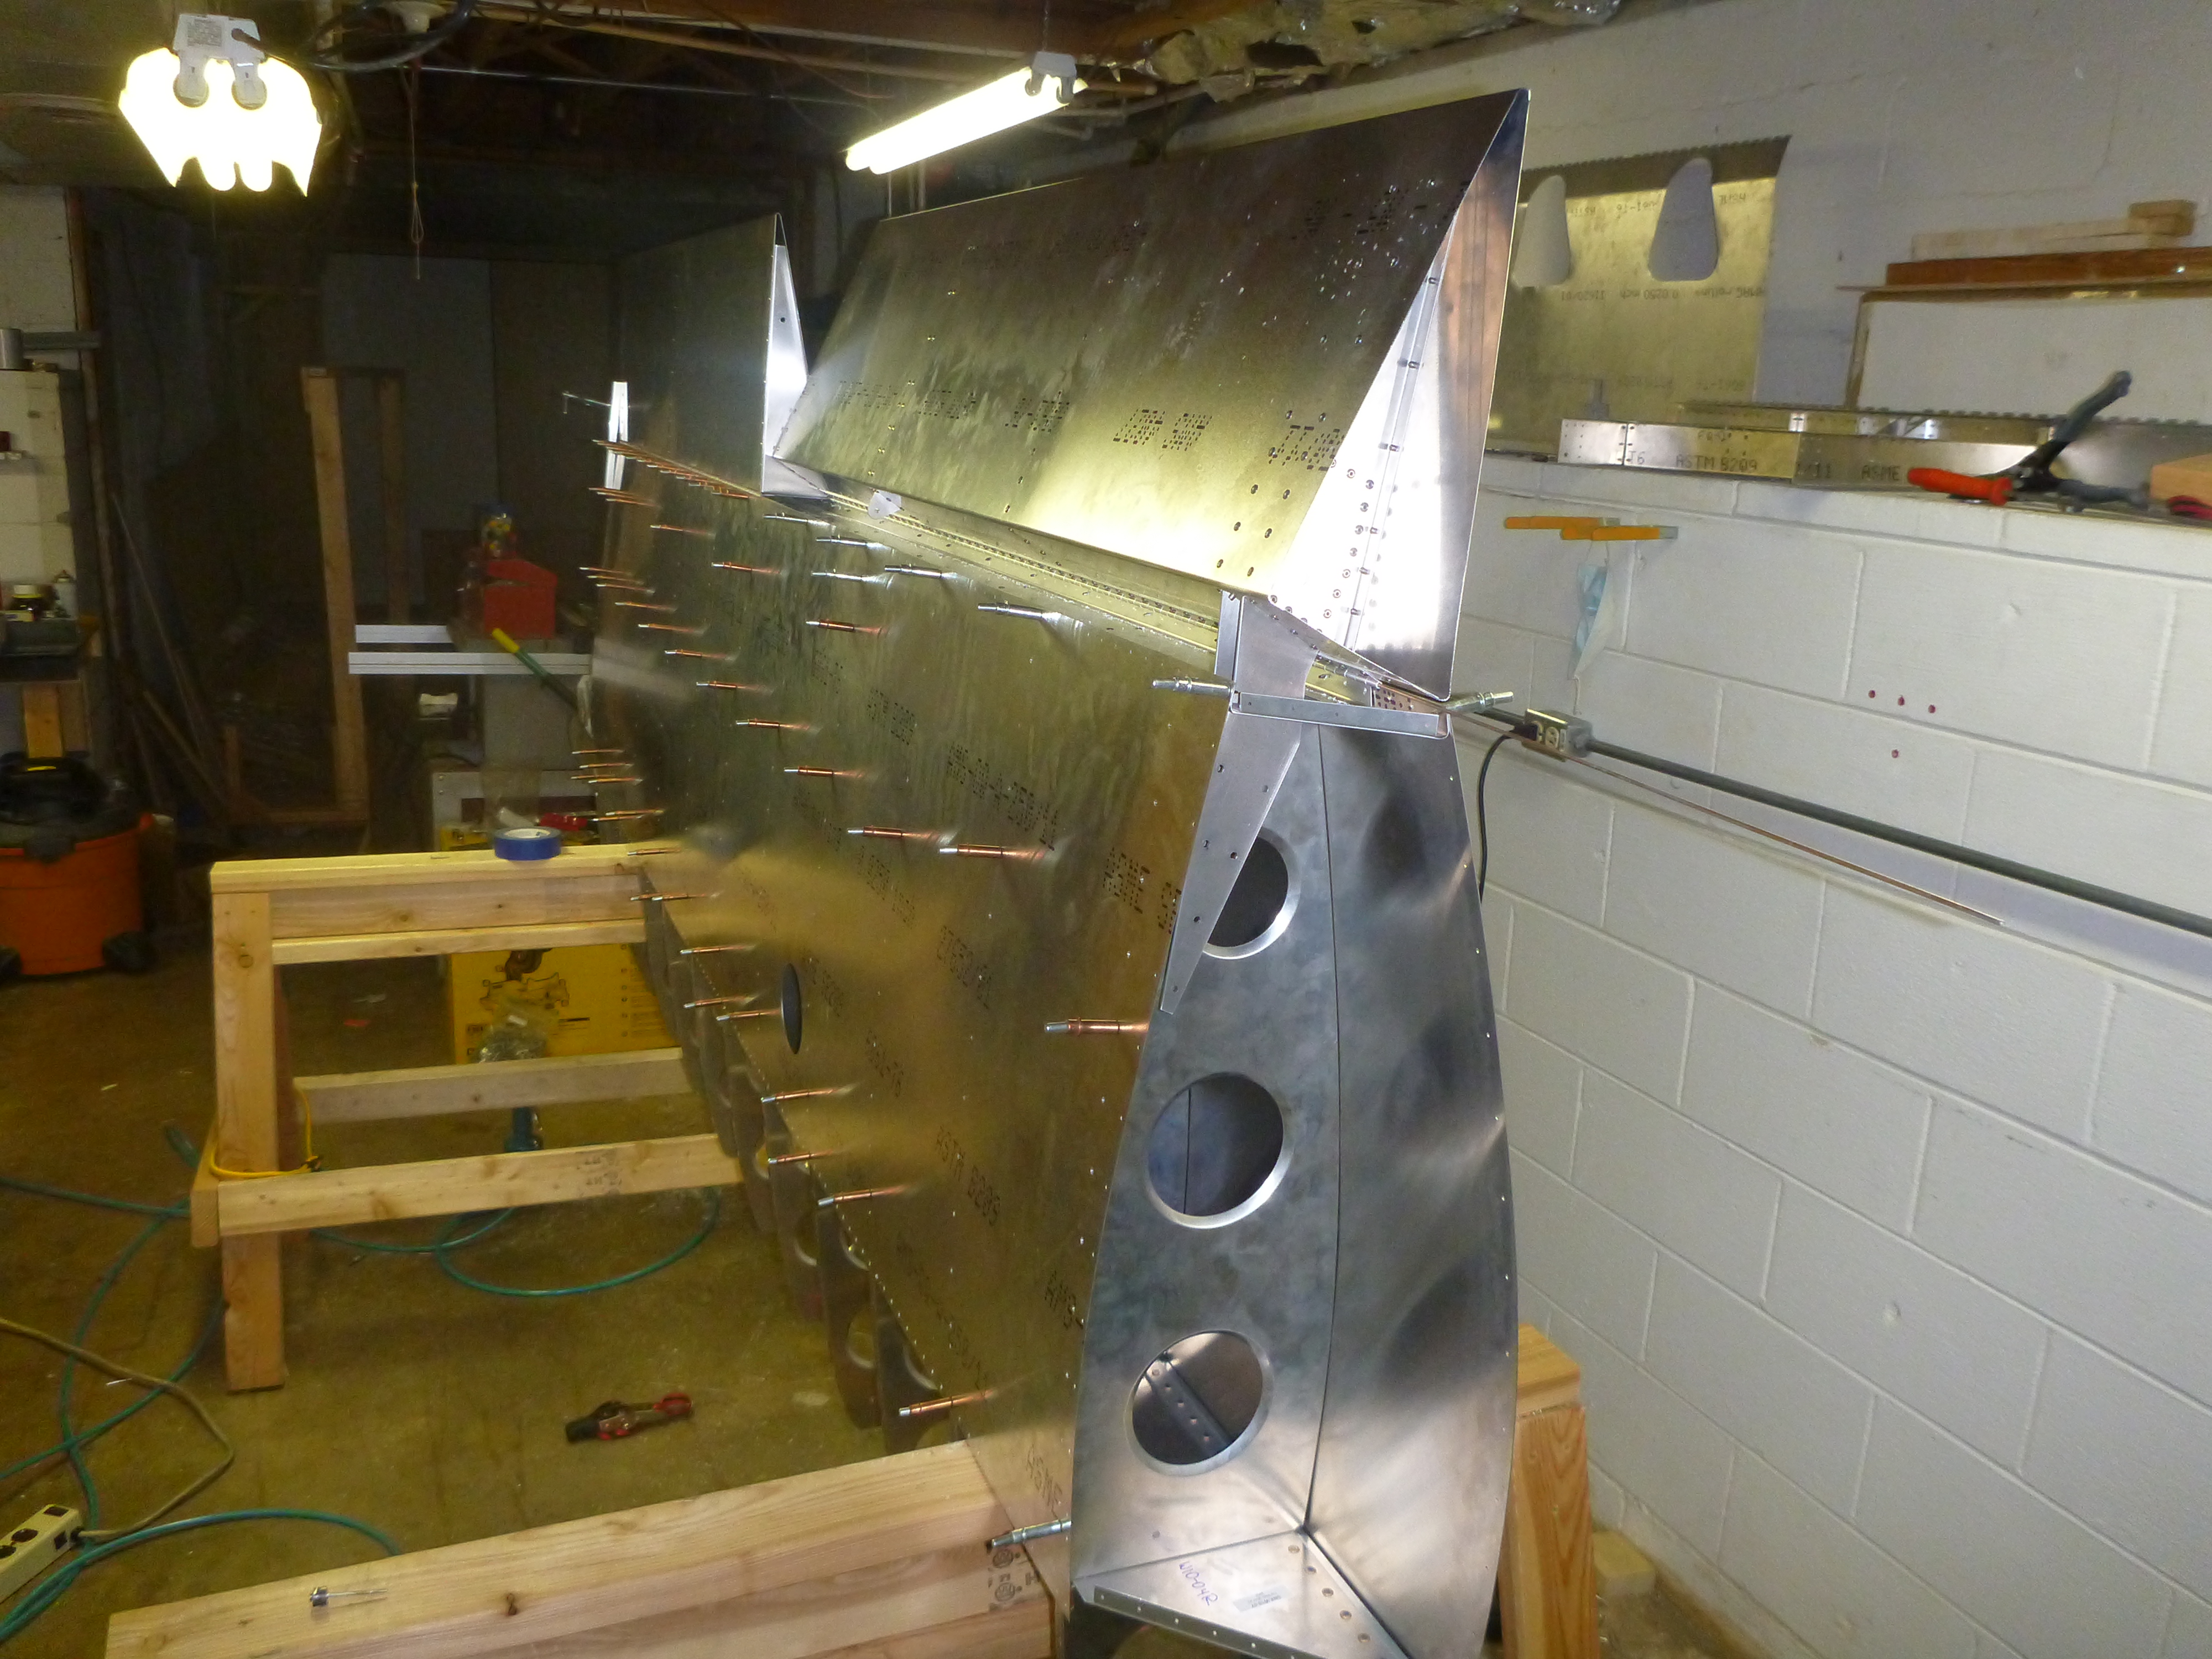
Attached top and bottom skins to the wing. I did this with the wing stood vertically on the saw horses (supported by the main spar). I checked to make sure there was no twist and that the wing was square multiple times while drilling and clecoing. Eliminating twist seemed to be trickiest. My saw horses weren’t perfectly aligned with each other so I needed to add shims under the spar to remove twist caused by the saw horses. Eventually, I was able to make multiple measurements with a level on the rear spar and convince myself there was no measurable twist down the length of the wing.
The “squareness” of the wing got locked in pretty quickly by the clecoes. The twist didn’t get locked in until I finally clecoed the skin to the main spar, but I’m extremely happy with how it turned out and don’t anticipate any problems with the next wing.

Looking down the lightening holes to convince myself the wing is square.

Clecoed the top side of the forward skin to the ribs and used a ratchet strap to pull the leading edge around the bottom side until I could cleco it to the spar. This wasn’t nearly as difficult as I expected it to be.

