I did 3 hours of transition training at Sonex in Oshkosh. This was the amount required by my insurance company and seemed like about the right amount of time for me to feel comfortable with the airplane.
Joe Norris, the instructor, started out explaining how the sight picture differs from other airplanes I have flown and gave some pointers on reference points on the windshield to help maintain level flight during turns.
The takeoff procedure was to basically unload the tailwheel and let the plane fly off the ground. Interestingly, the plane sort of “pops” off the ground and wants to climb, so it takes some forward pressure to build up to 80mph, the climbout speed we were using. I’m curious if a different trim setting would give less of a “pop”.
On my first takeoffs, I tried to lift the tail off the ground to almost a level flight attitude before liftoff. This caused an uncomfortable amount of “porpoising” and Joe emphasized just unloading the tailwheel and flying off in more of a 3-point attitude. I’m not sure if the “porpoising” was pilot-induced or a function of the titanium gear legs, but the 3-point takeoff works great.
The landings were performed by bringing the airplane into the three point attitude right off the ground and letting it settle onto the runway. It didn’t require full elevator deflection like I’m used to, and I had a tendency to pull back too much for the first few landings (after landing, we still used full up elevator to pin the tail on the ground). I zig-zagged across the runway on a couple landings–perhaps due to not flying tailwheel for a year or so, or perhaps due to the different forces with the direct-link tailwheel.
Taxiing wasn’t difficult and the hand brake came pretty natural except I kept having to dodge the flap handle to get to the brake one (on one landing approach I even pulled the brake handle a couple of times before I noticed my mistake). The handles were bent a little more than the plans call for, so I might not have the problem at all in my airplane.
I installed nutplates for the voltage regulator, coils, and MGL RDAC. The voltage regulator would be difficult to replace if it was secured with normal nuts since direct access to the nuts is blocked by the fuel tank.

I am using the altitude encoder in the Stratomaster to provide an altitude reading to the transponder. Here the Stratomaster is displaying 23,500 feet and the transponder is reading the same. This means I managed to wire the transponder correctly.

Used a medical lift from Craigslist to mount the engine. 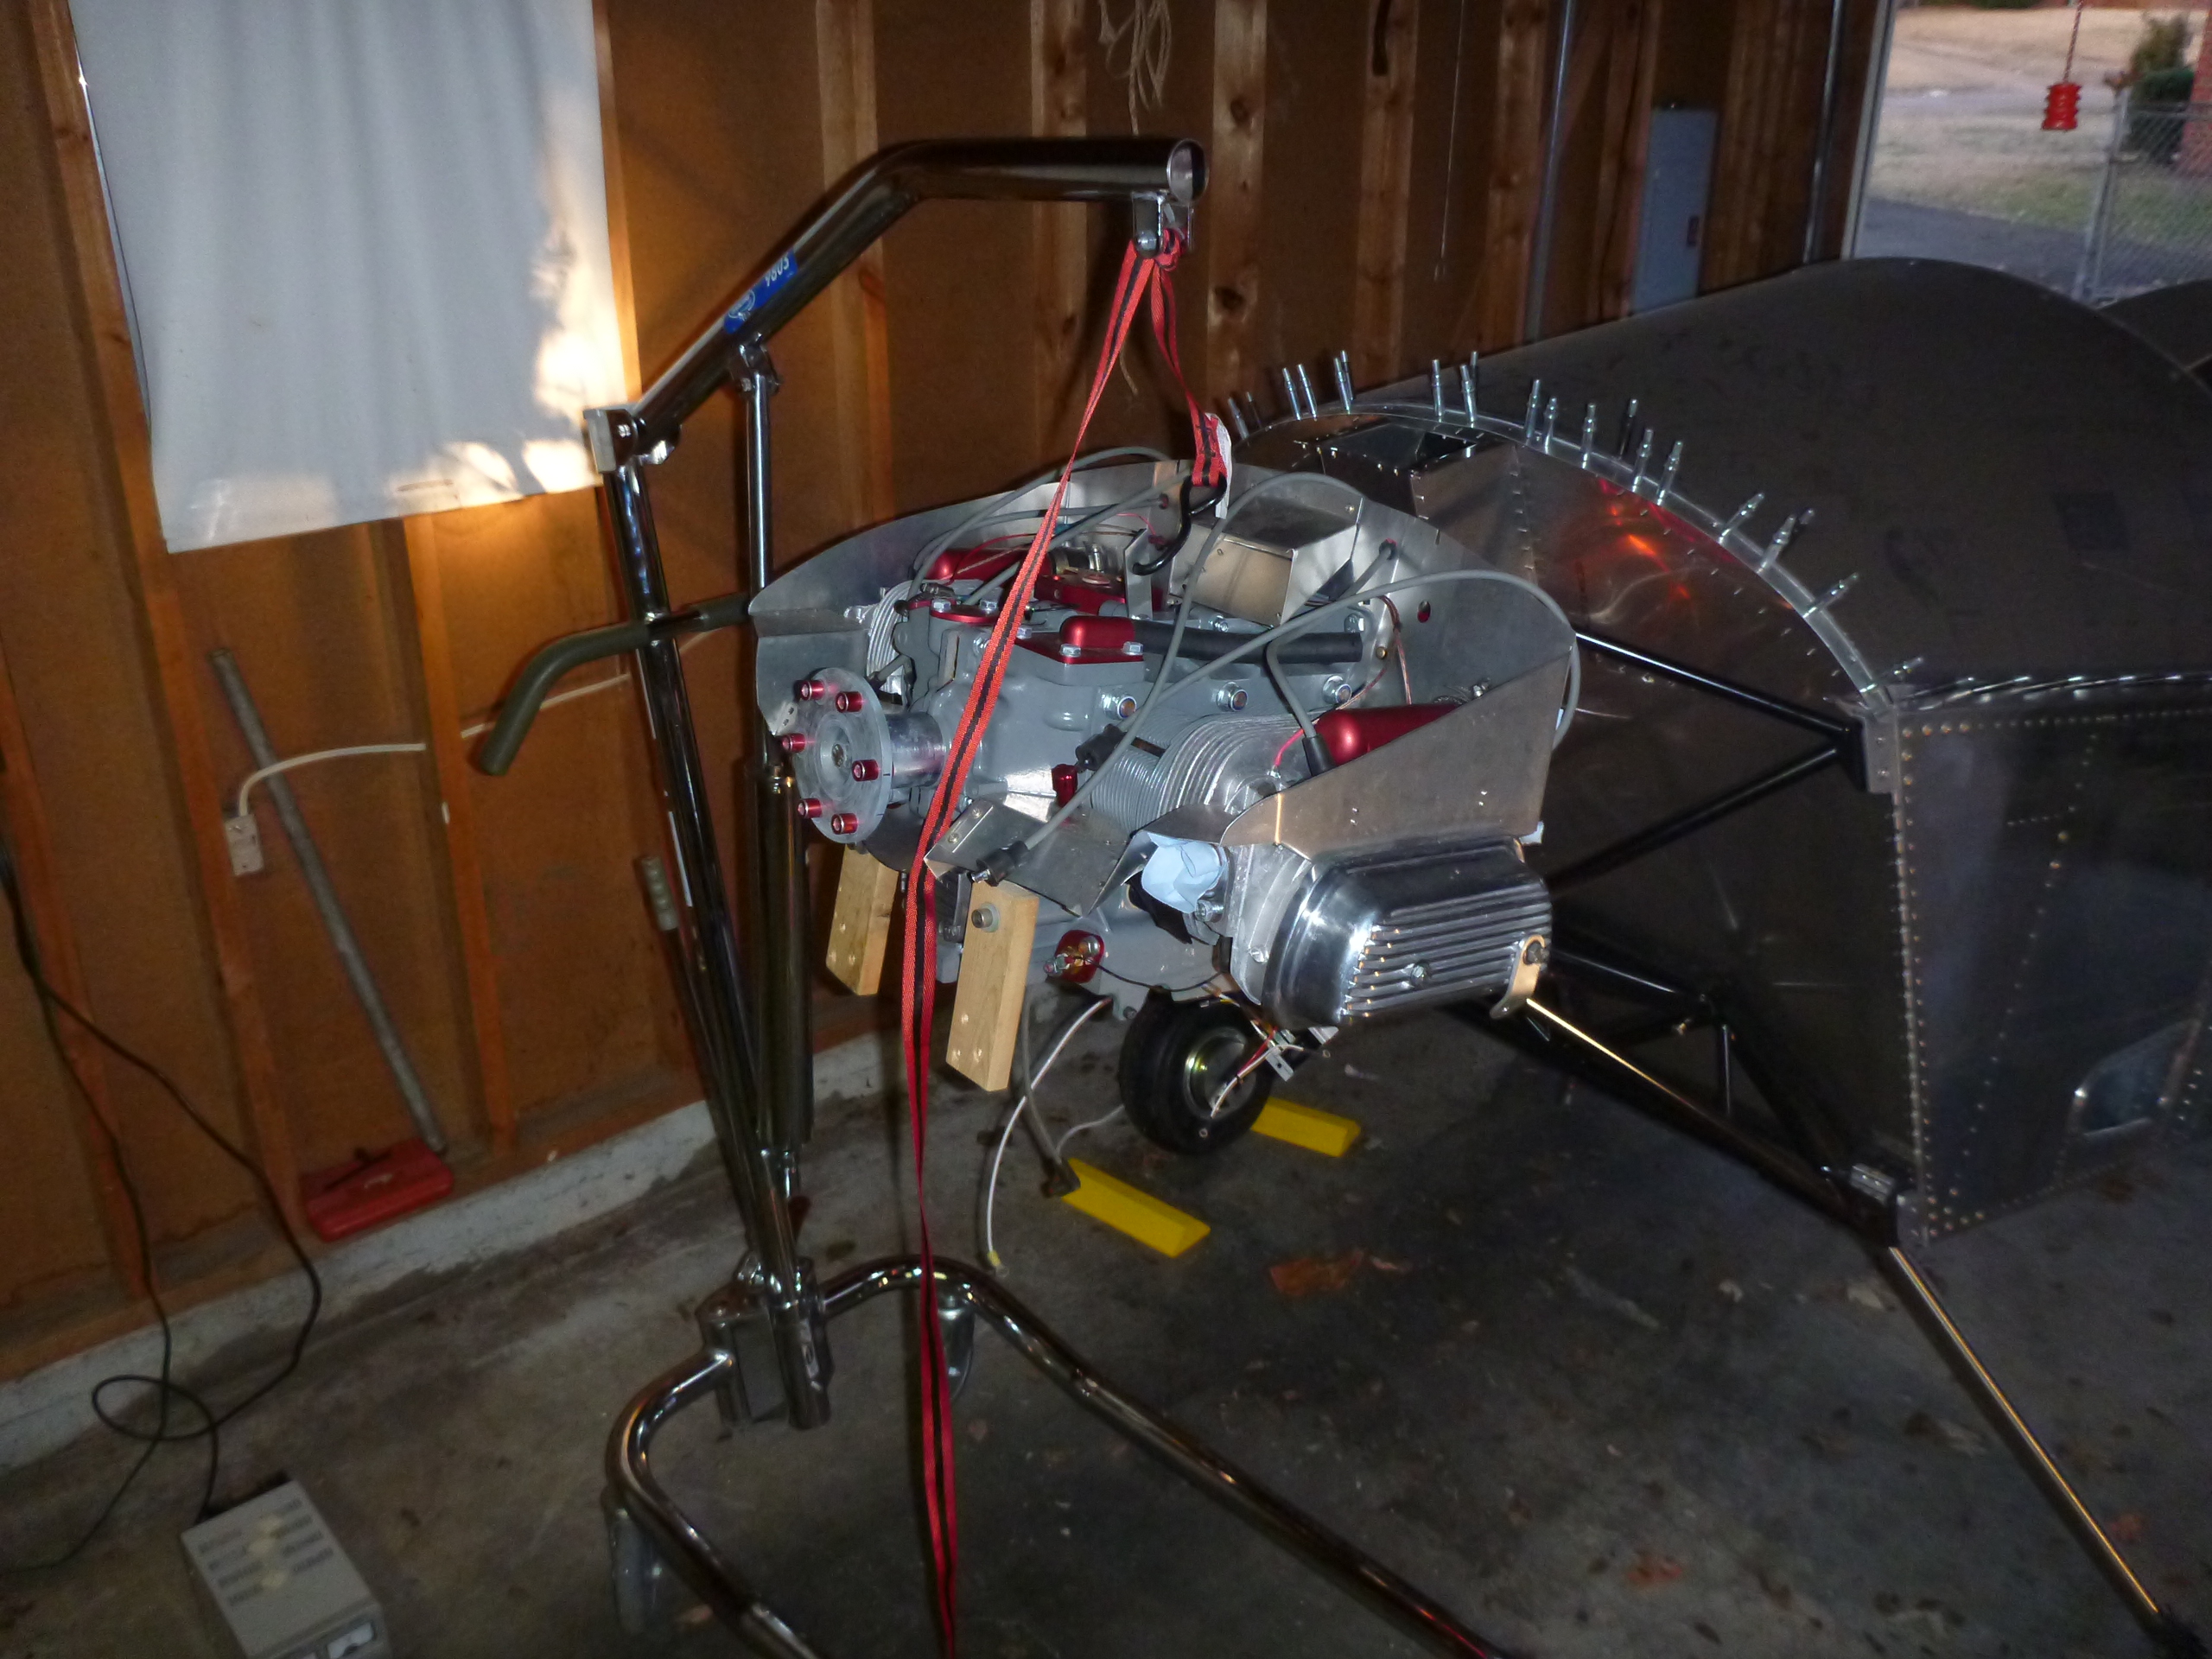
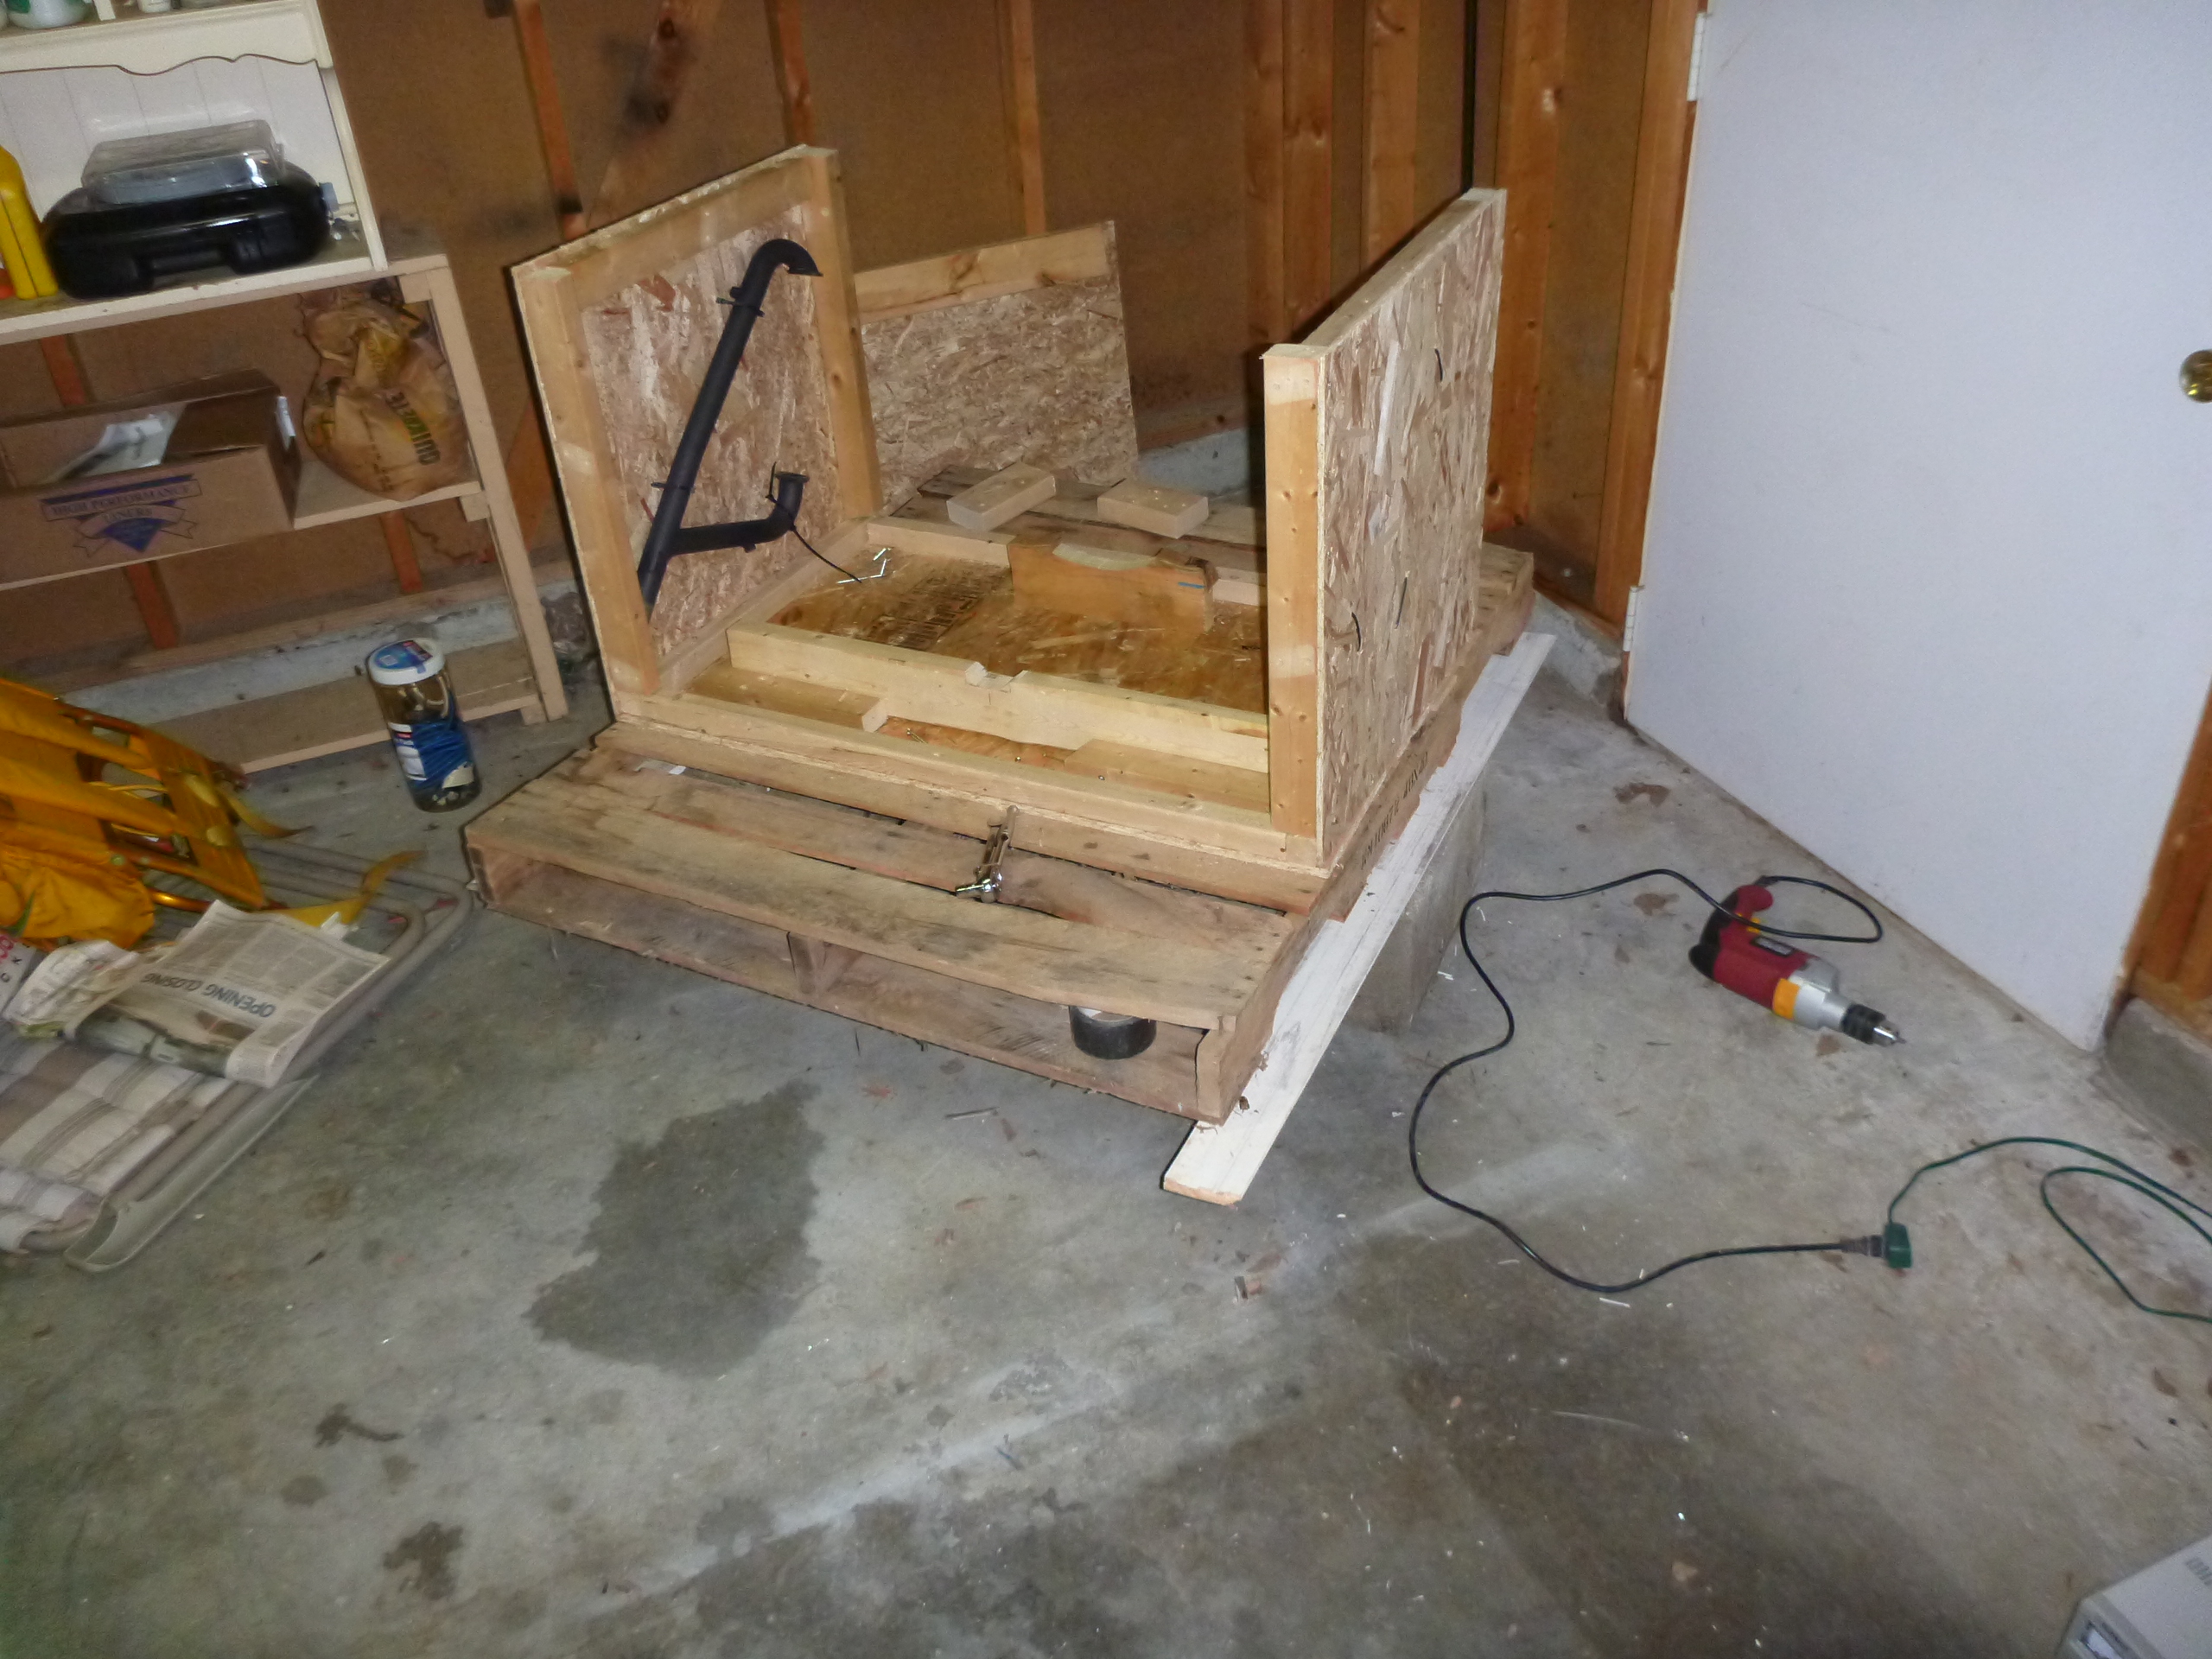
I had to lift the engine crate onto cinder blocks to get the legs of the hoist underneath. I was doing some serious head-scratching before I came up with this simple solution.
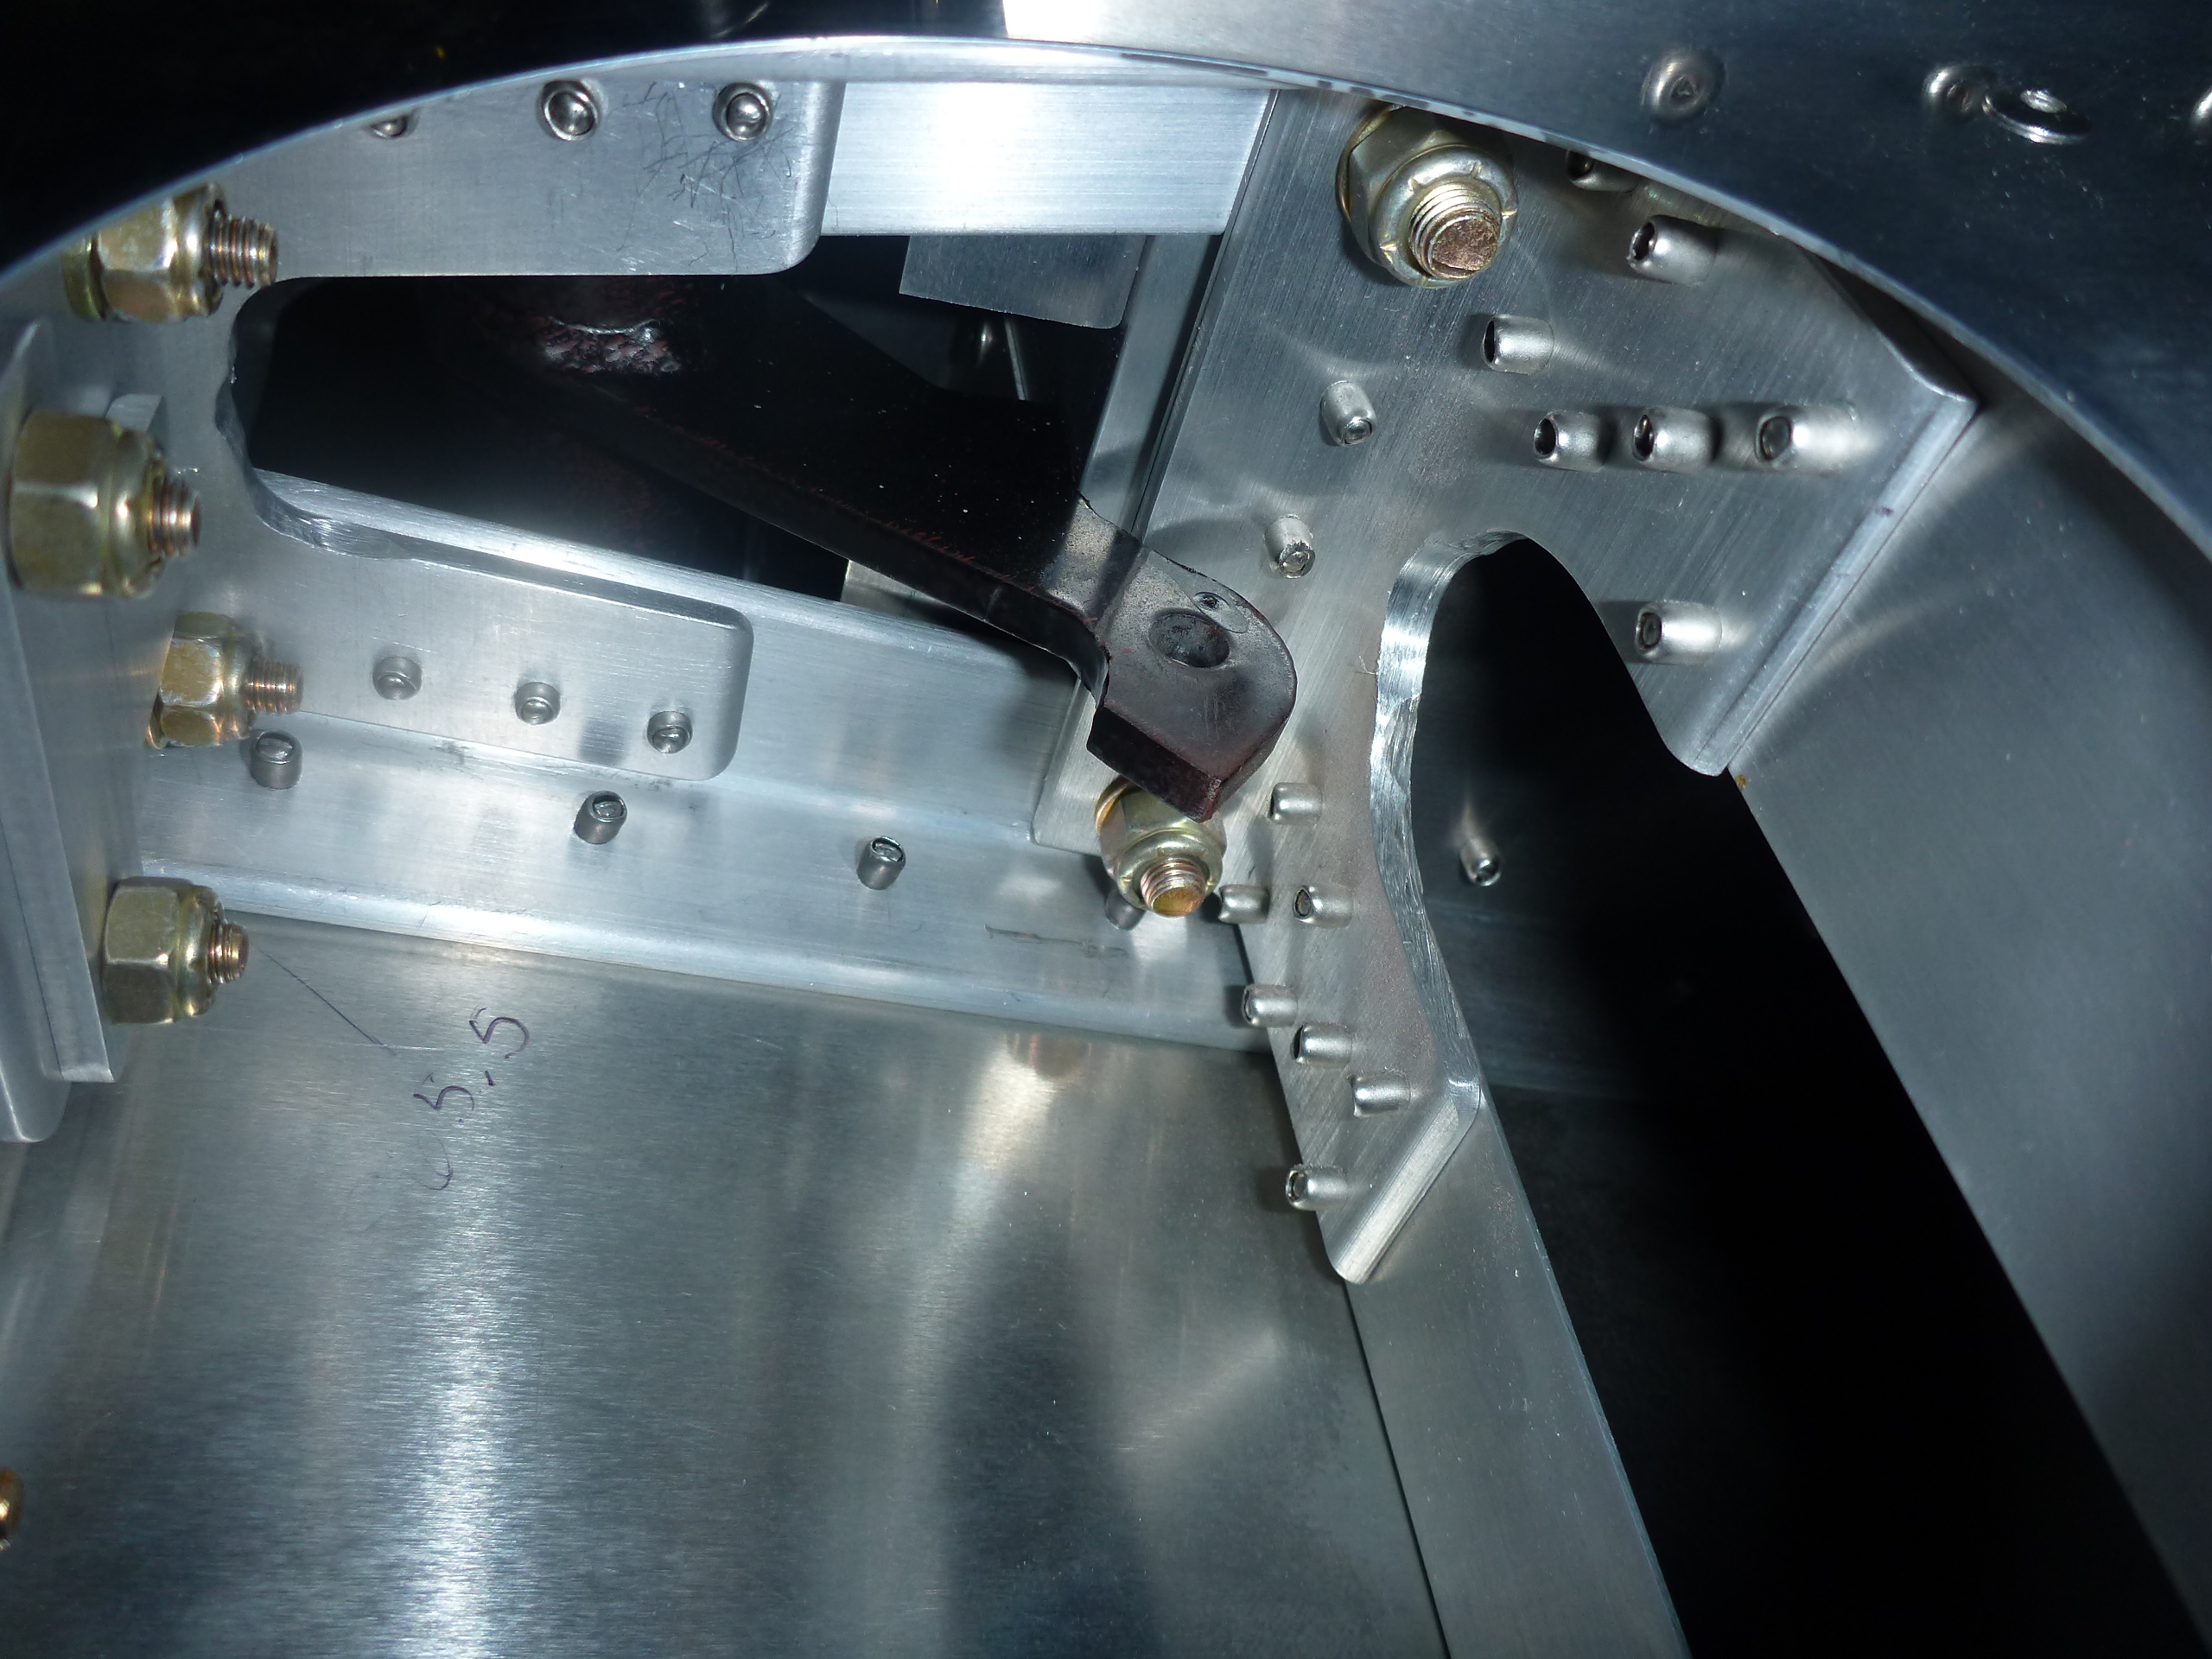
Ground a few spots on the elevator control horn to allow full up and down elevator motion. It was contacting in a few spots on fittings in the rear fuselage. Also had to grind a little on some aluminum angles to allow clearance for the pushrod. I decided to make a small deviation from plans and add an upside-down T-shaped piece of aluminum as a solid stop. Otherwise I was going to end up with really tight clearances all over the place.

Below, I have the elevator at full down travel with the horn hitting the other stop. It’s hard to see the stop in this picture, but it is just above the reflection on the black powdercoated elevator horn. I was pretty anxious about this stage of the project, so I kept putting it off fearing I positioned the tail so horribly I would never be able to get full control deflection. It was certainly a tight fit, but I’m extremely happy with how it turned out.
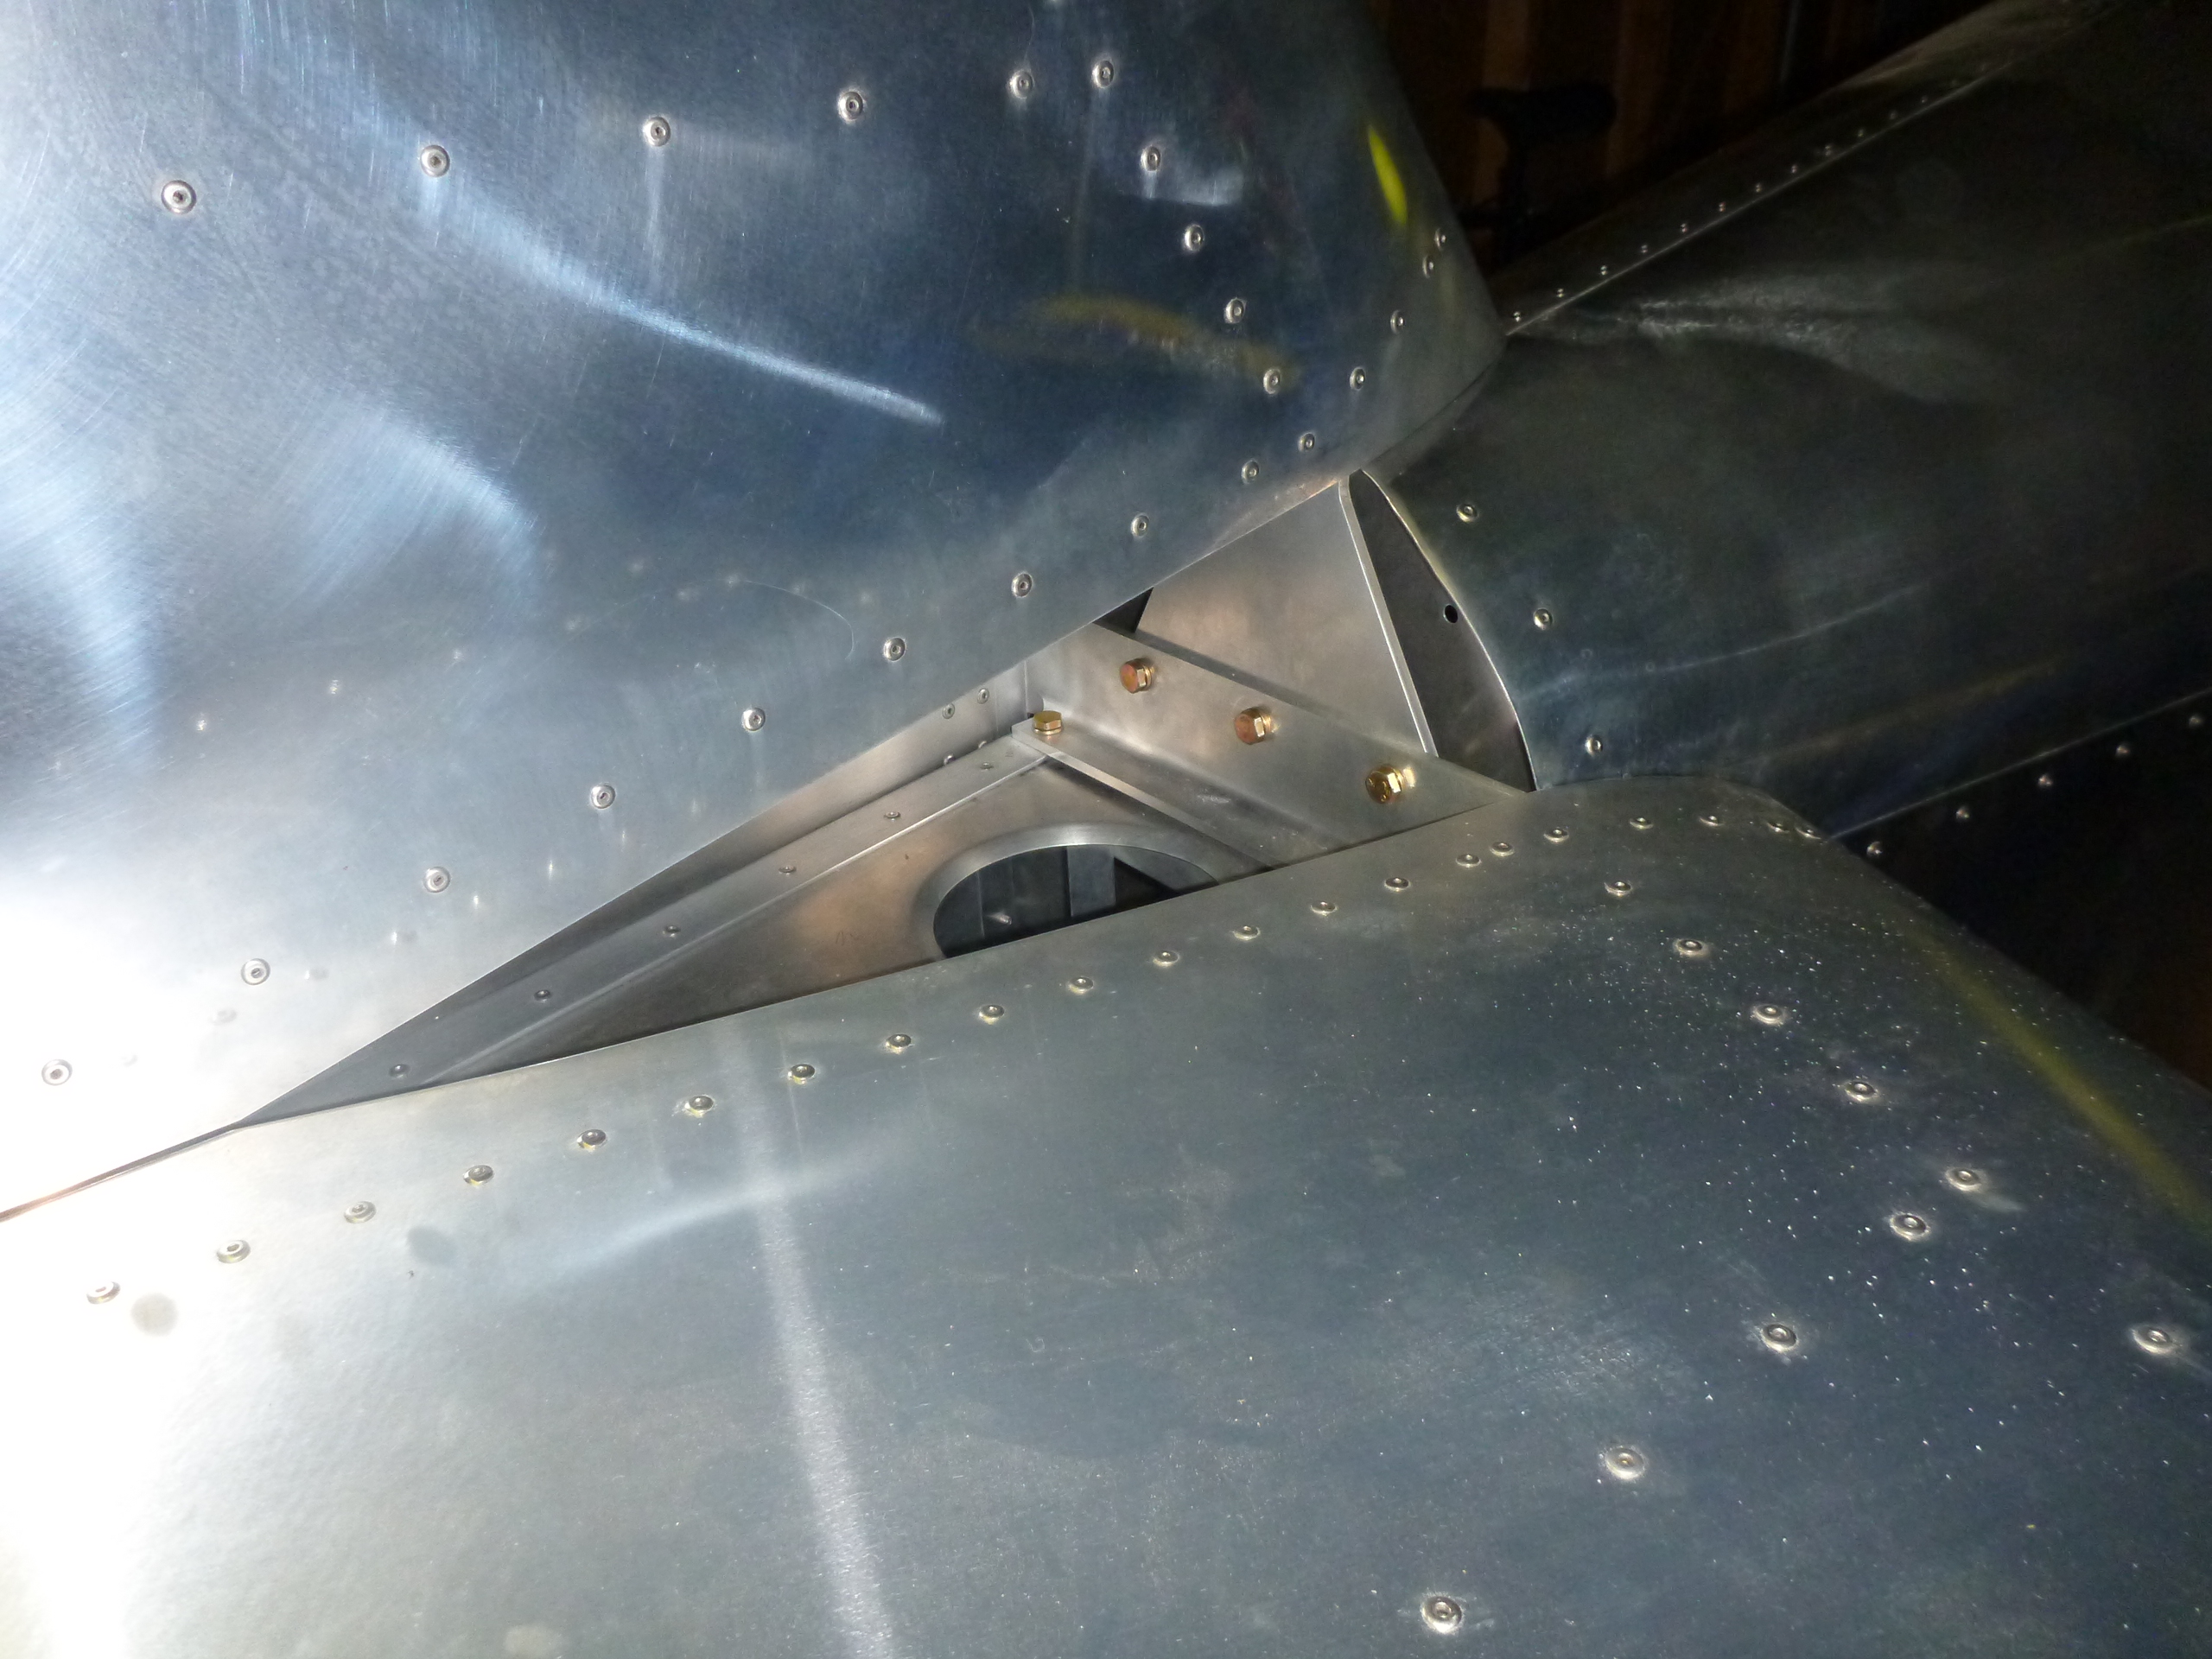
I ended up using AN3-5 bolts instead of AN3-6 when attaching the rear spar of the vertical stabilizer. The AN3-6 were so long they required 3 washers apiece which seemed like overkill.
These three bolts connecting the stabilizers together required nutplates since access to the nut side is almost impossible. I’m extremely happy with the tight and solid connection.